One of the reasons I started punch needle back in 2017 was because I was interested in making a rug for my house. What I didn’t realise then was that this is something I had in common with the first women to use a punch needle tool back in the 1880s.
Punch needle is a traditional American craft but one of the reasons it was invented was to speed up a craft which has existed for much longer – rug hooking.
The punch needle made it easier for women to make rugs from simple repurposed materials. Although practical, looking at some of the beautiful designs of older punch needle rugs it’s clear for many women this was also a form of self-expression. Rugs featuring objects of everyday life, animals, family and nature became heirloom pieces that in many cases have been loved and passed down through the generations.

I still have the first punch needle rug I made and now my home has several more that I designed myself. I love being able to take a few materials, sit down and work on a project that is built to last.
There are so many lovely rugs available in shops but if you want to put a more personal stamp on your home, making your own punch needle rug is a great way to do it. With four simple supplies, some time and a little patience, you could have a new rug for your home.
Here are my four top tips for making your own punch needle rugs.
1. Use good quality punch needle supplies
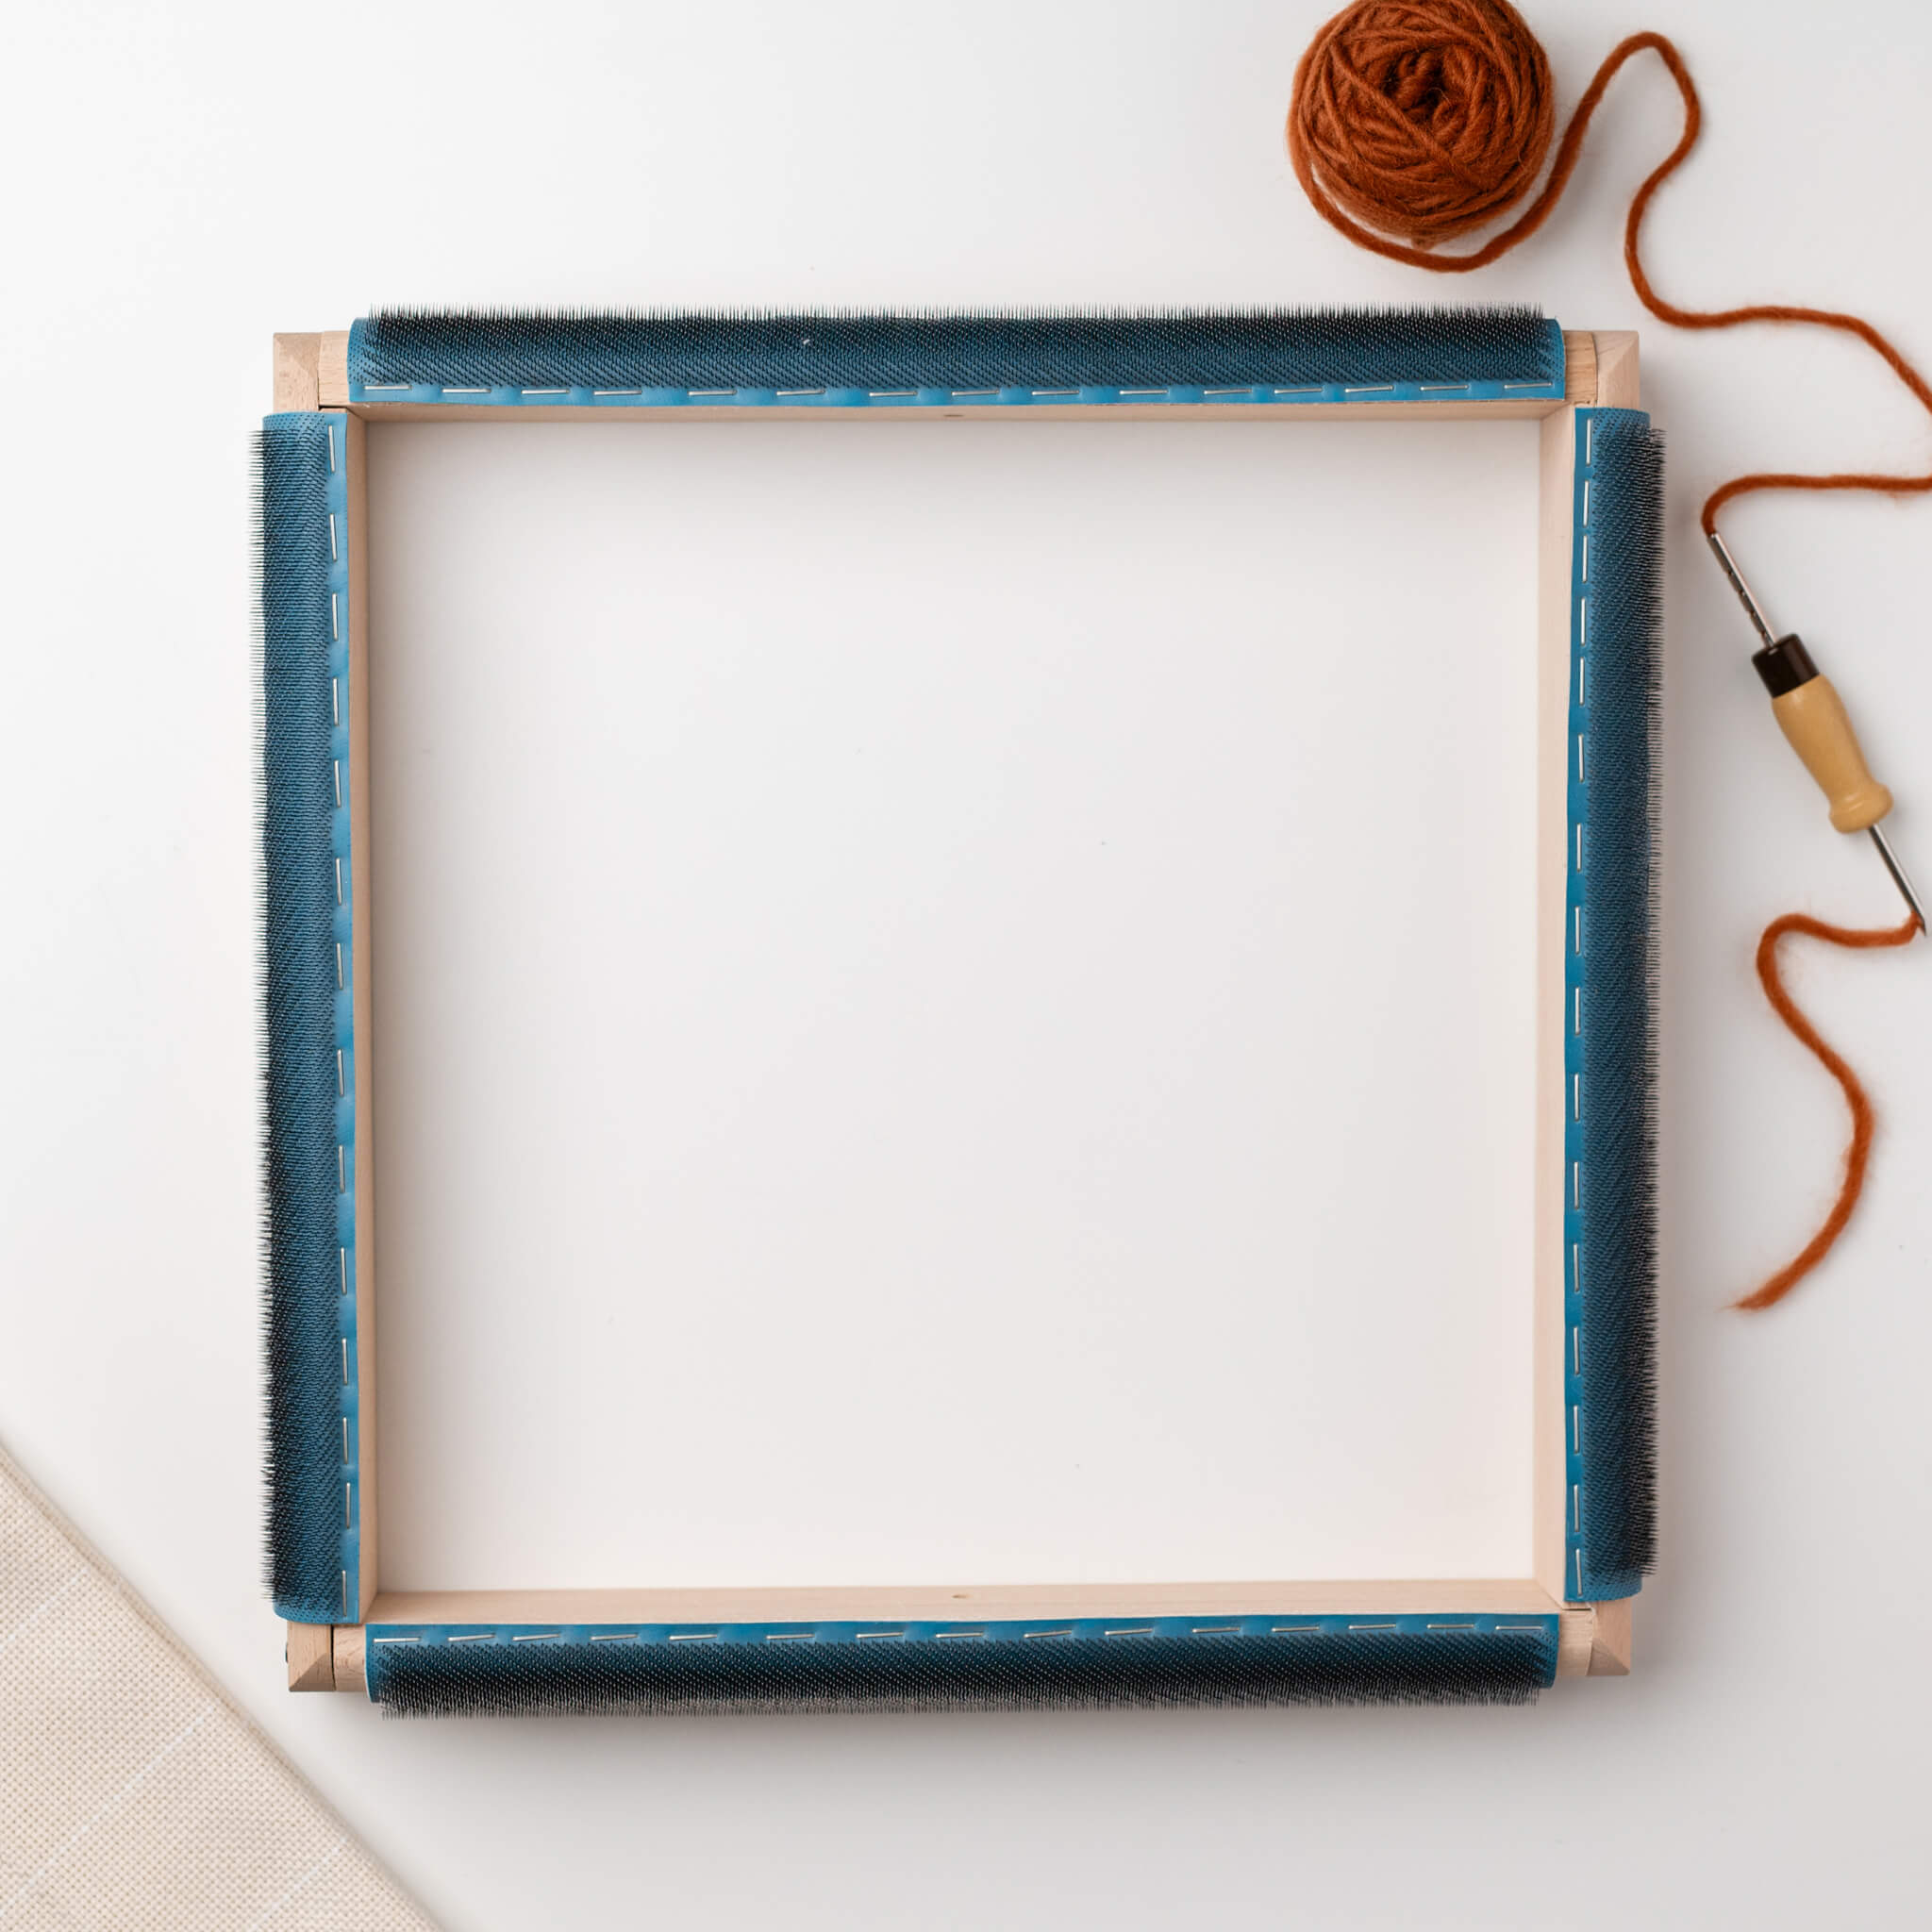
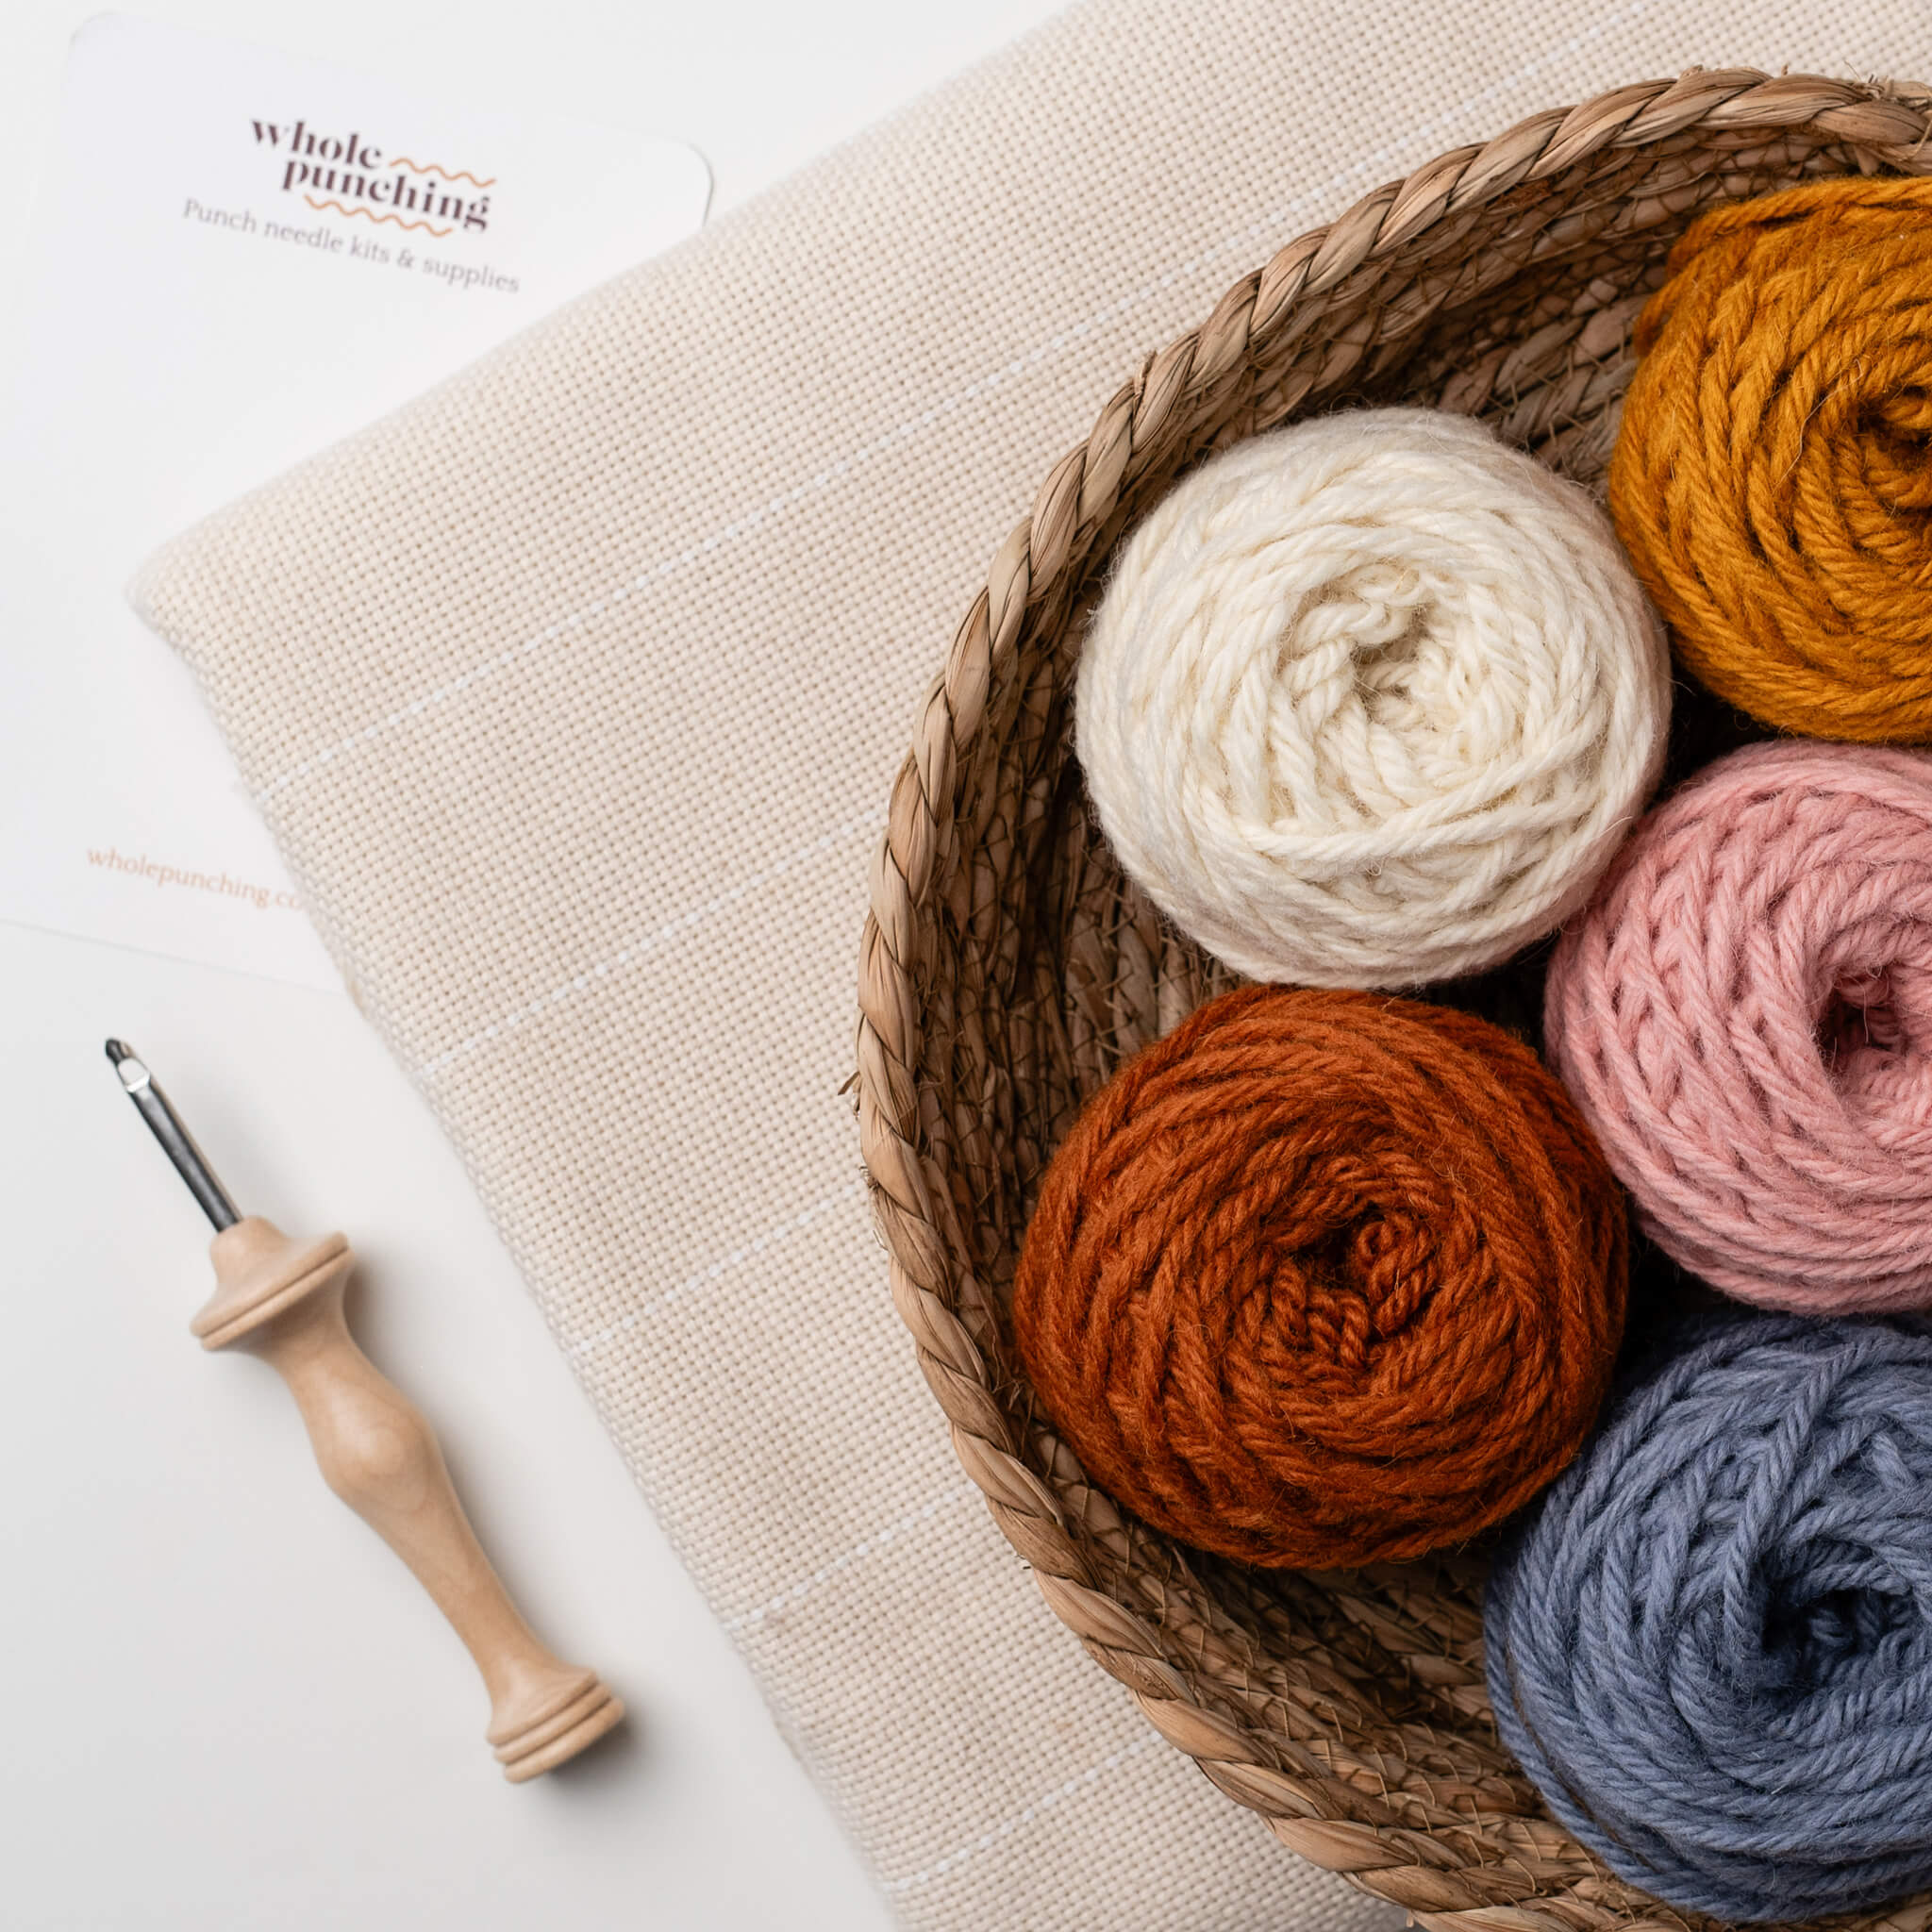
If you want your handmade rug to last, you will need to use durable materials. You only need four things to make a punch needle rug (plus a couple of haberdashery incidentals):
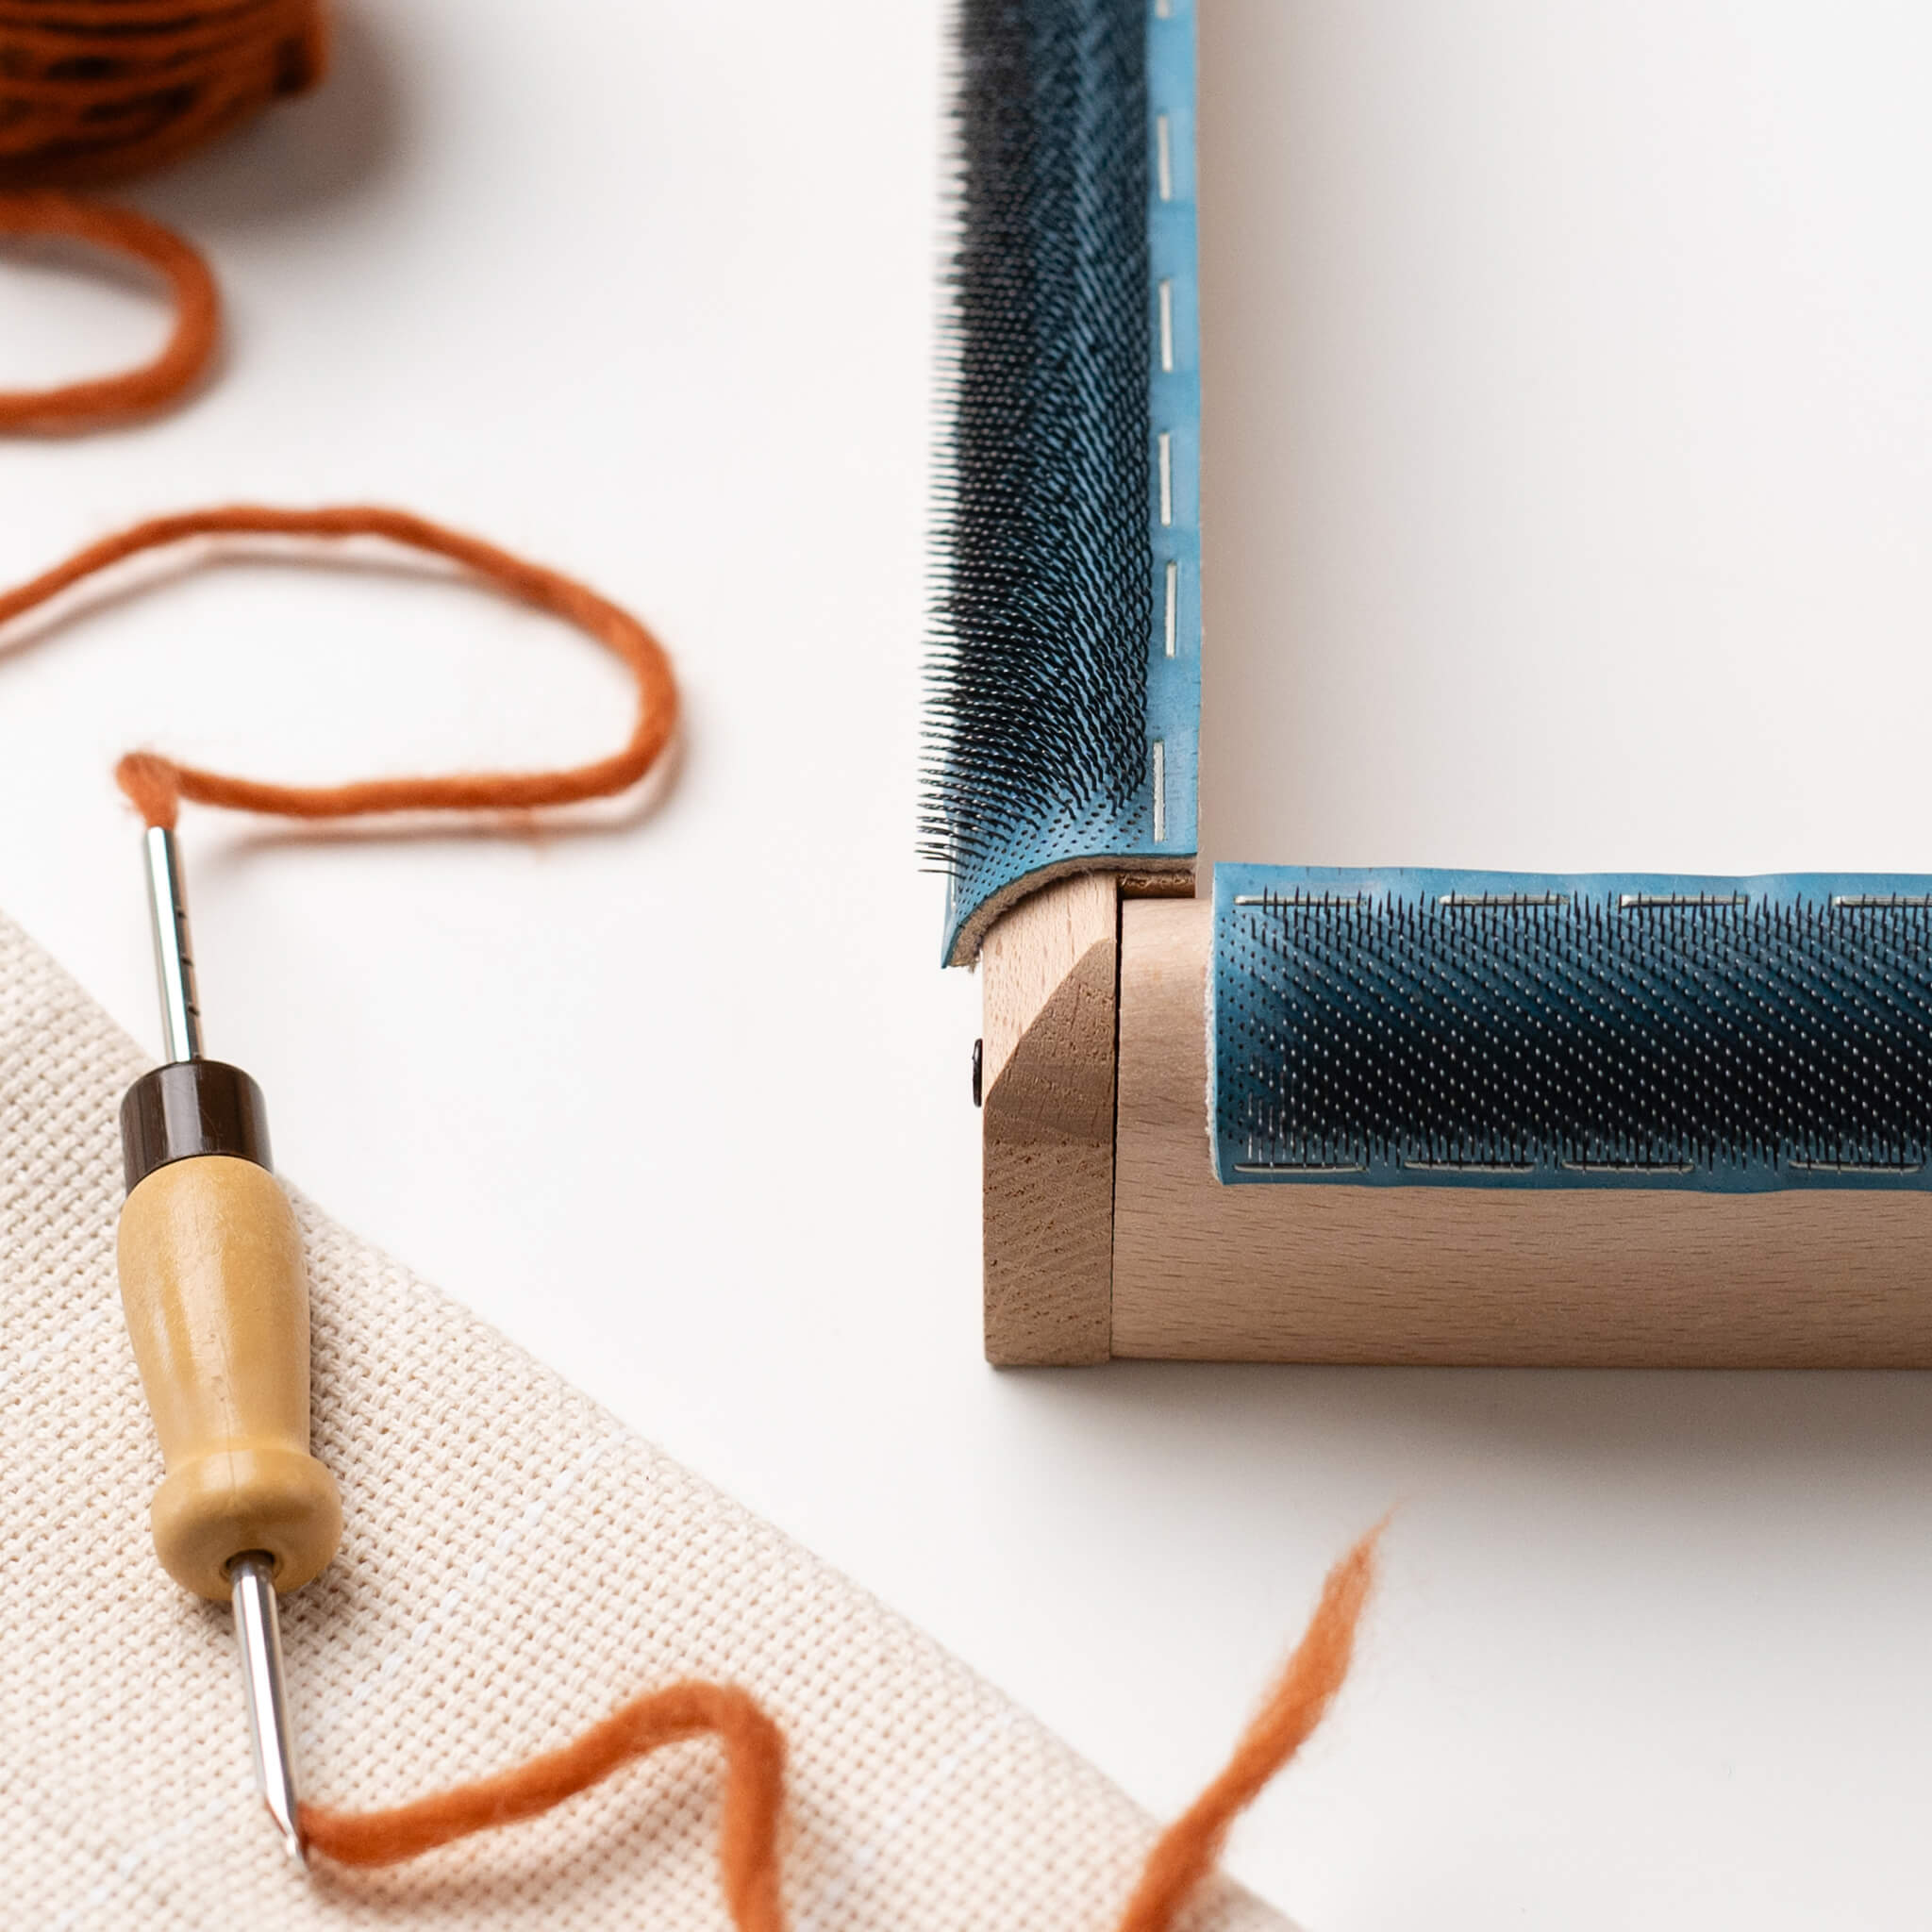
- Frame
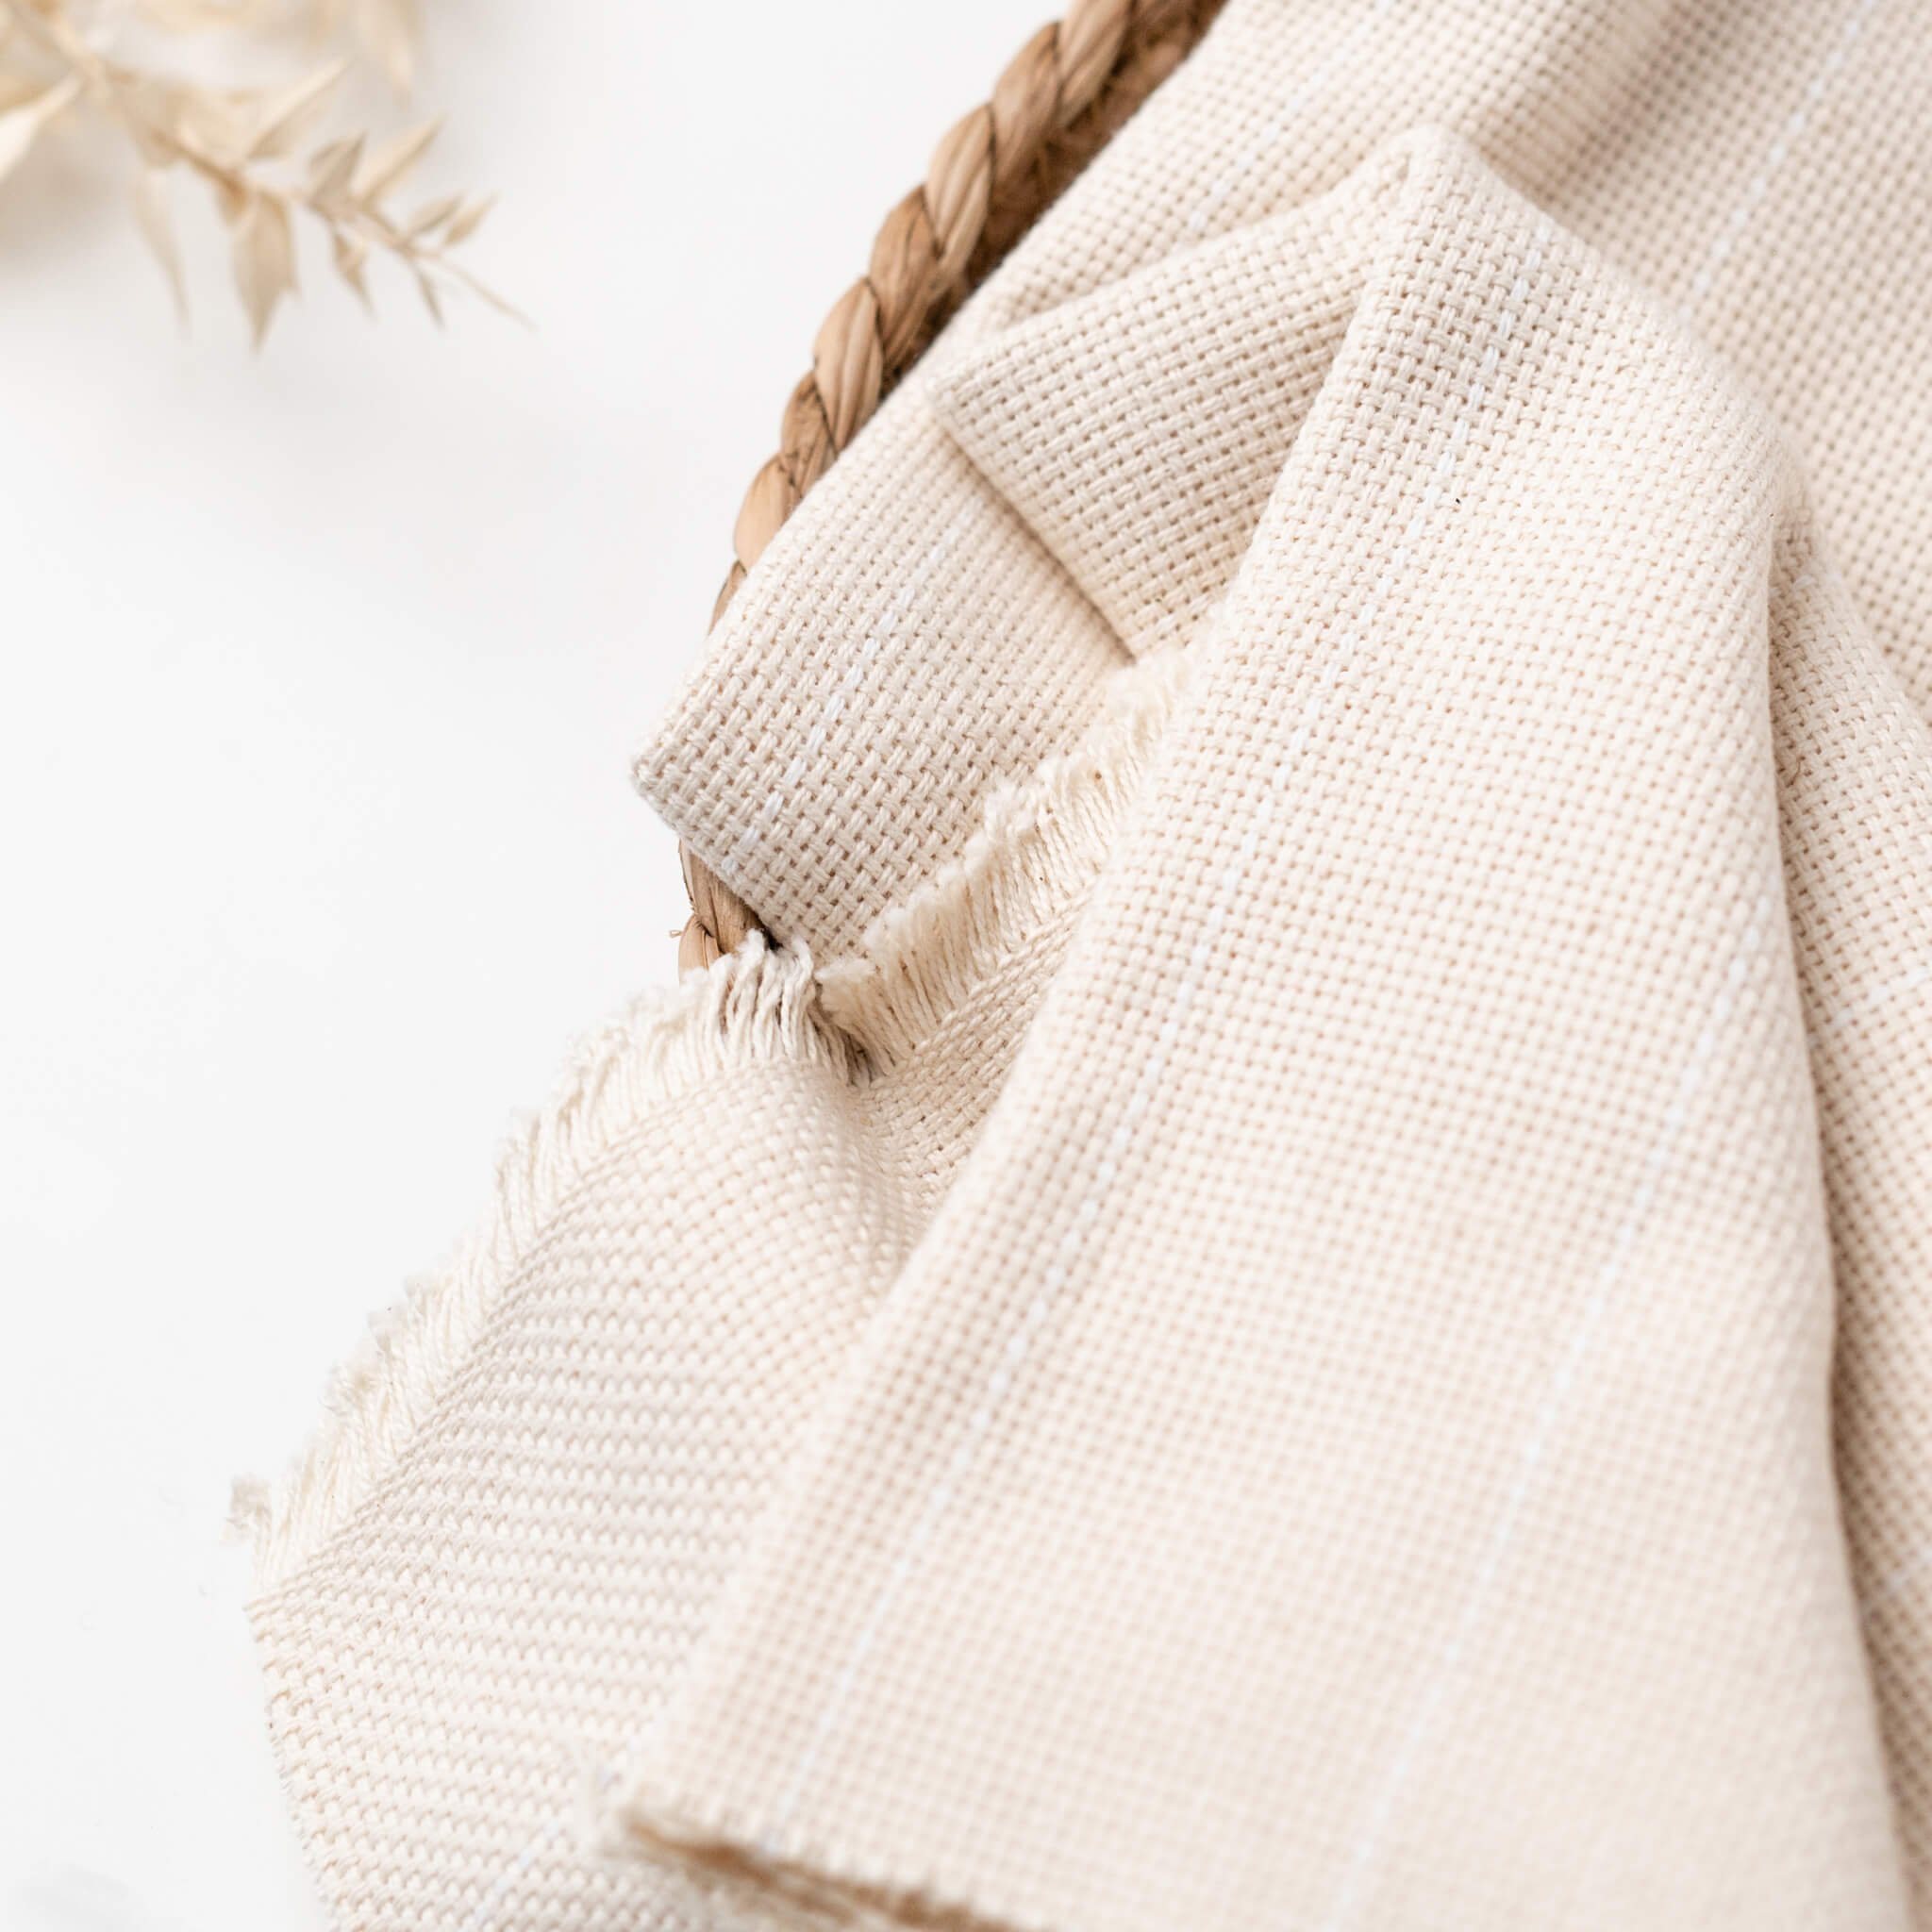
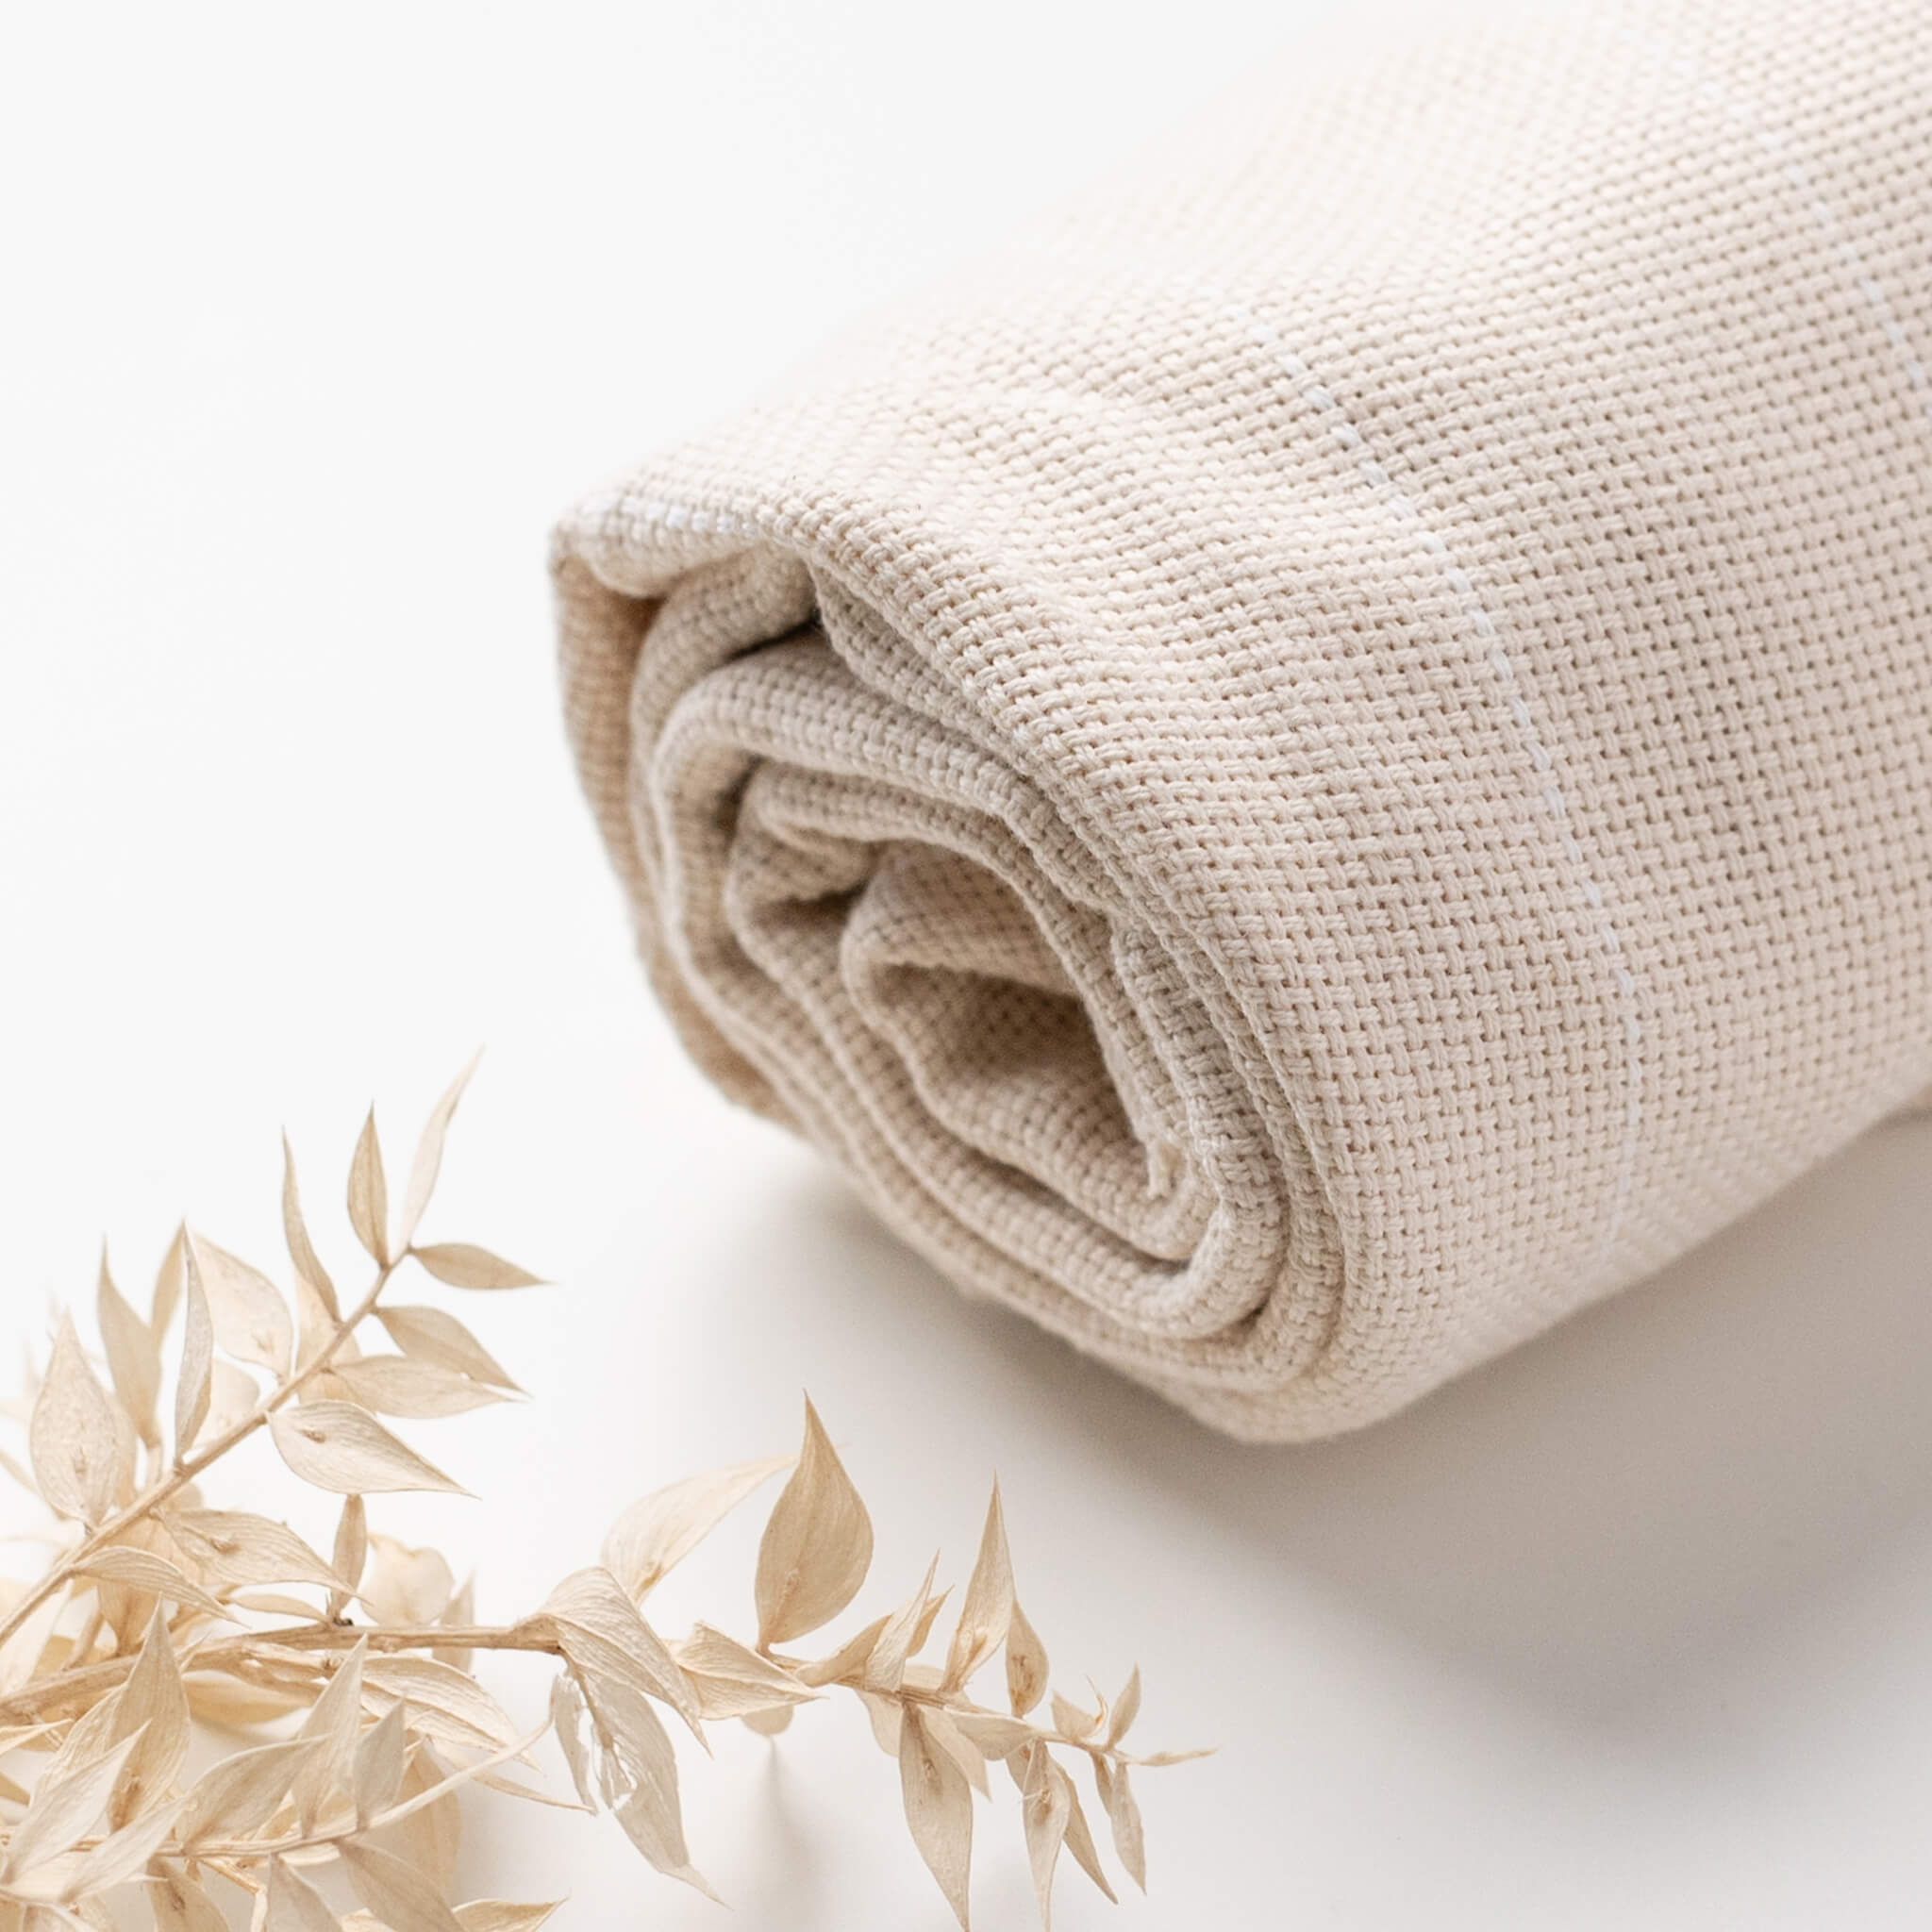
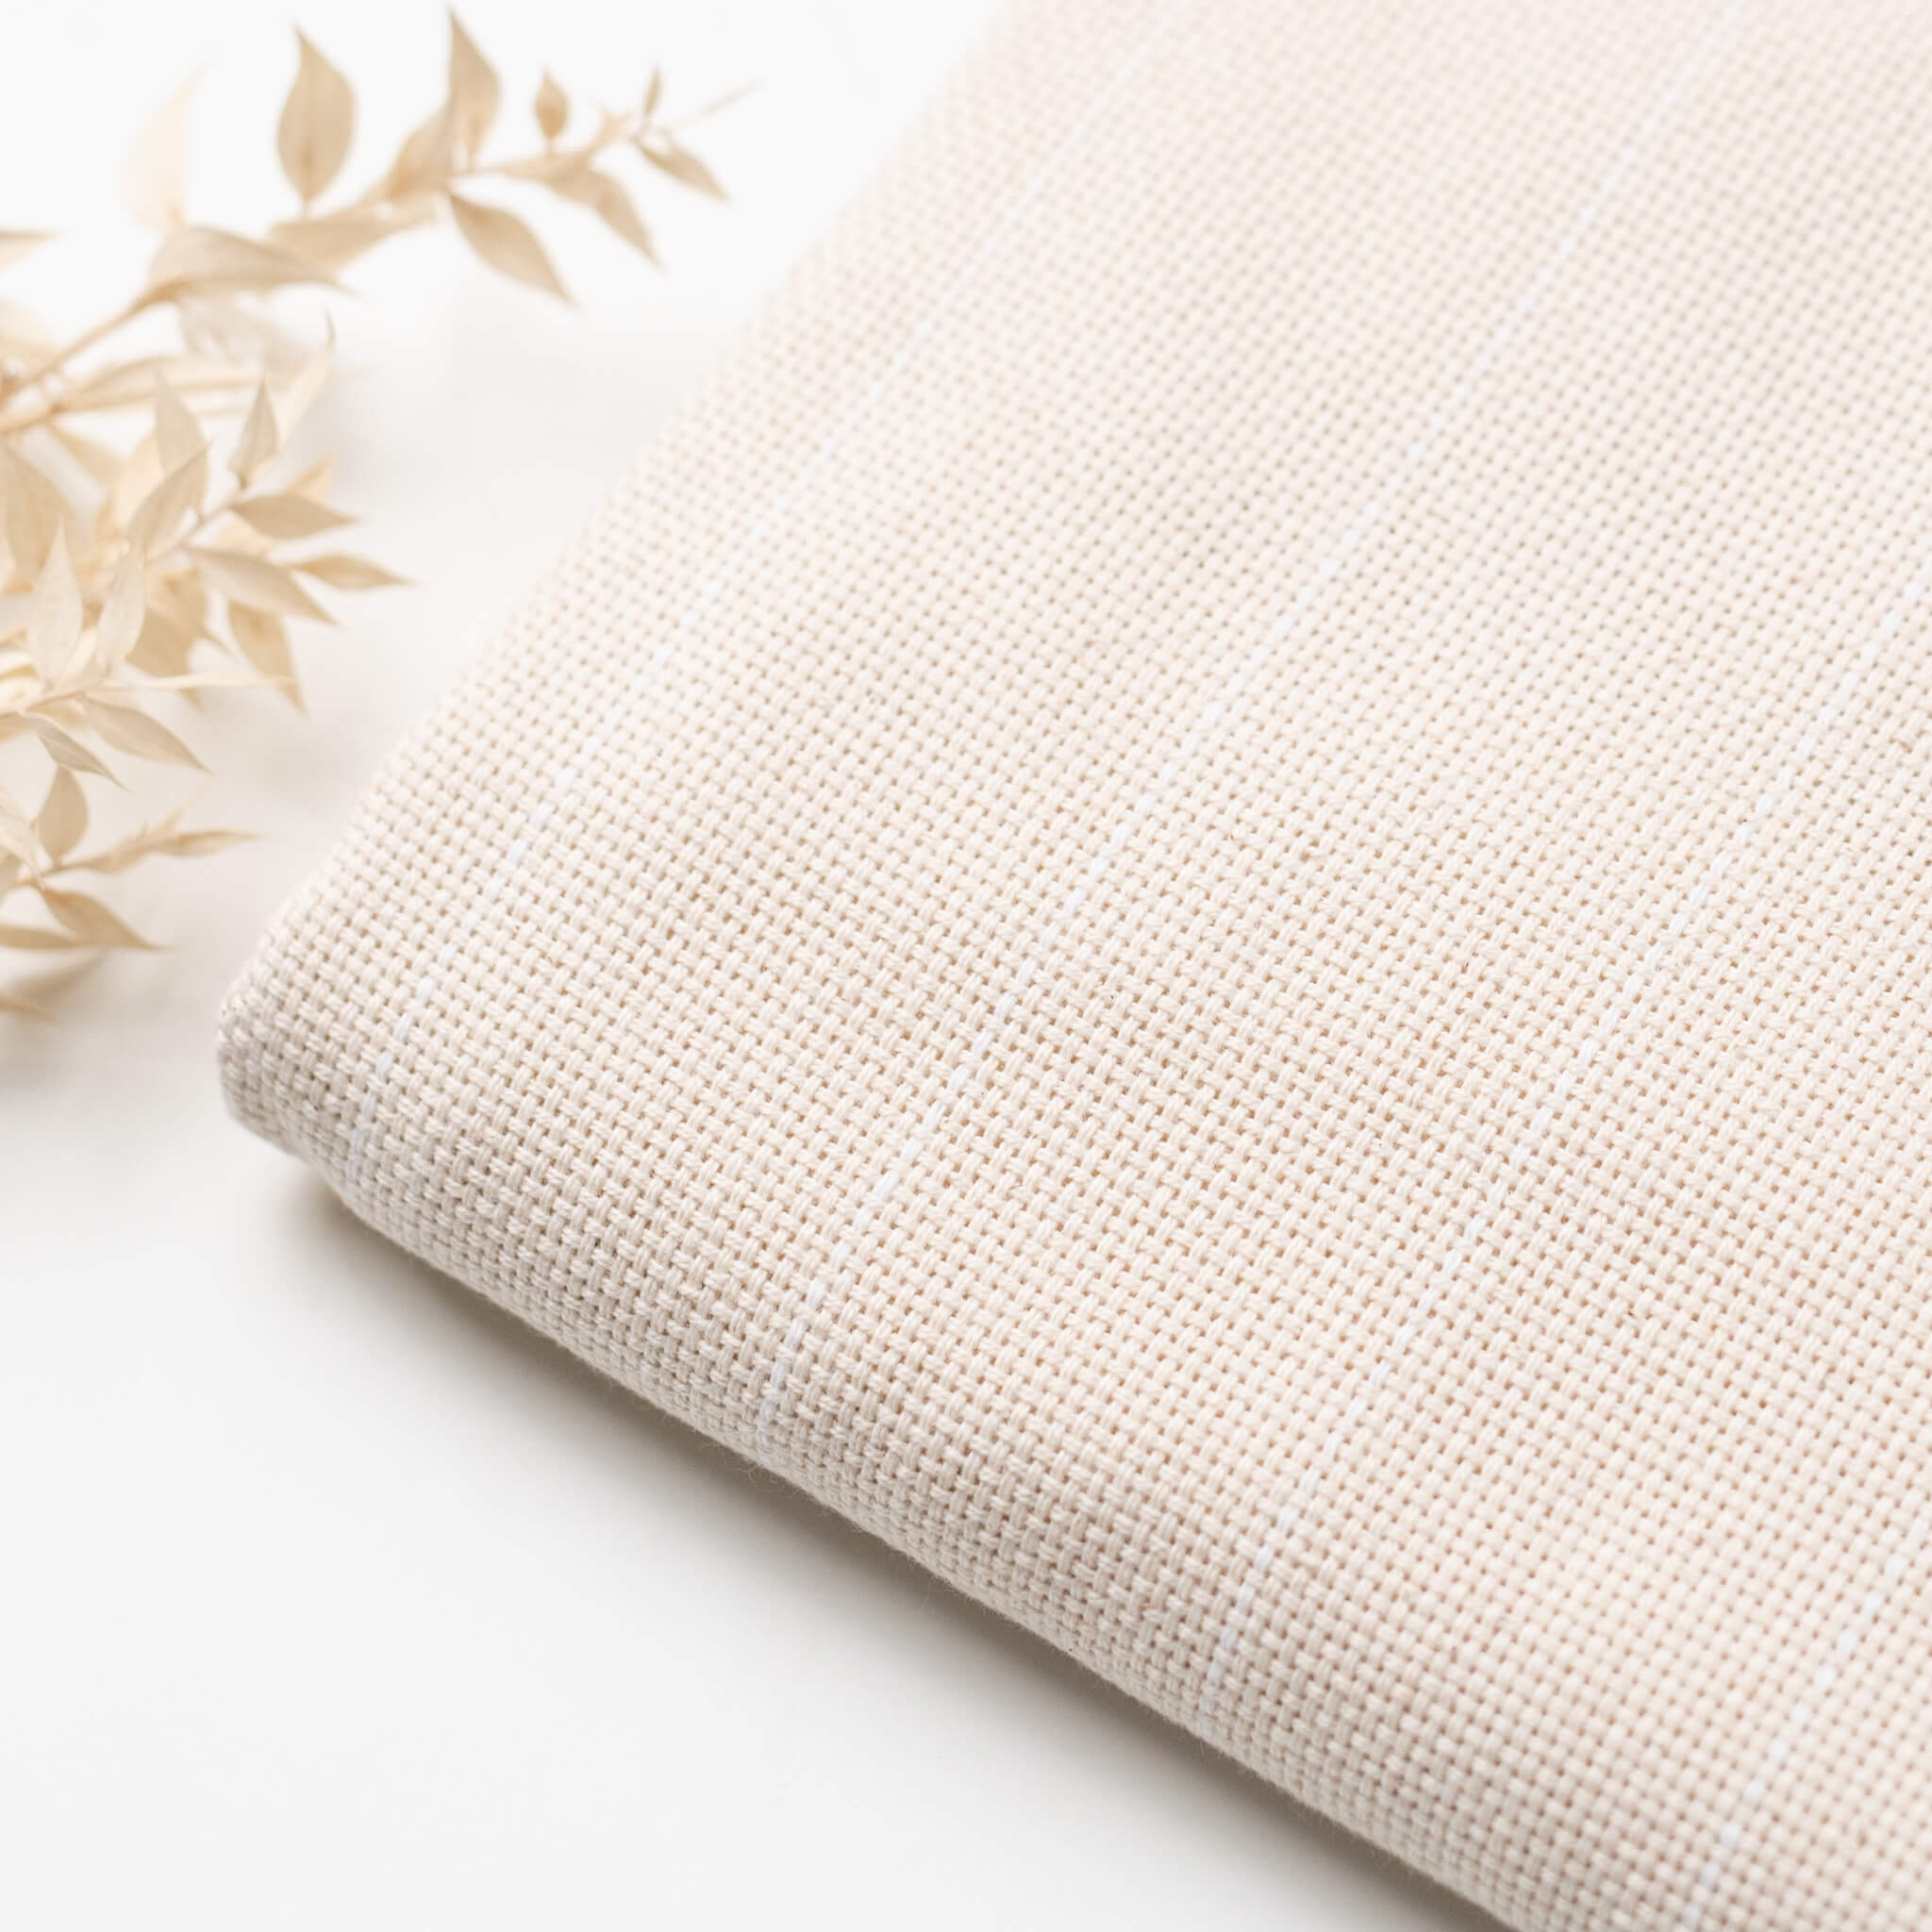
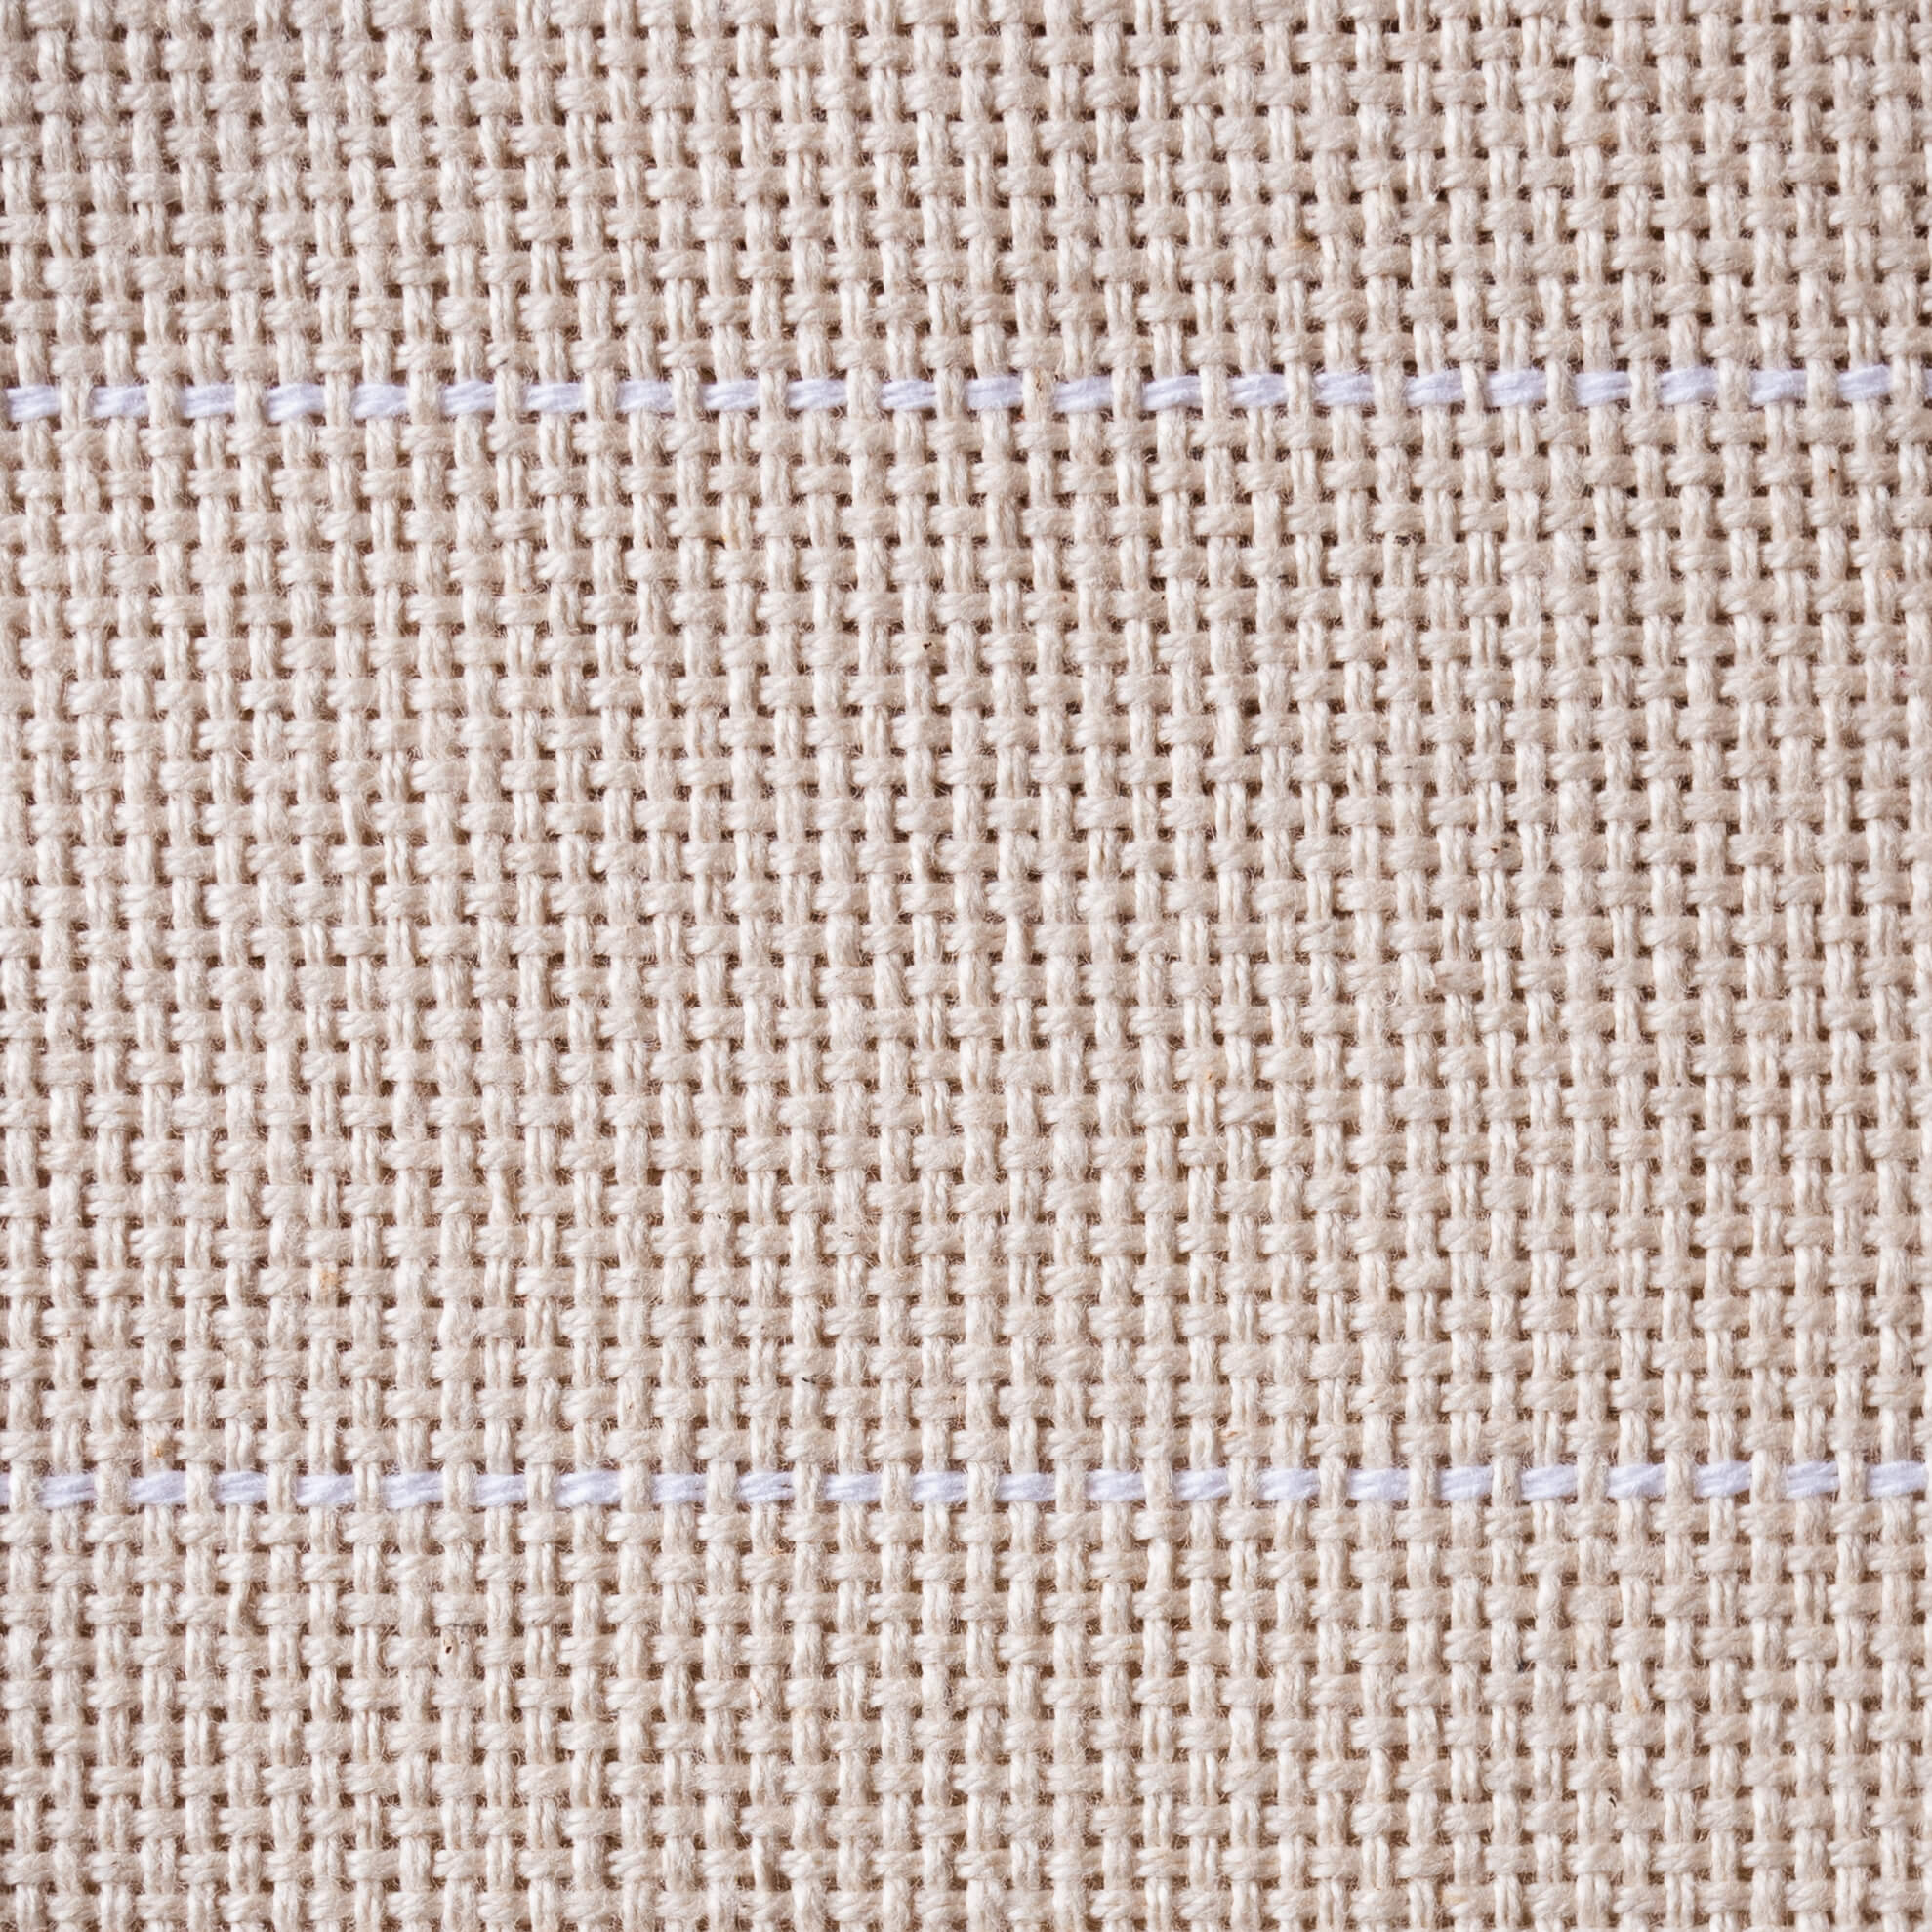
- Foundation fabric
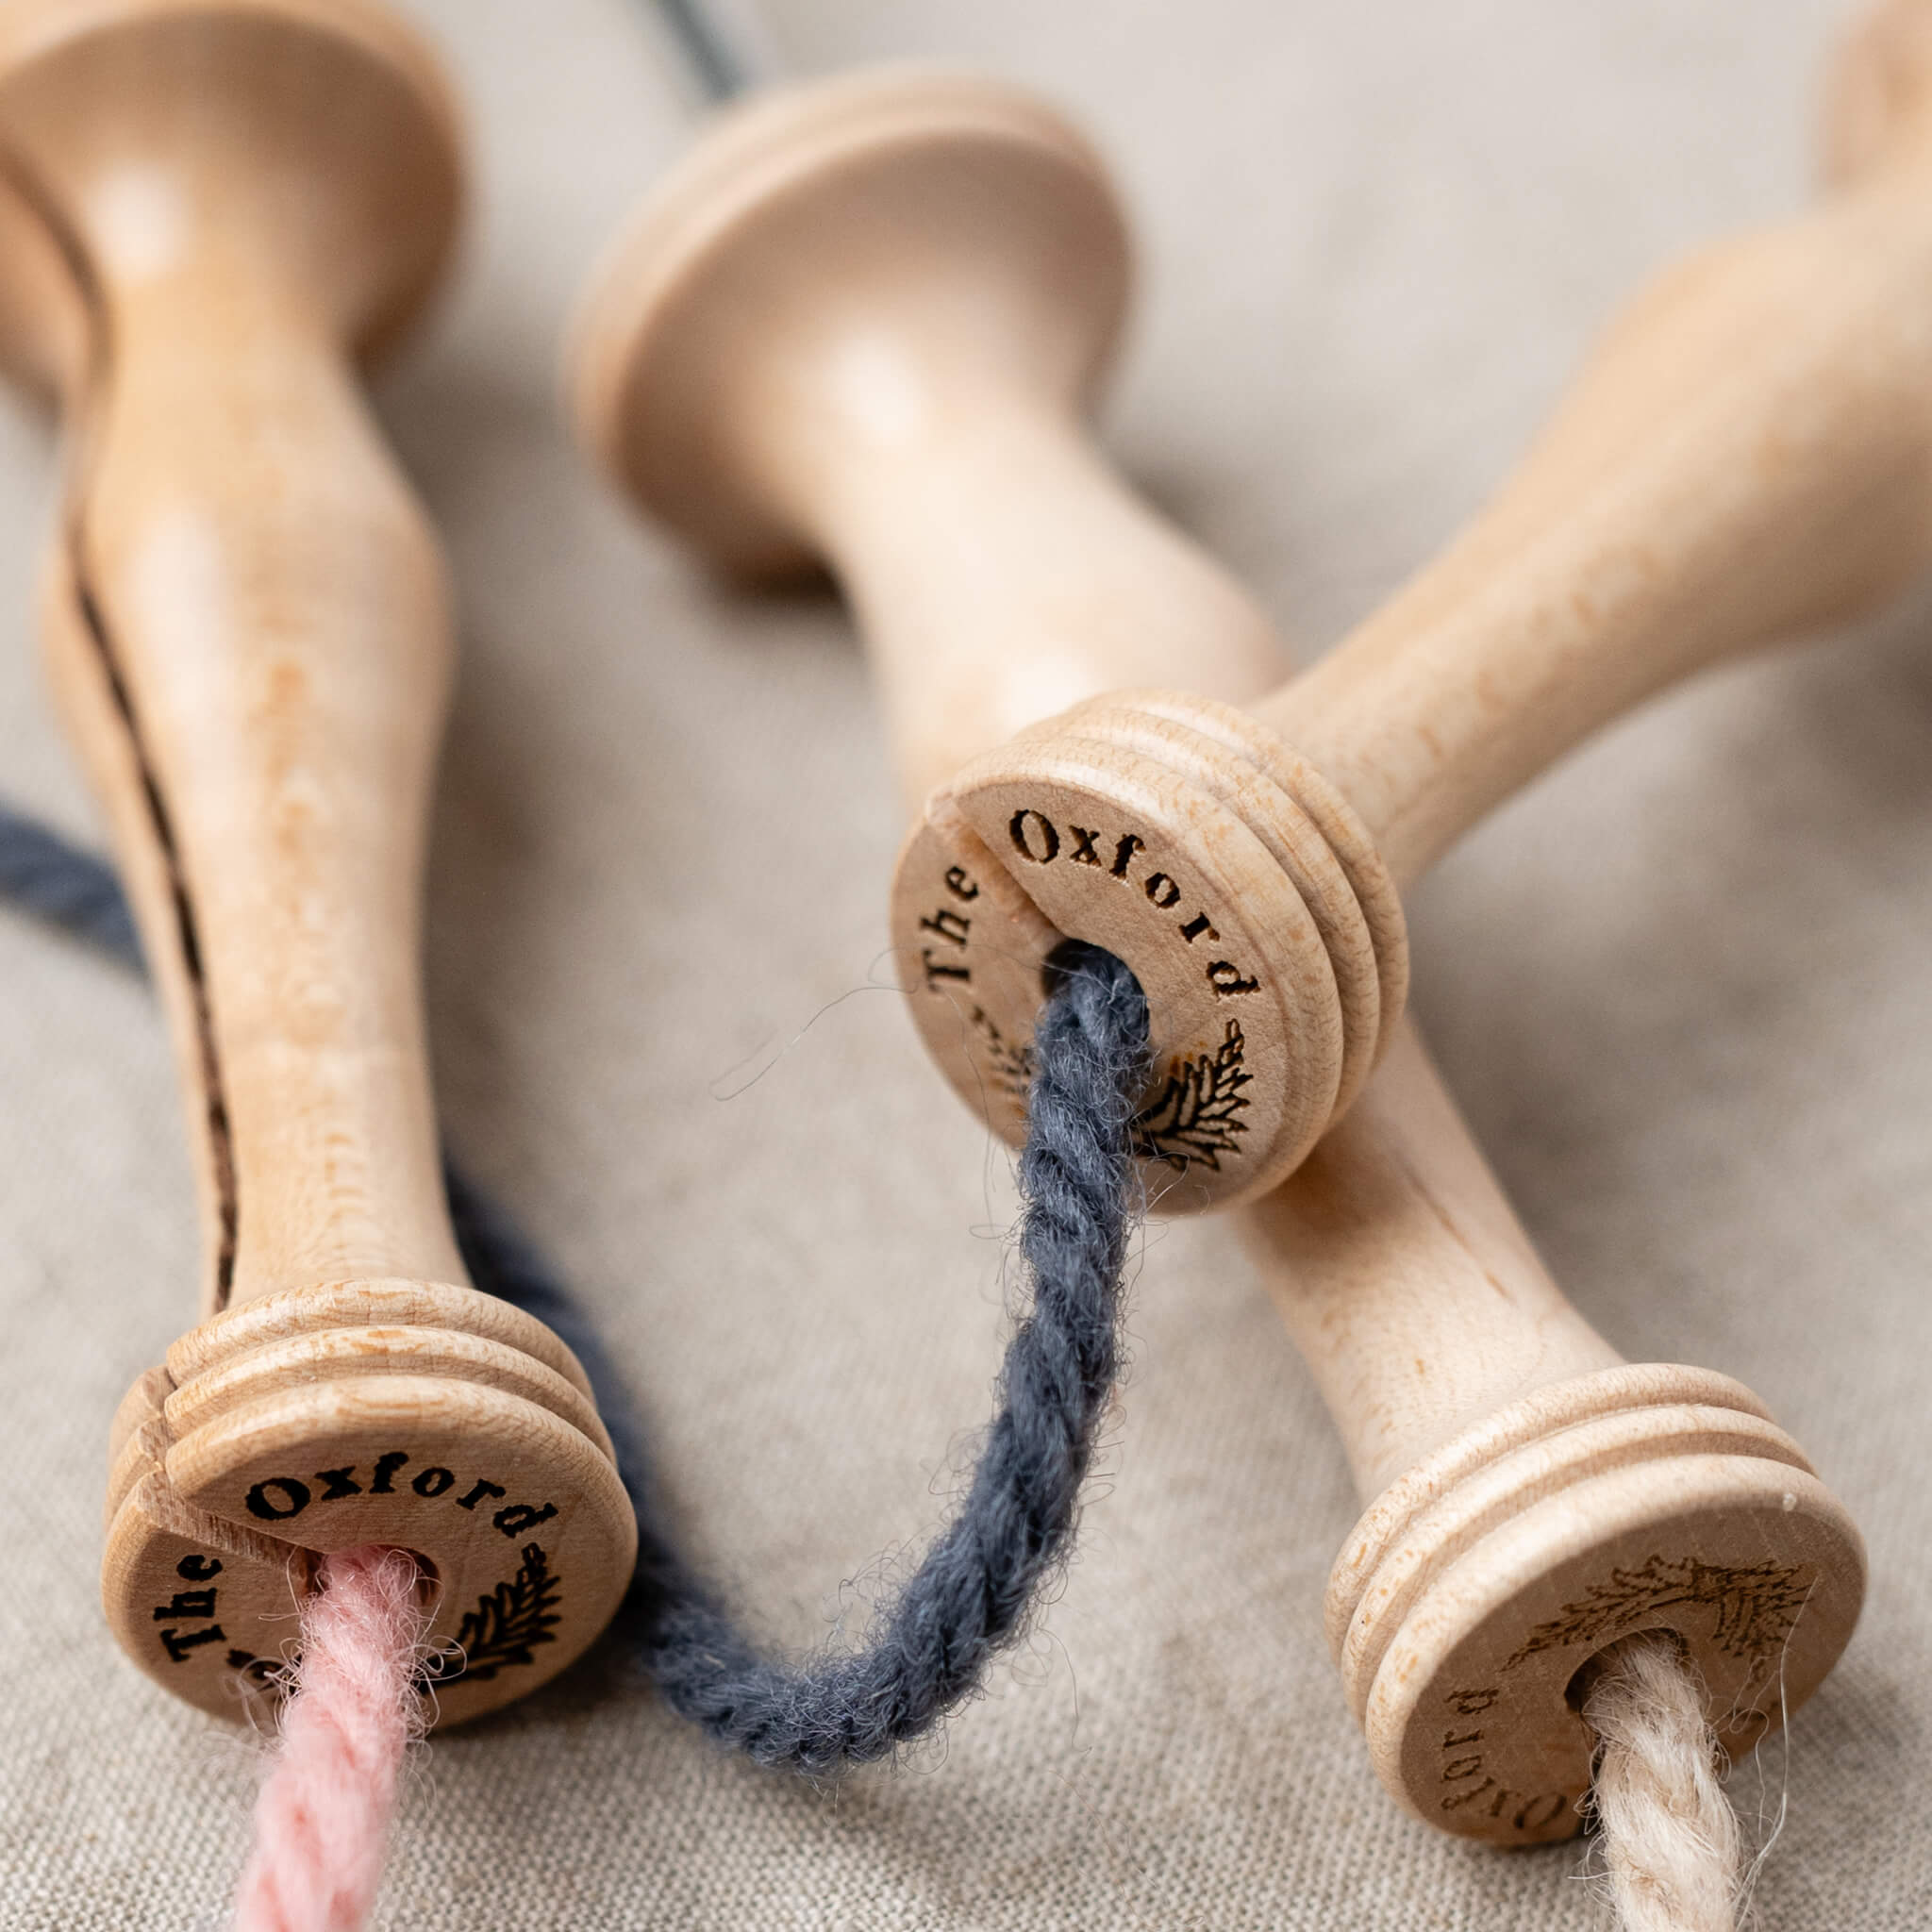
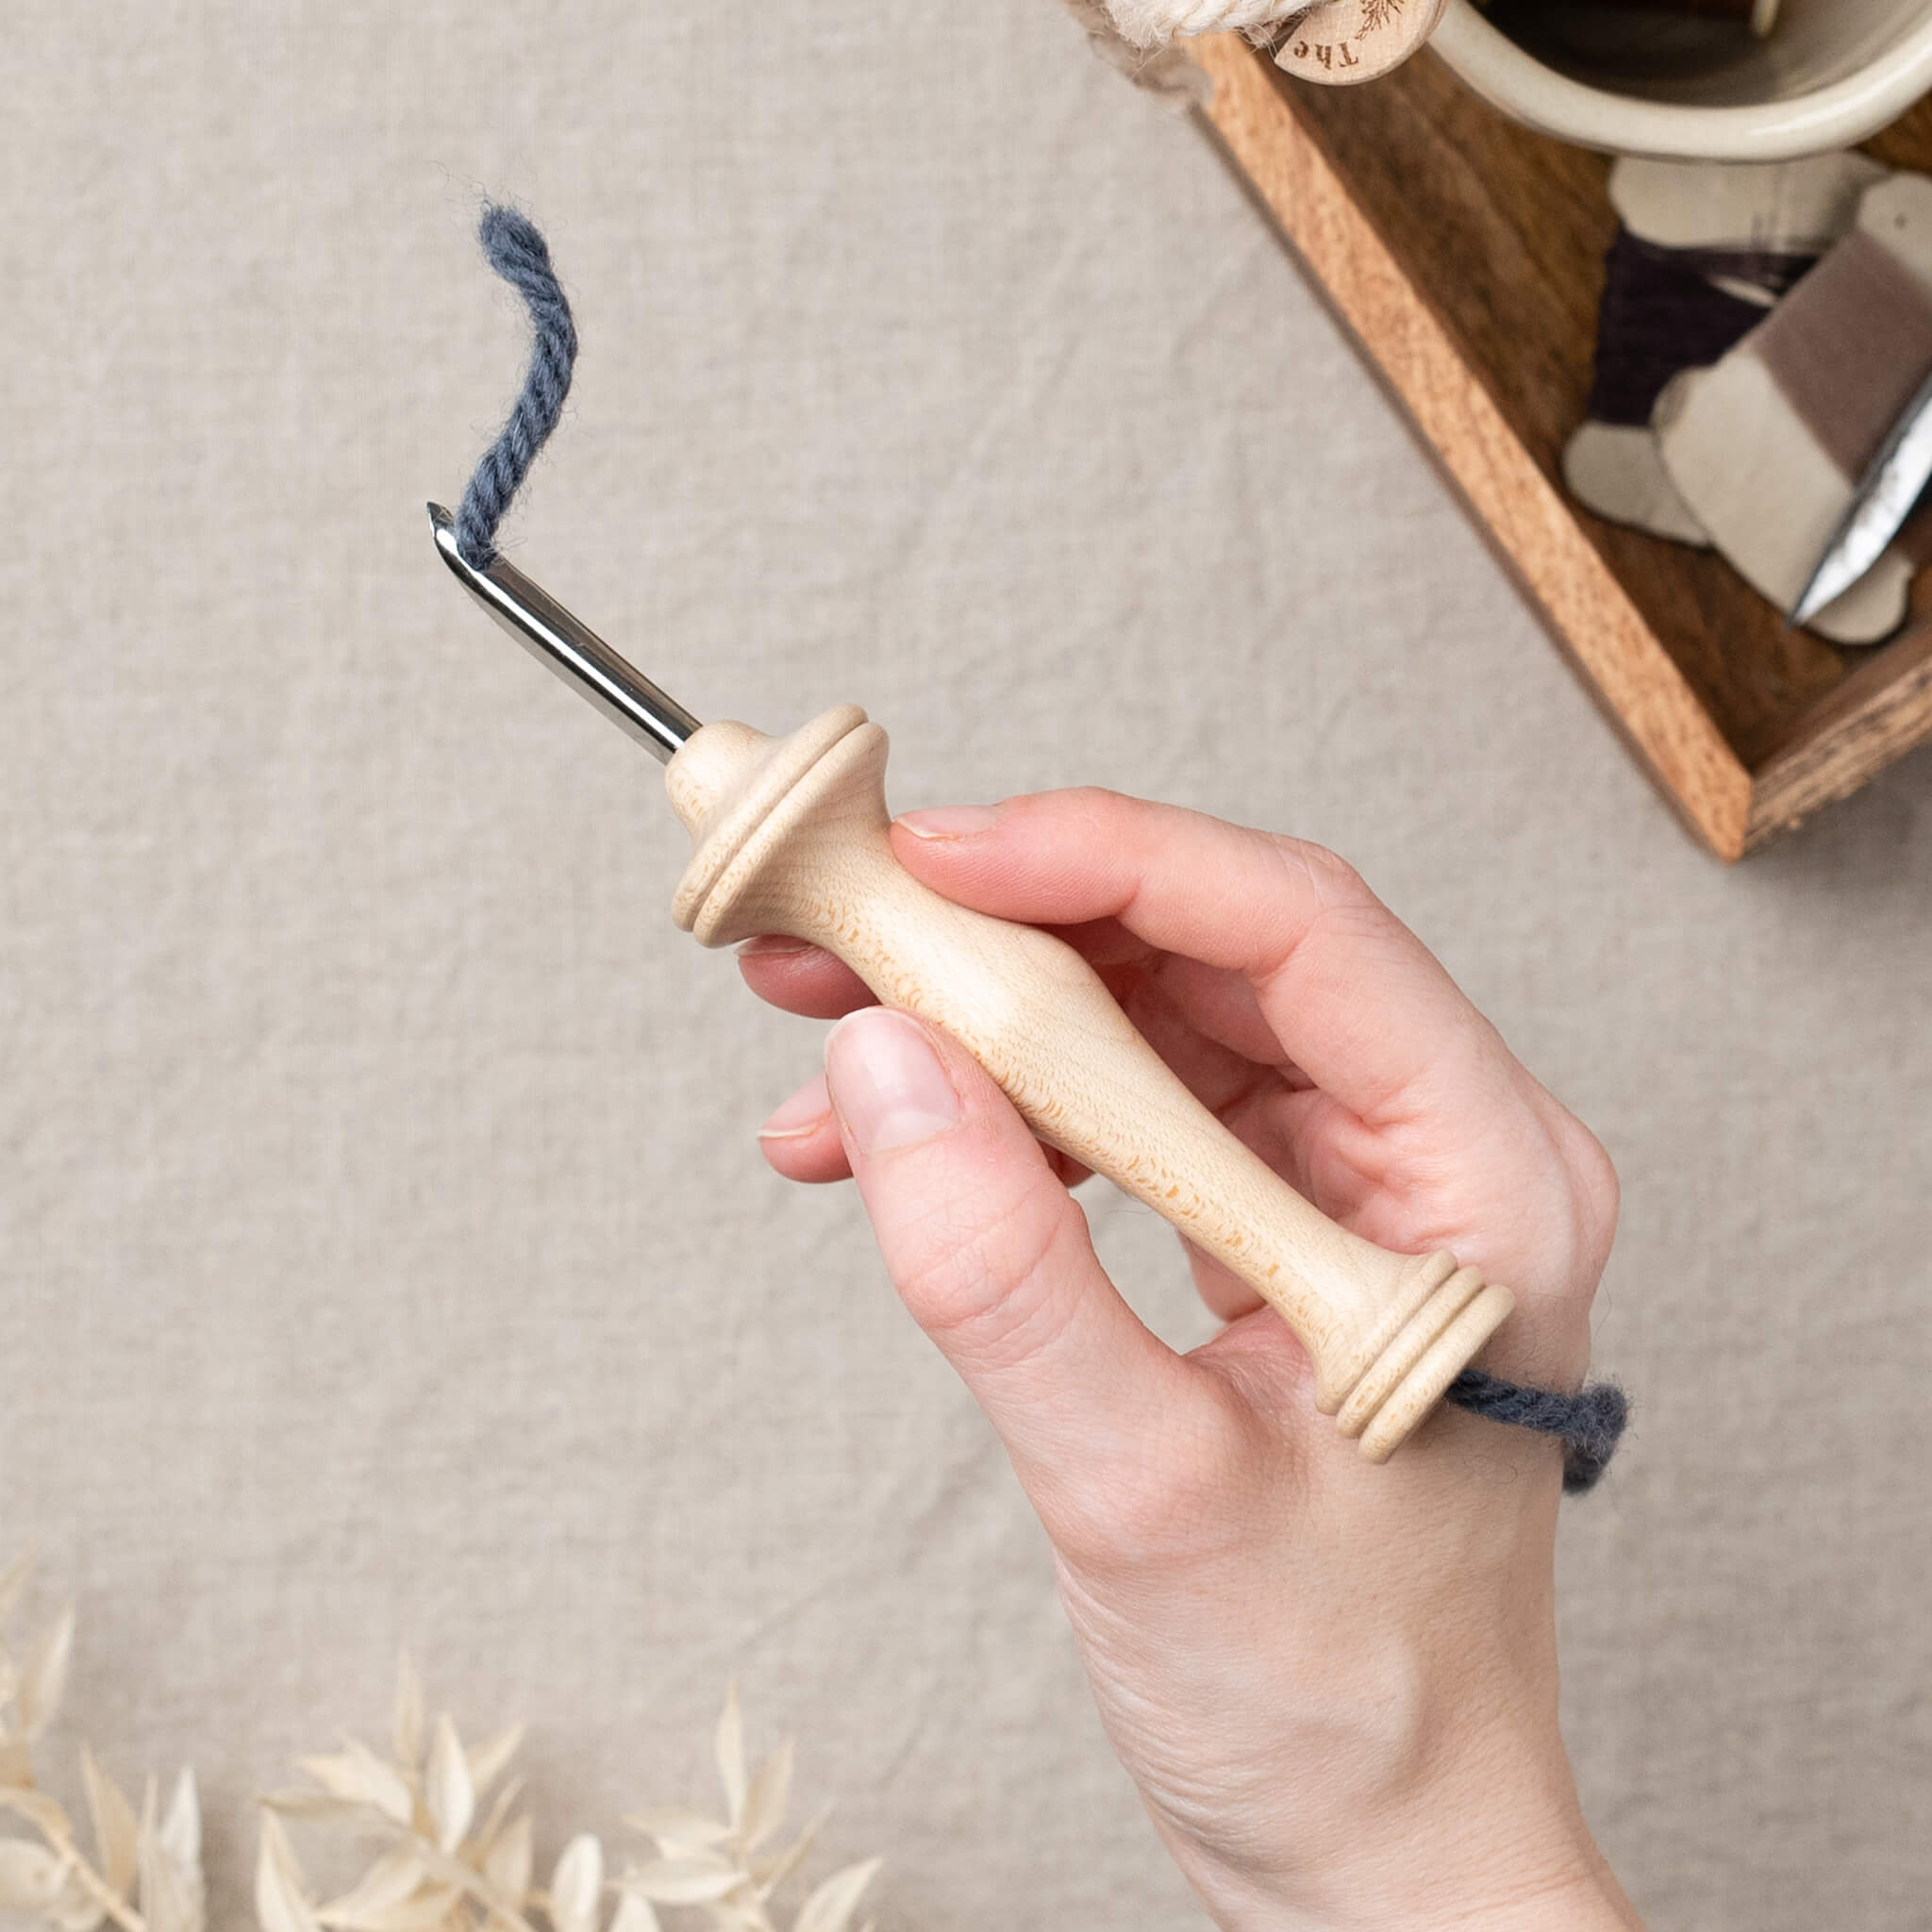
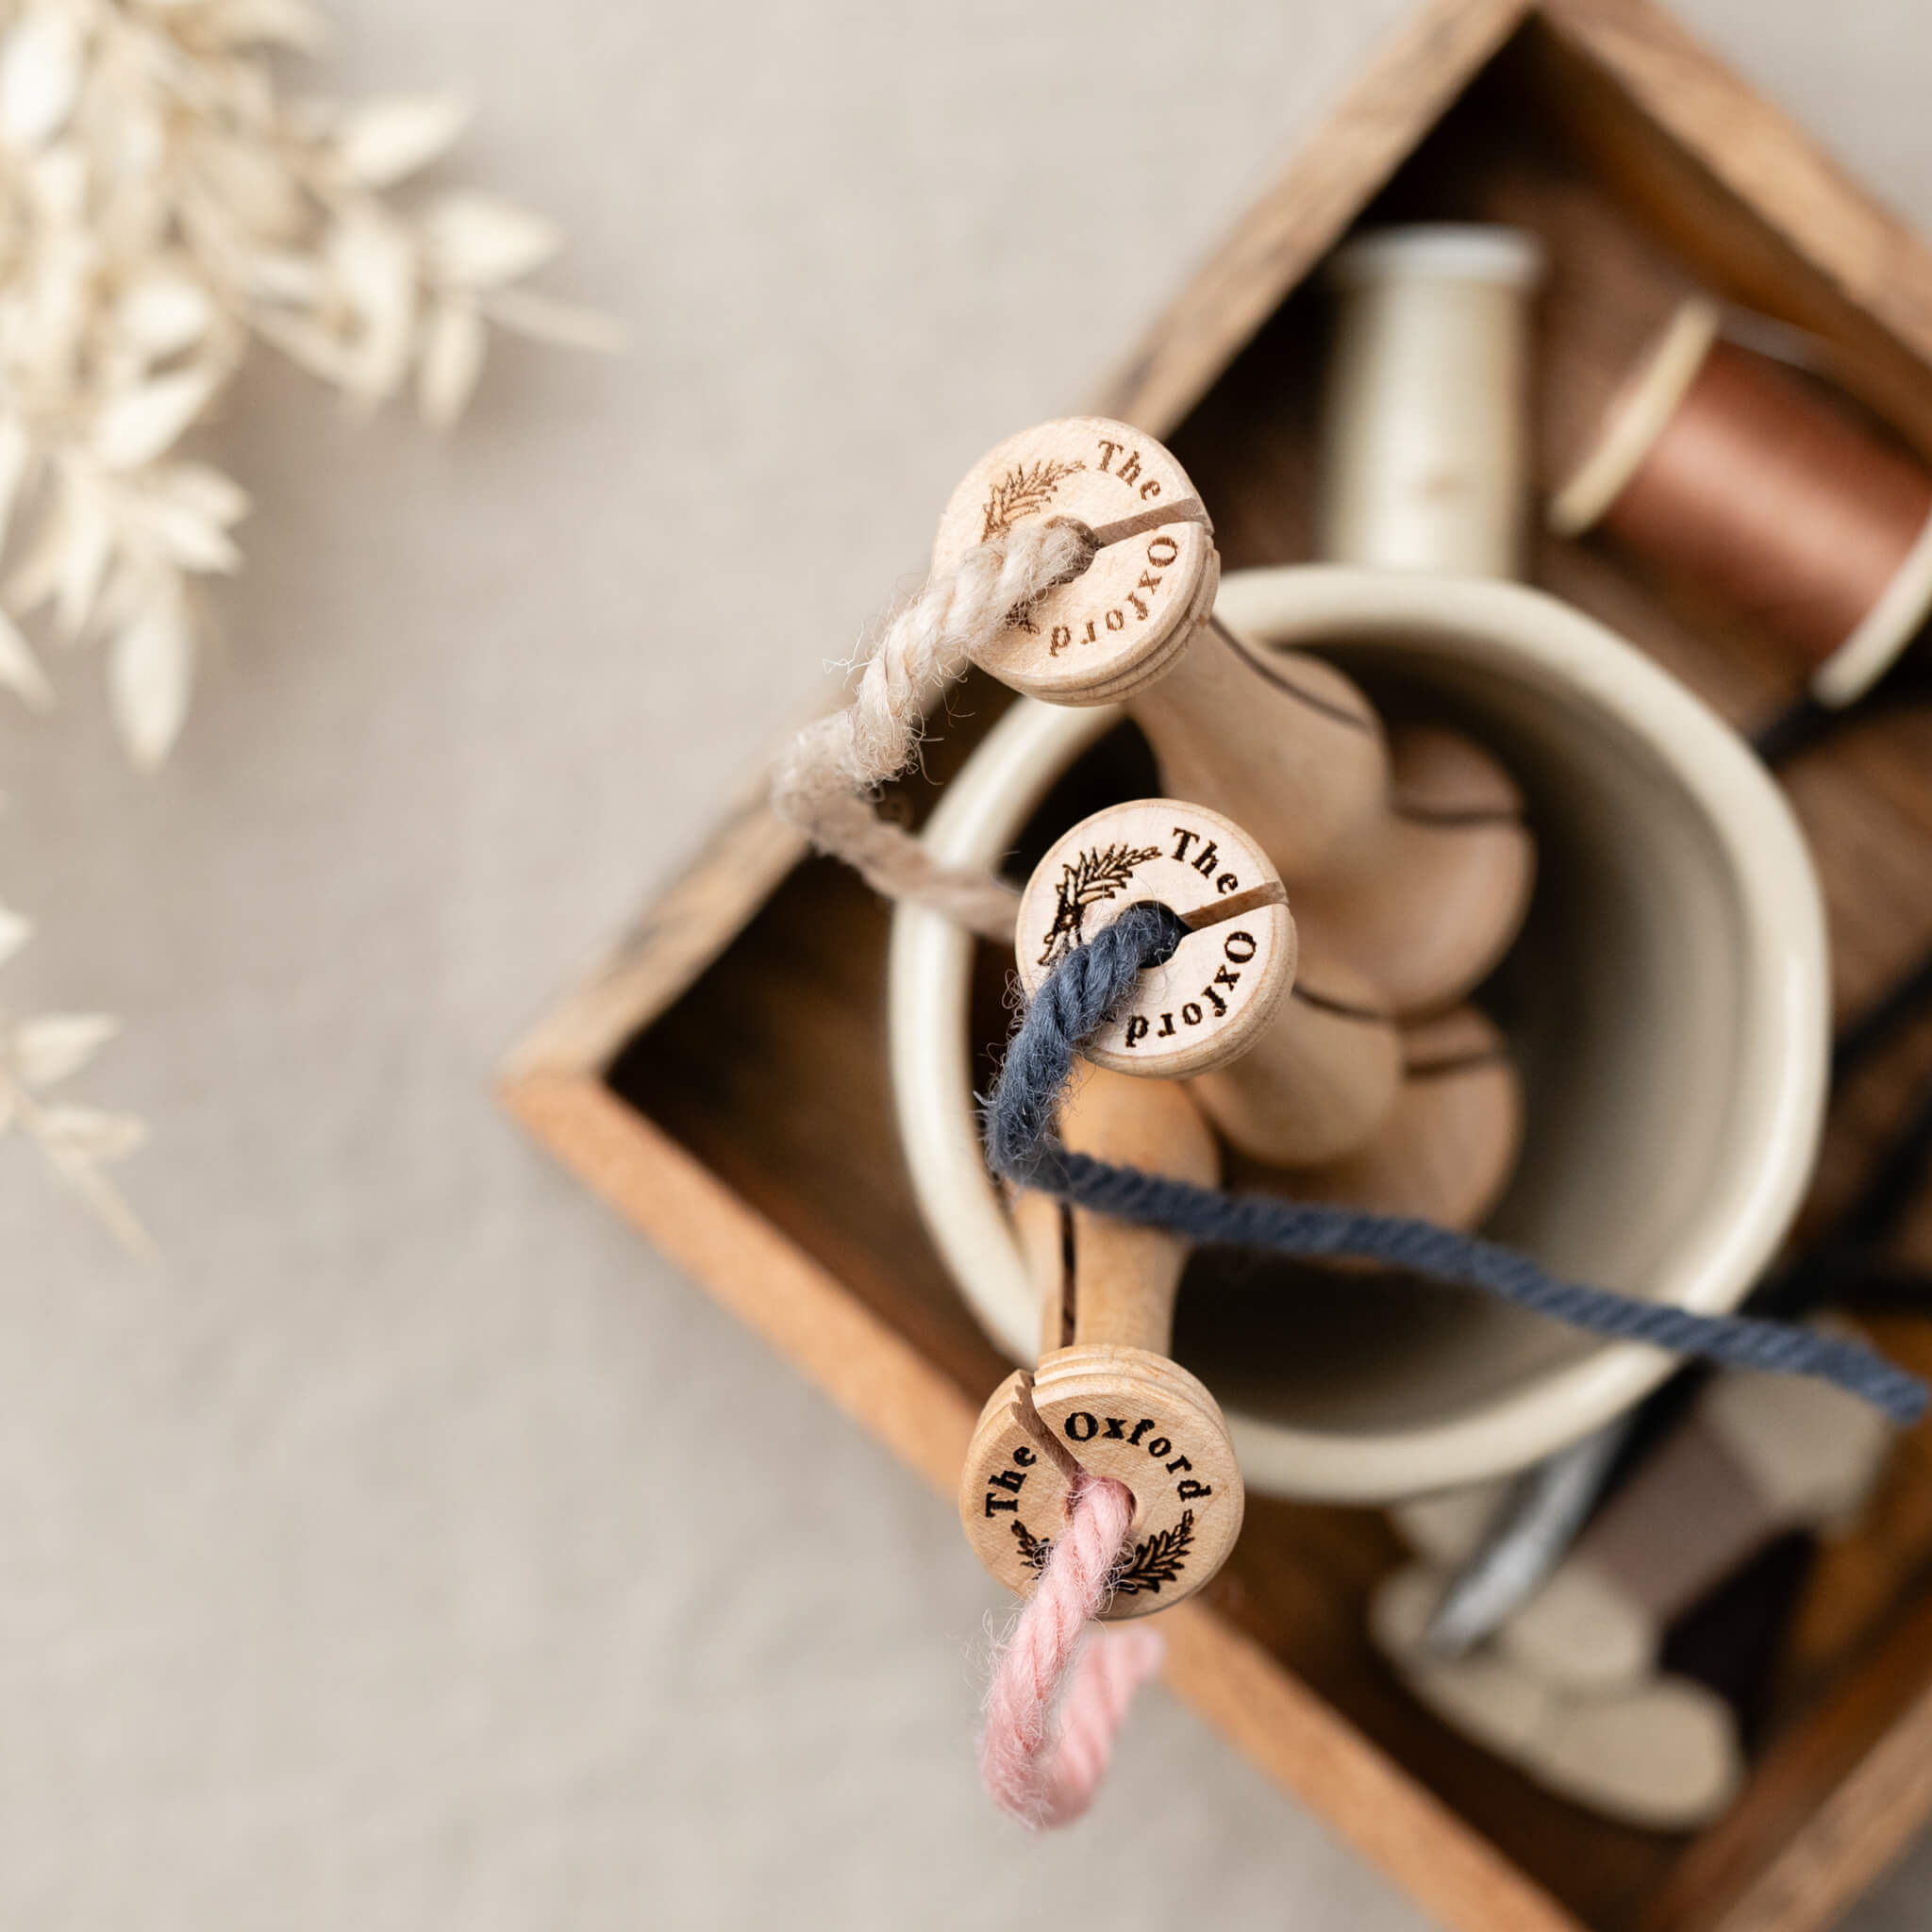
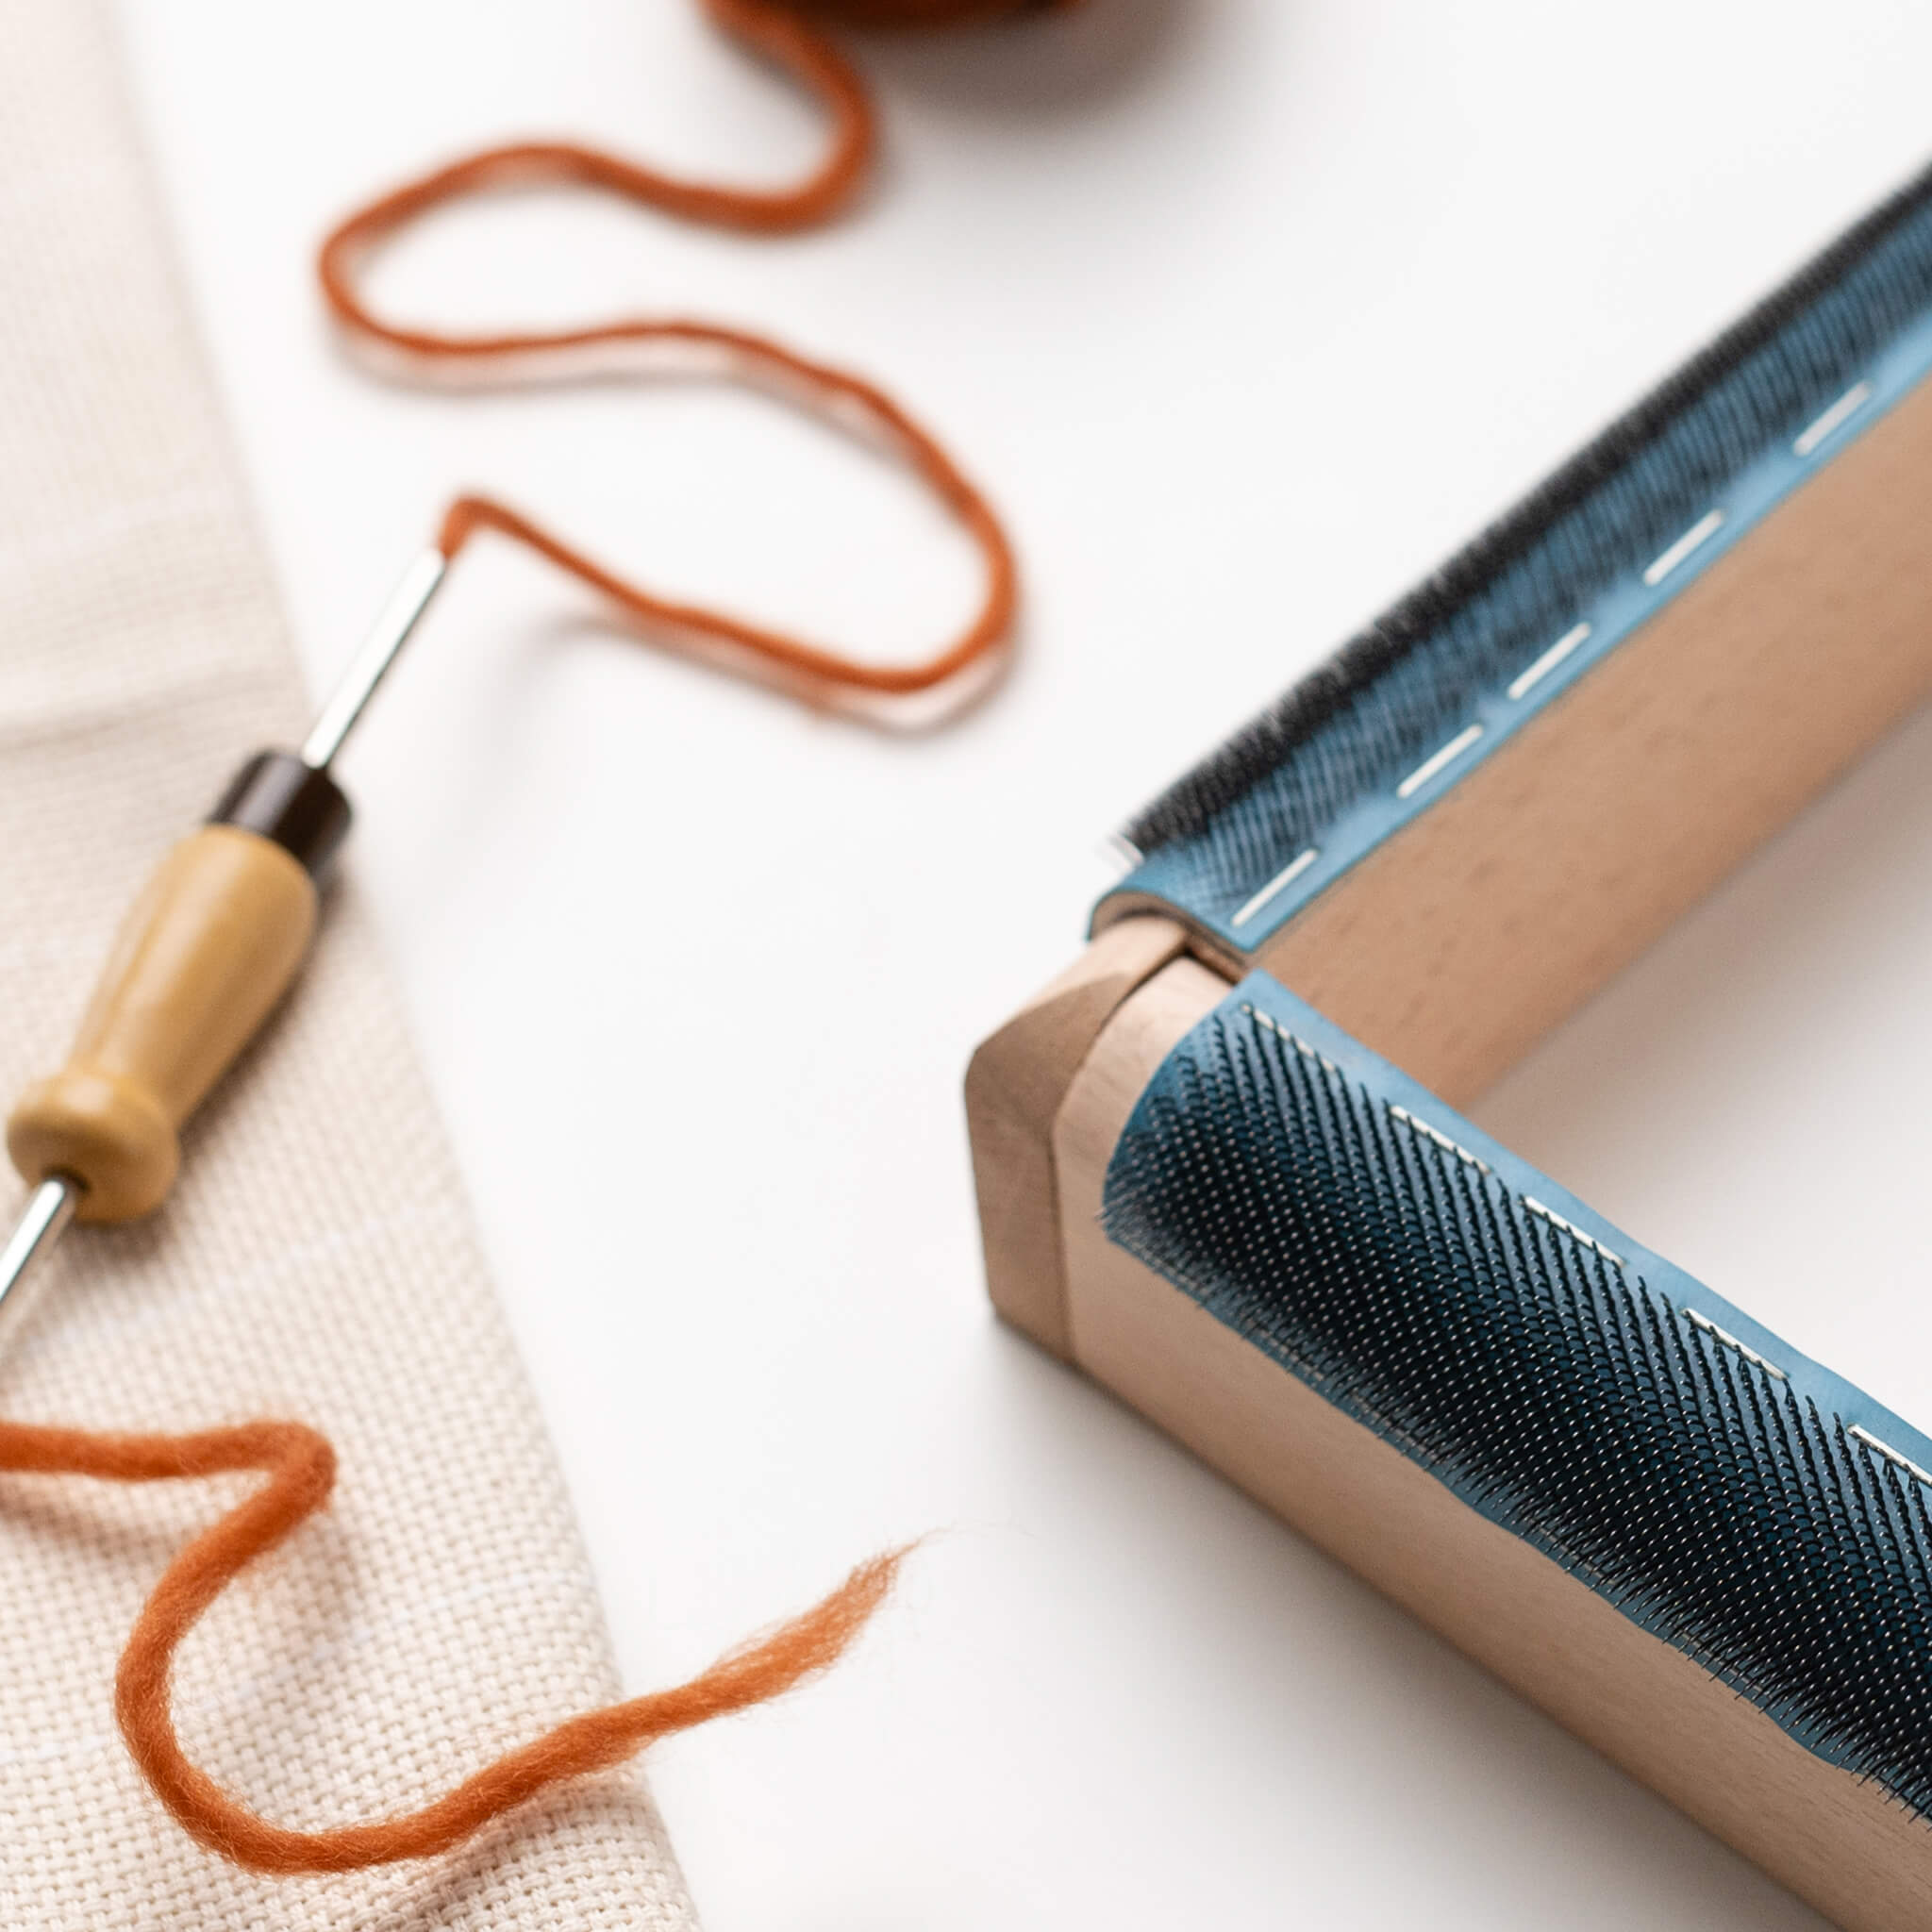
- Punch needle tool
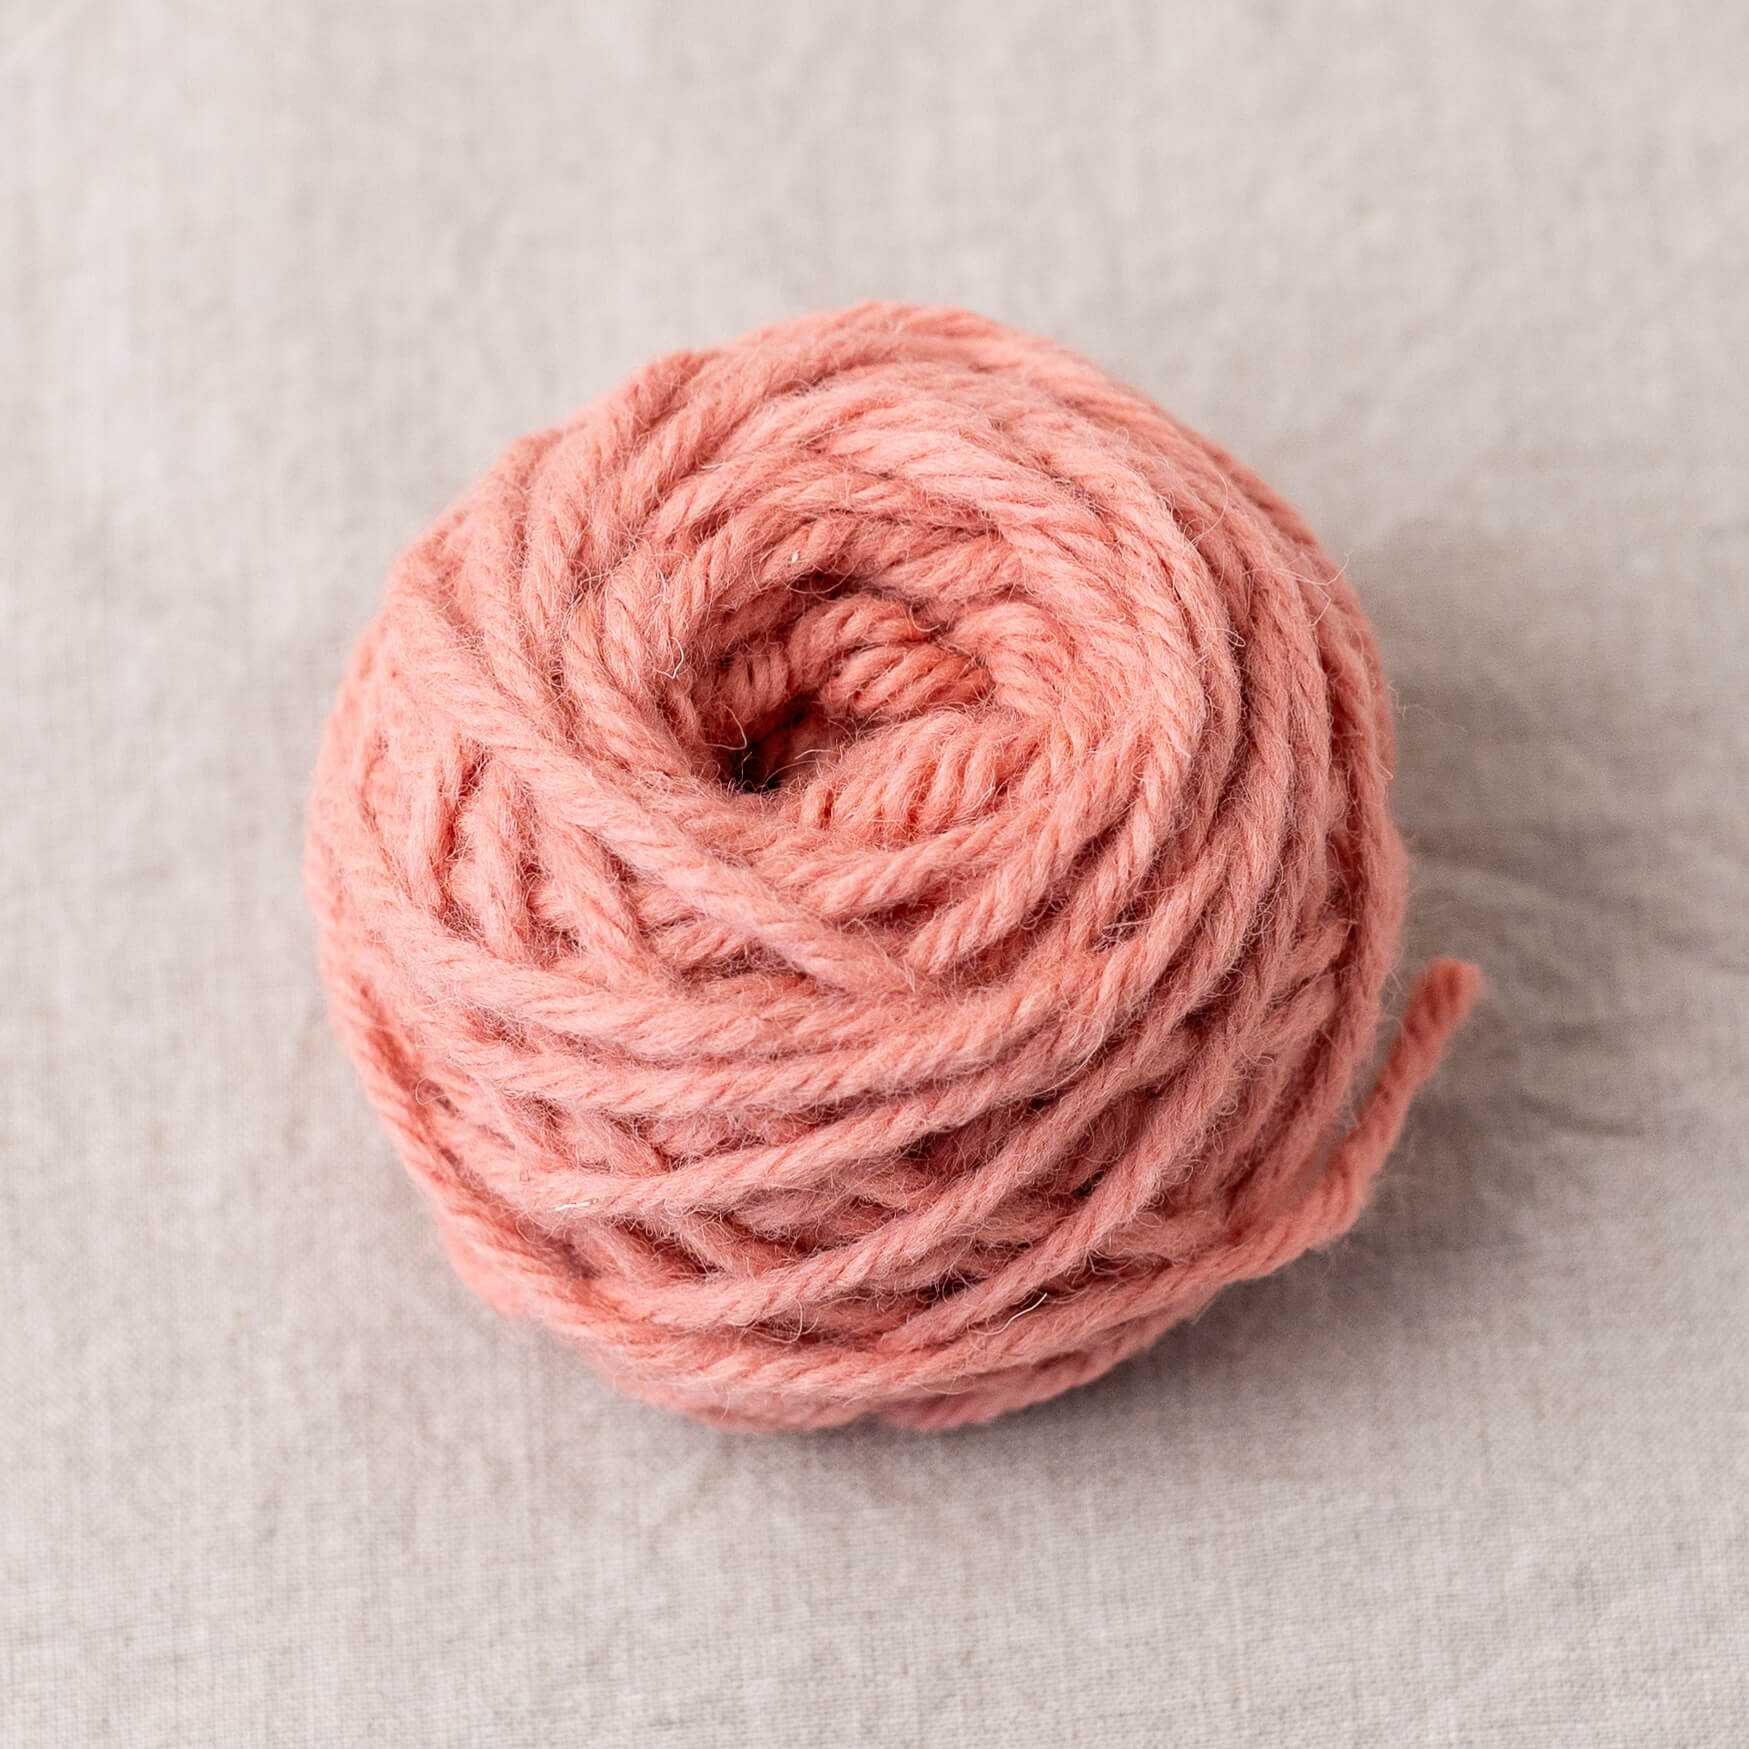
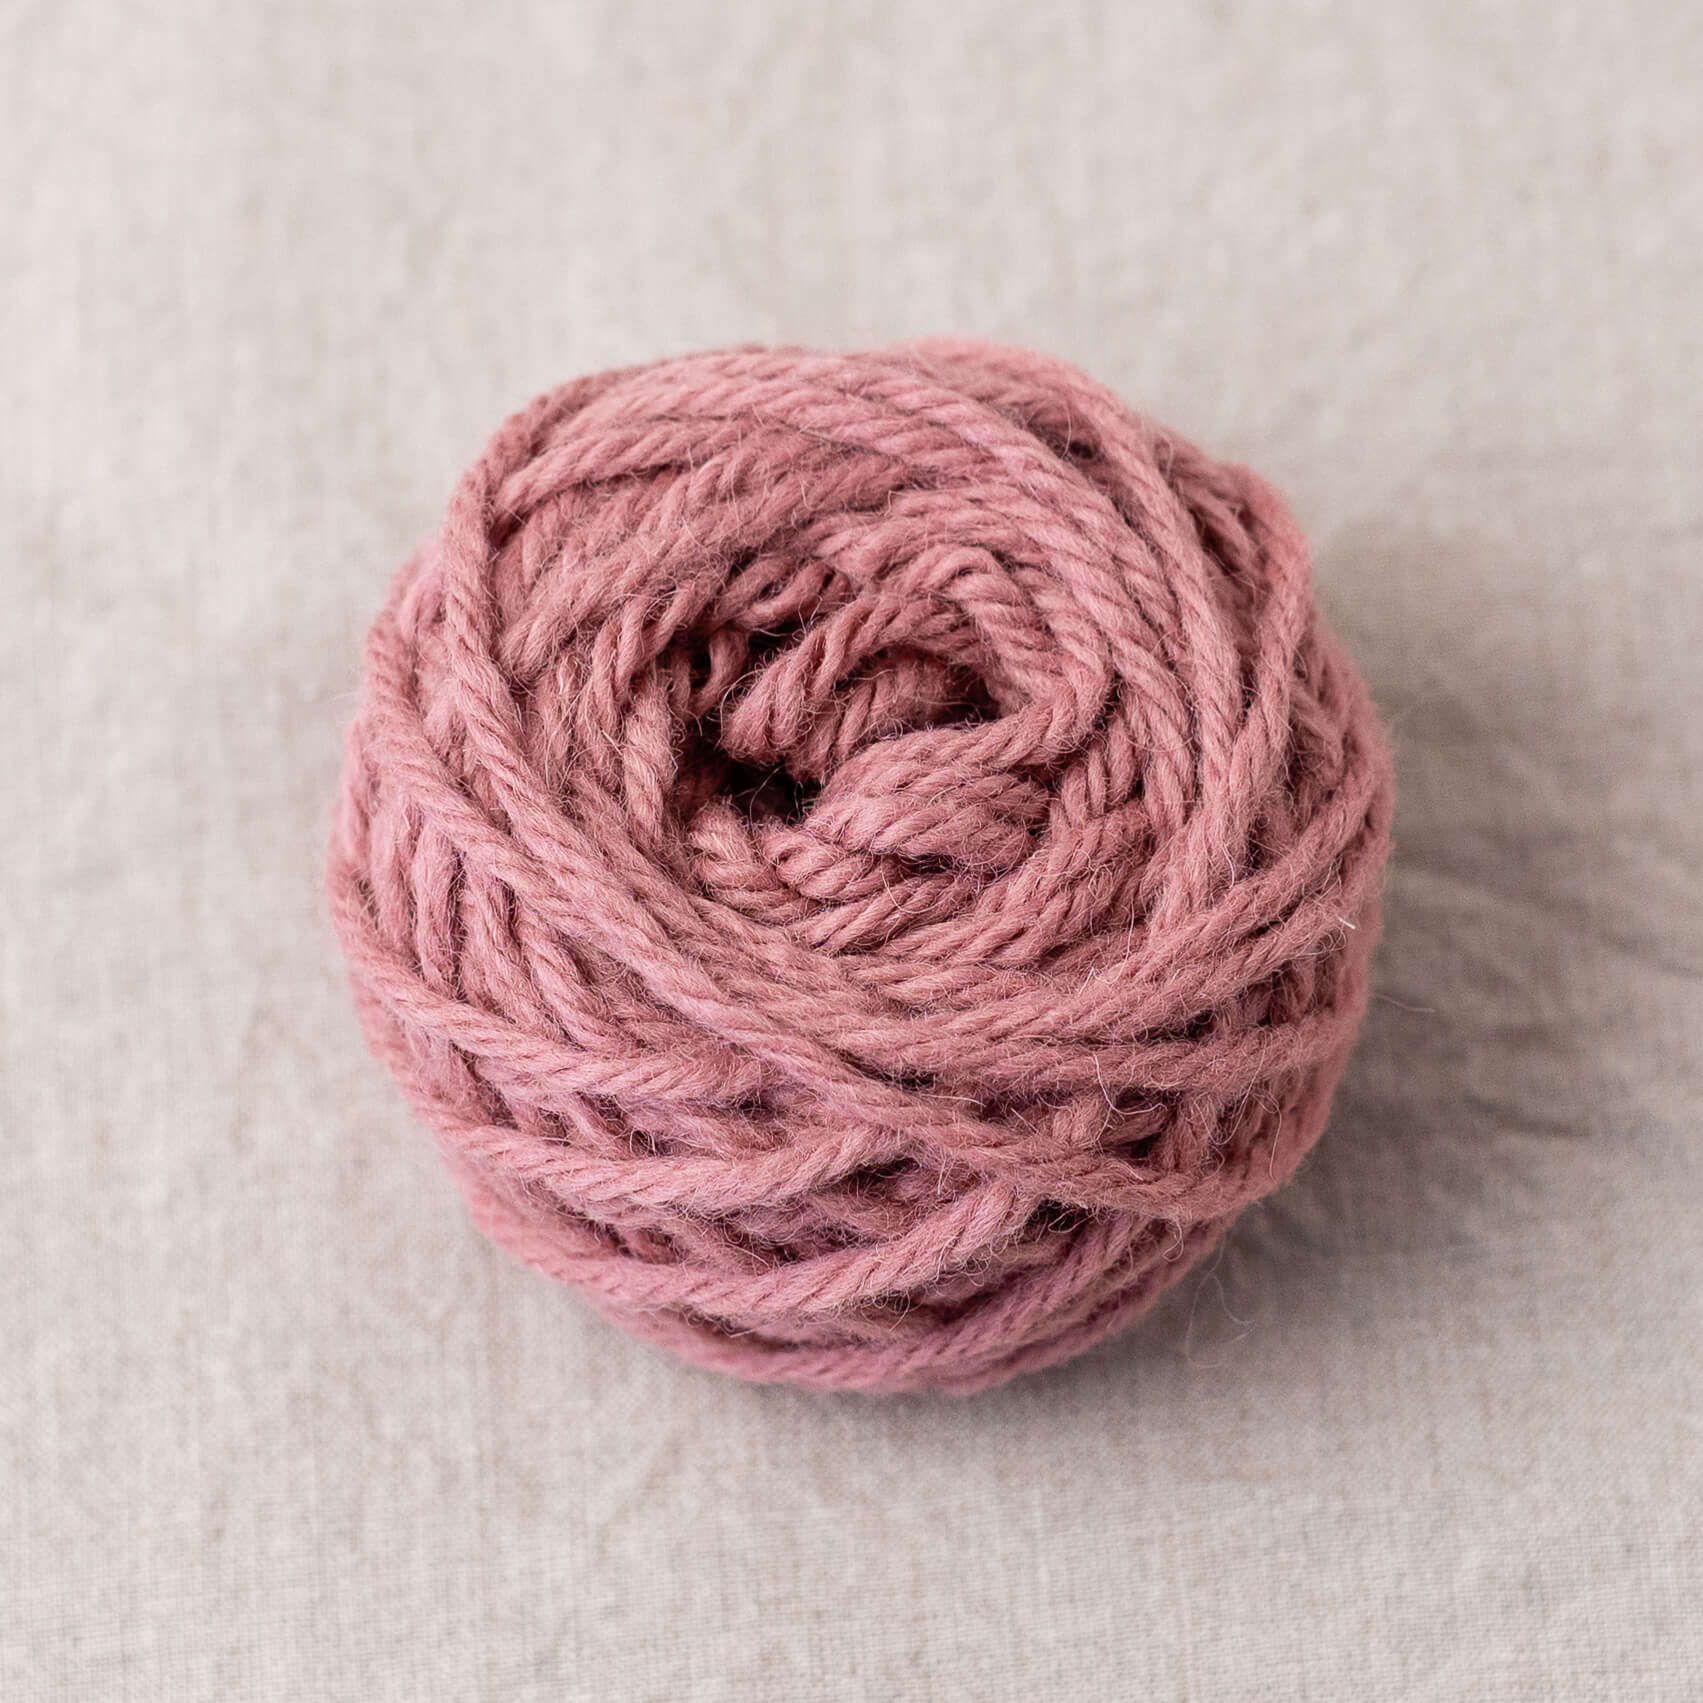
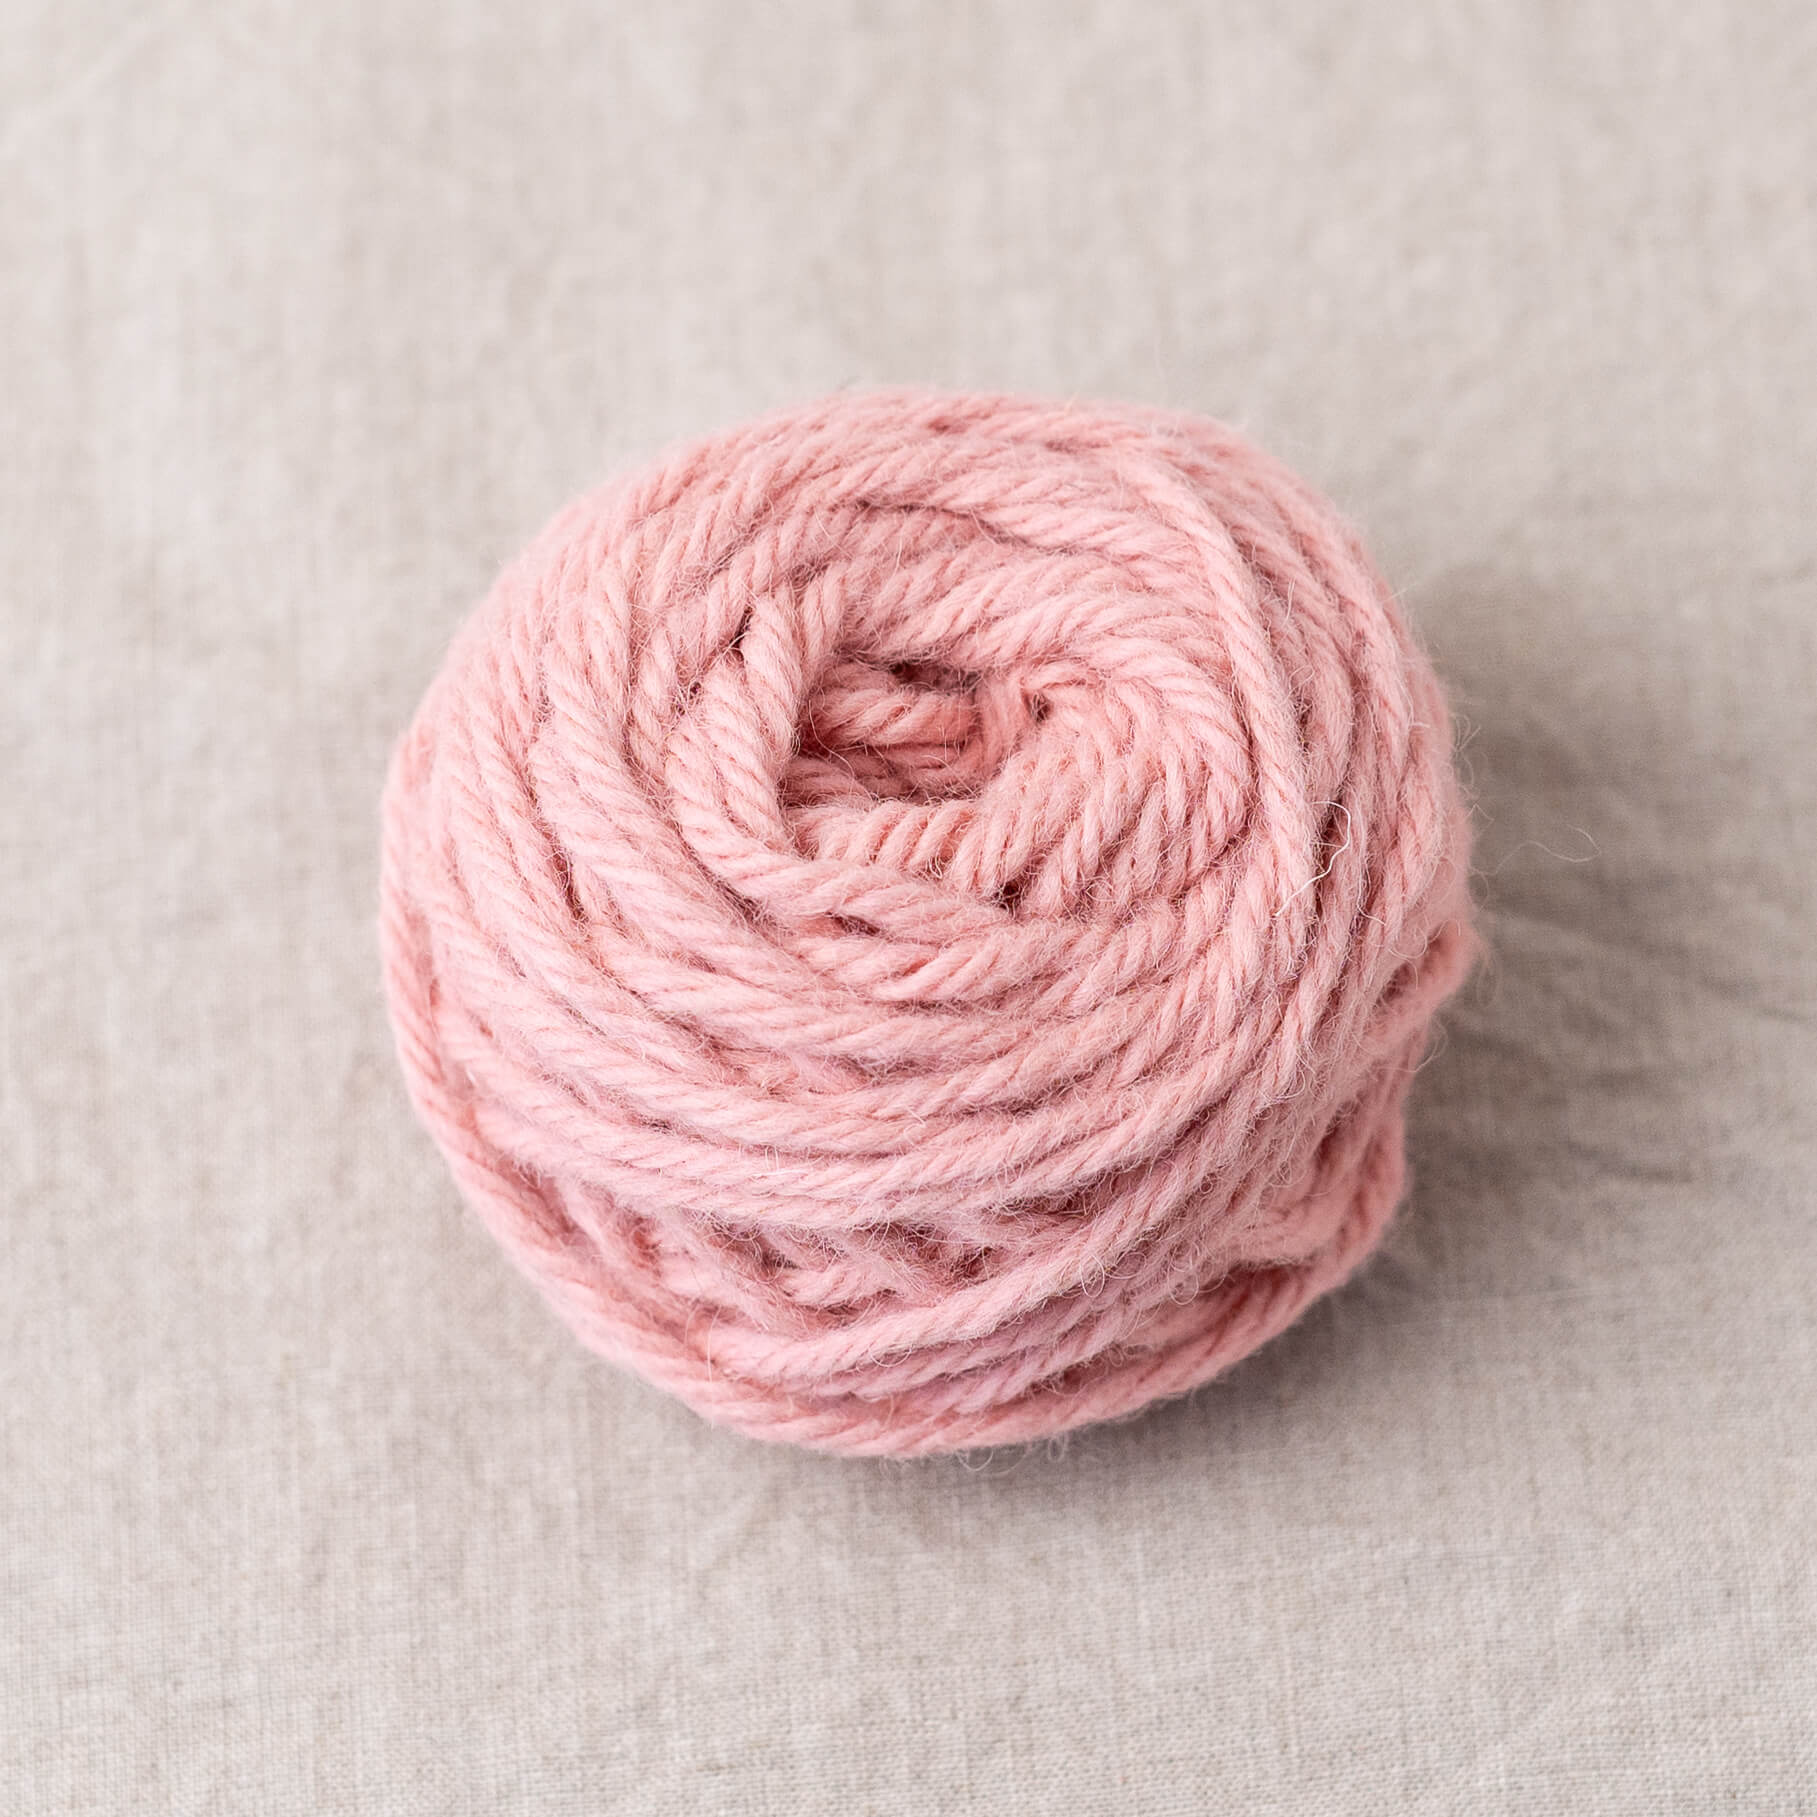
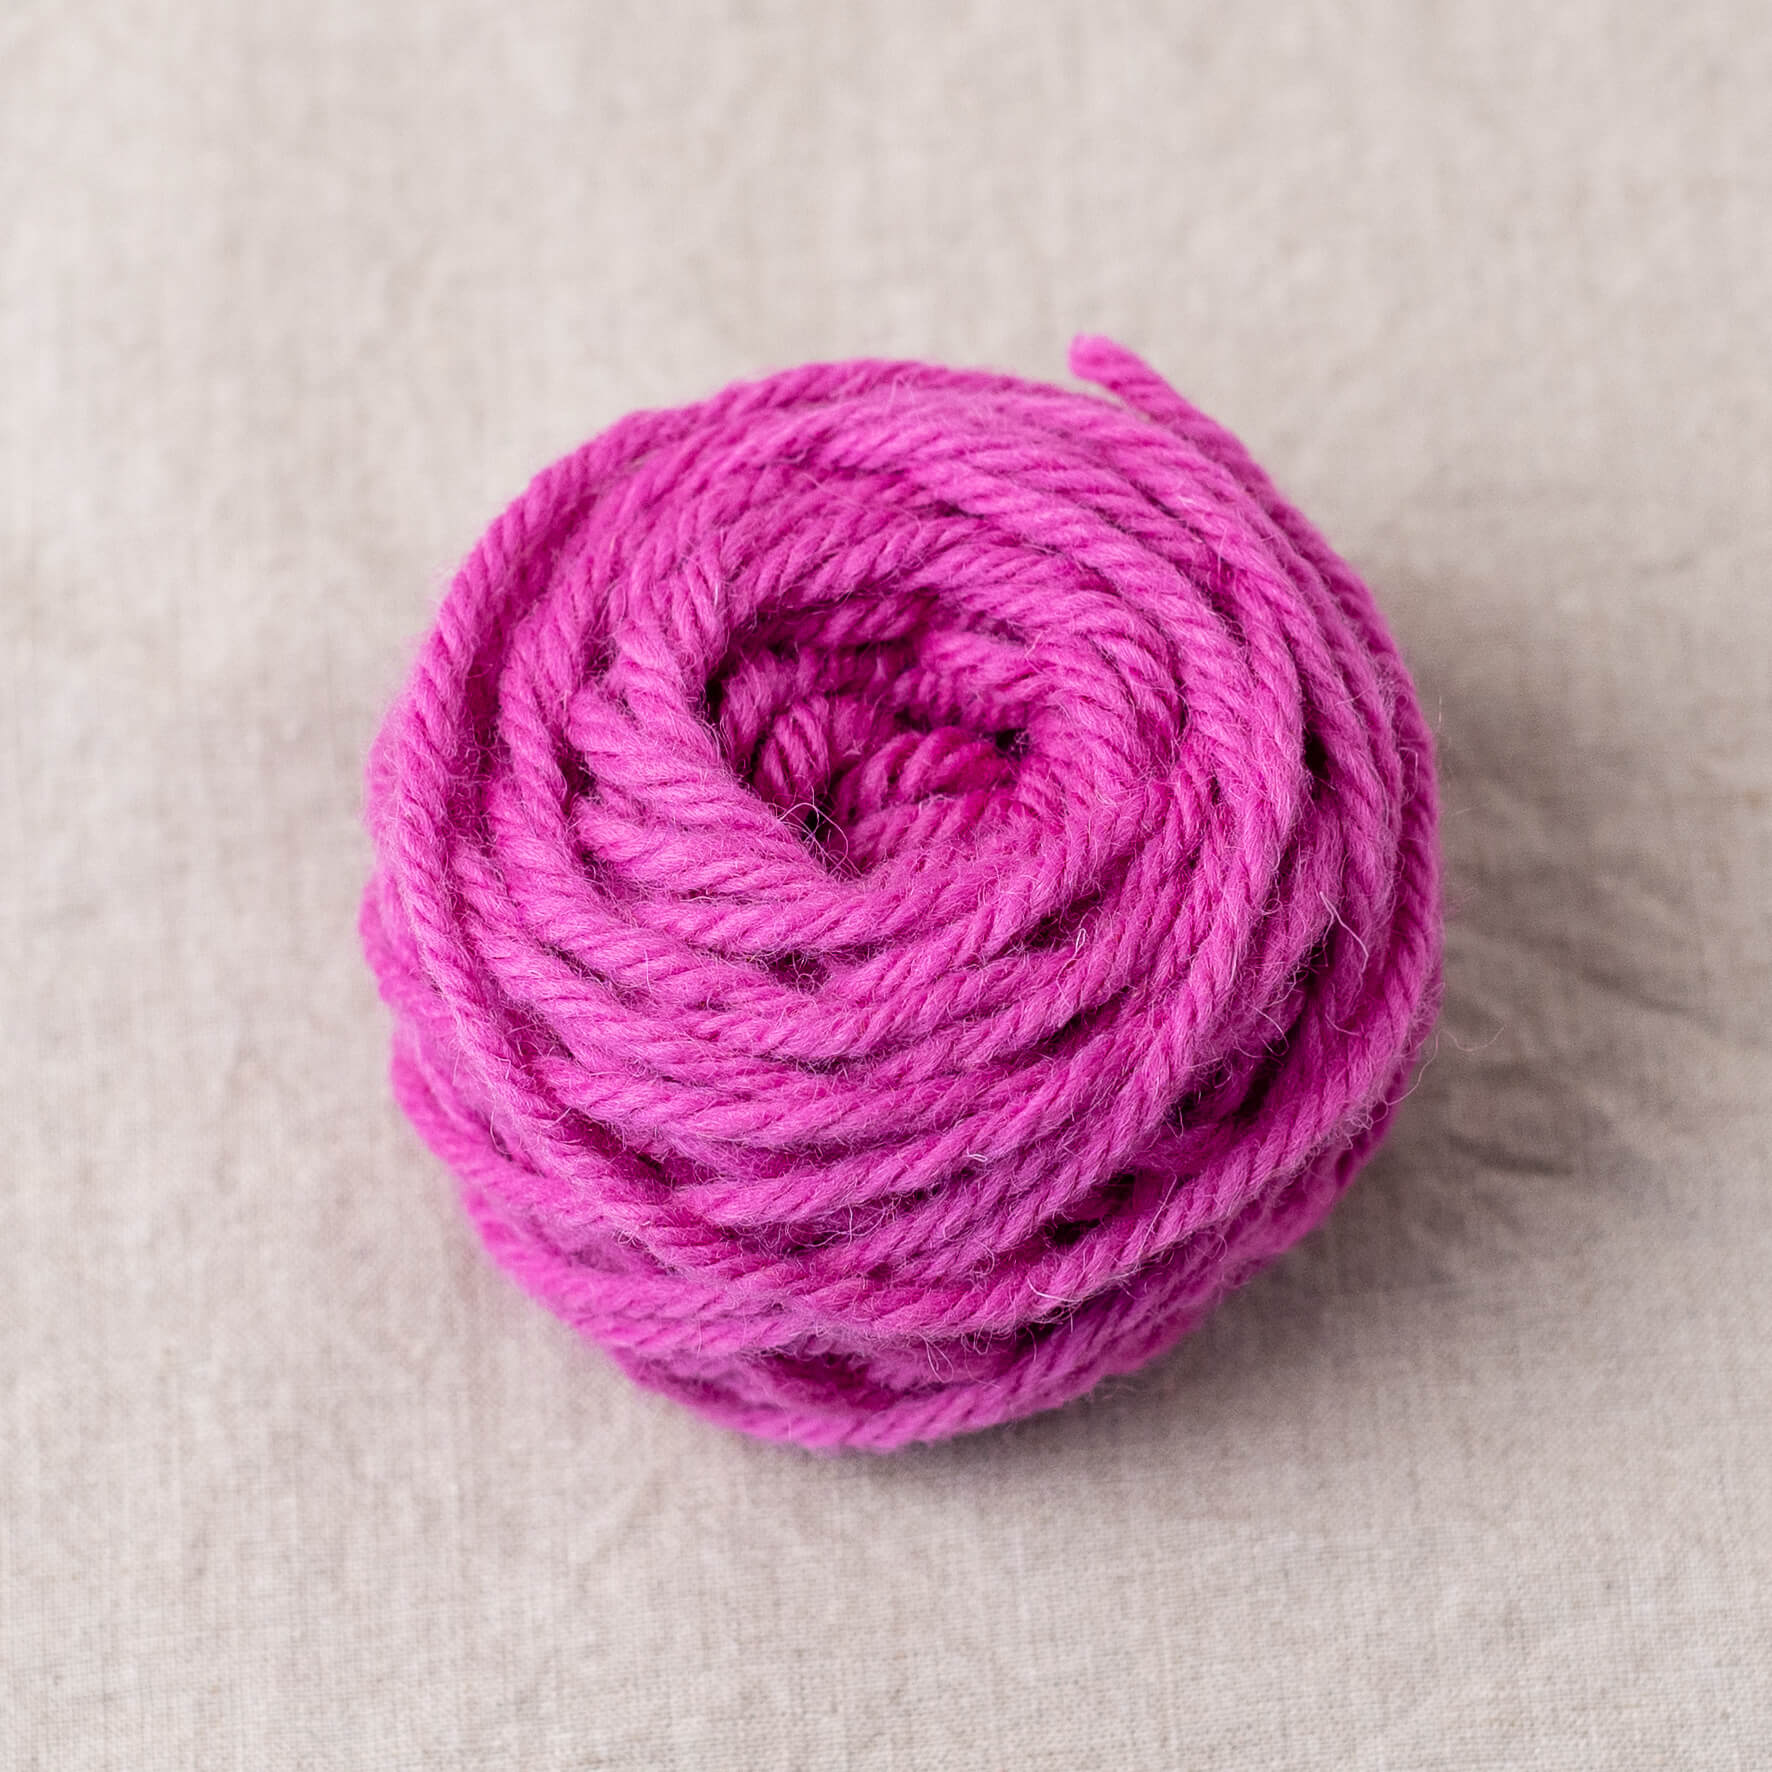
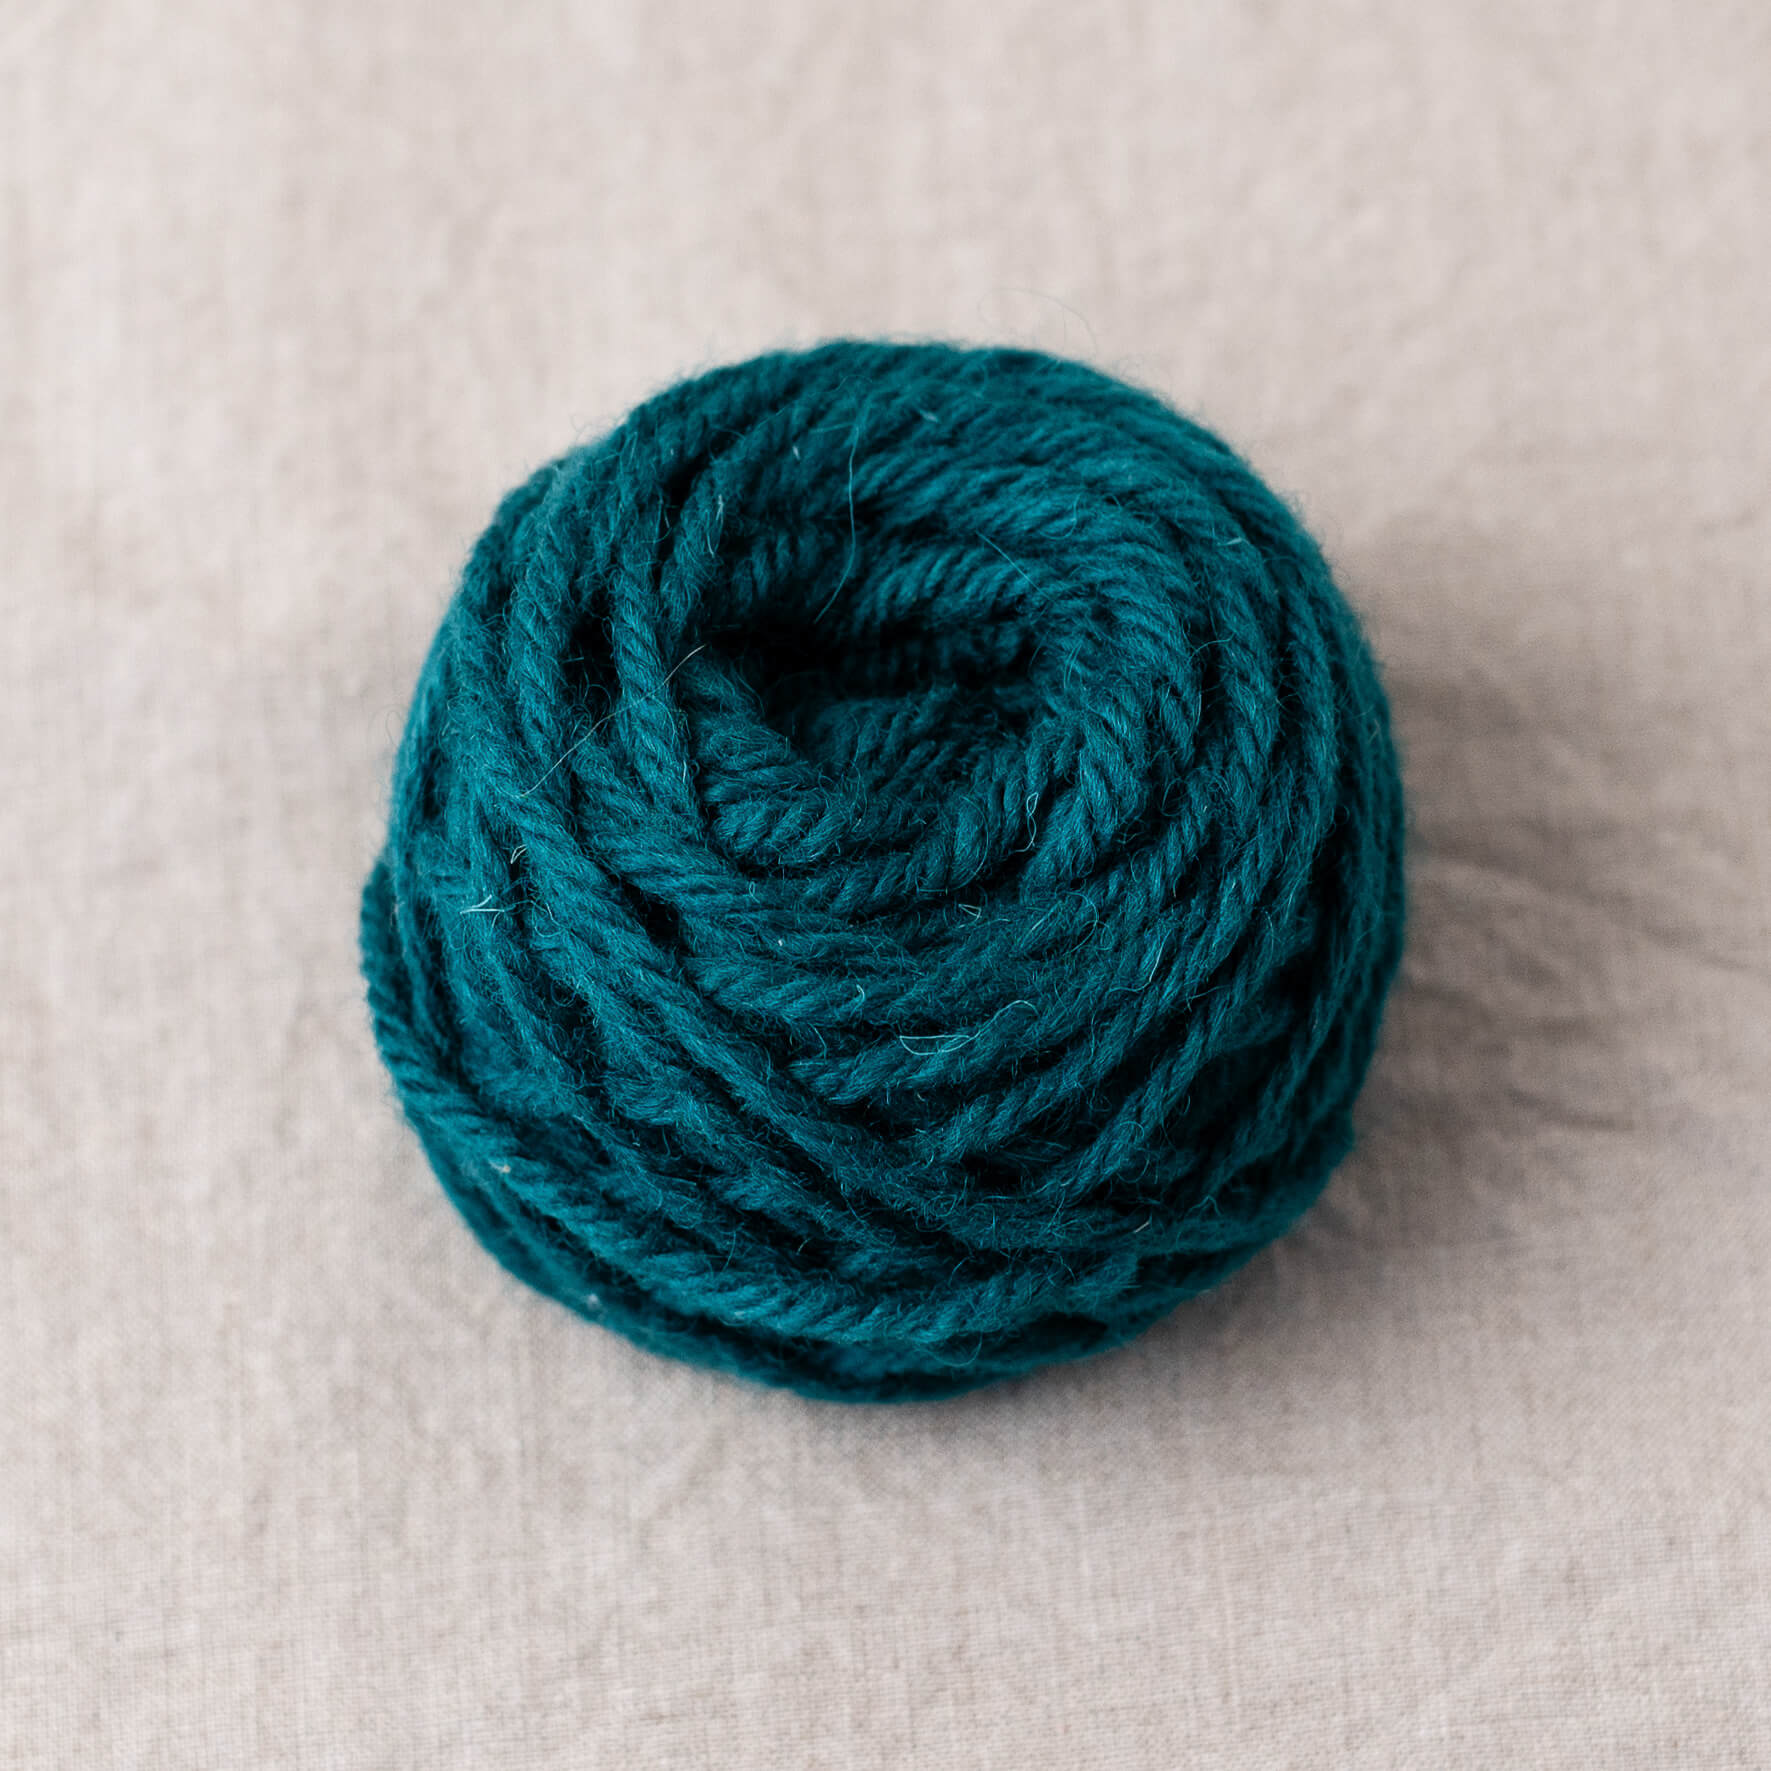
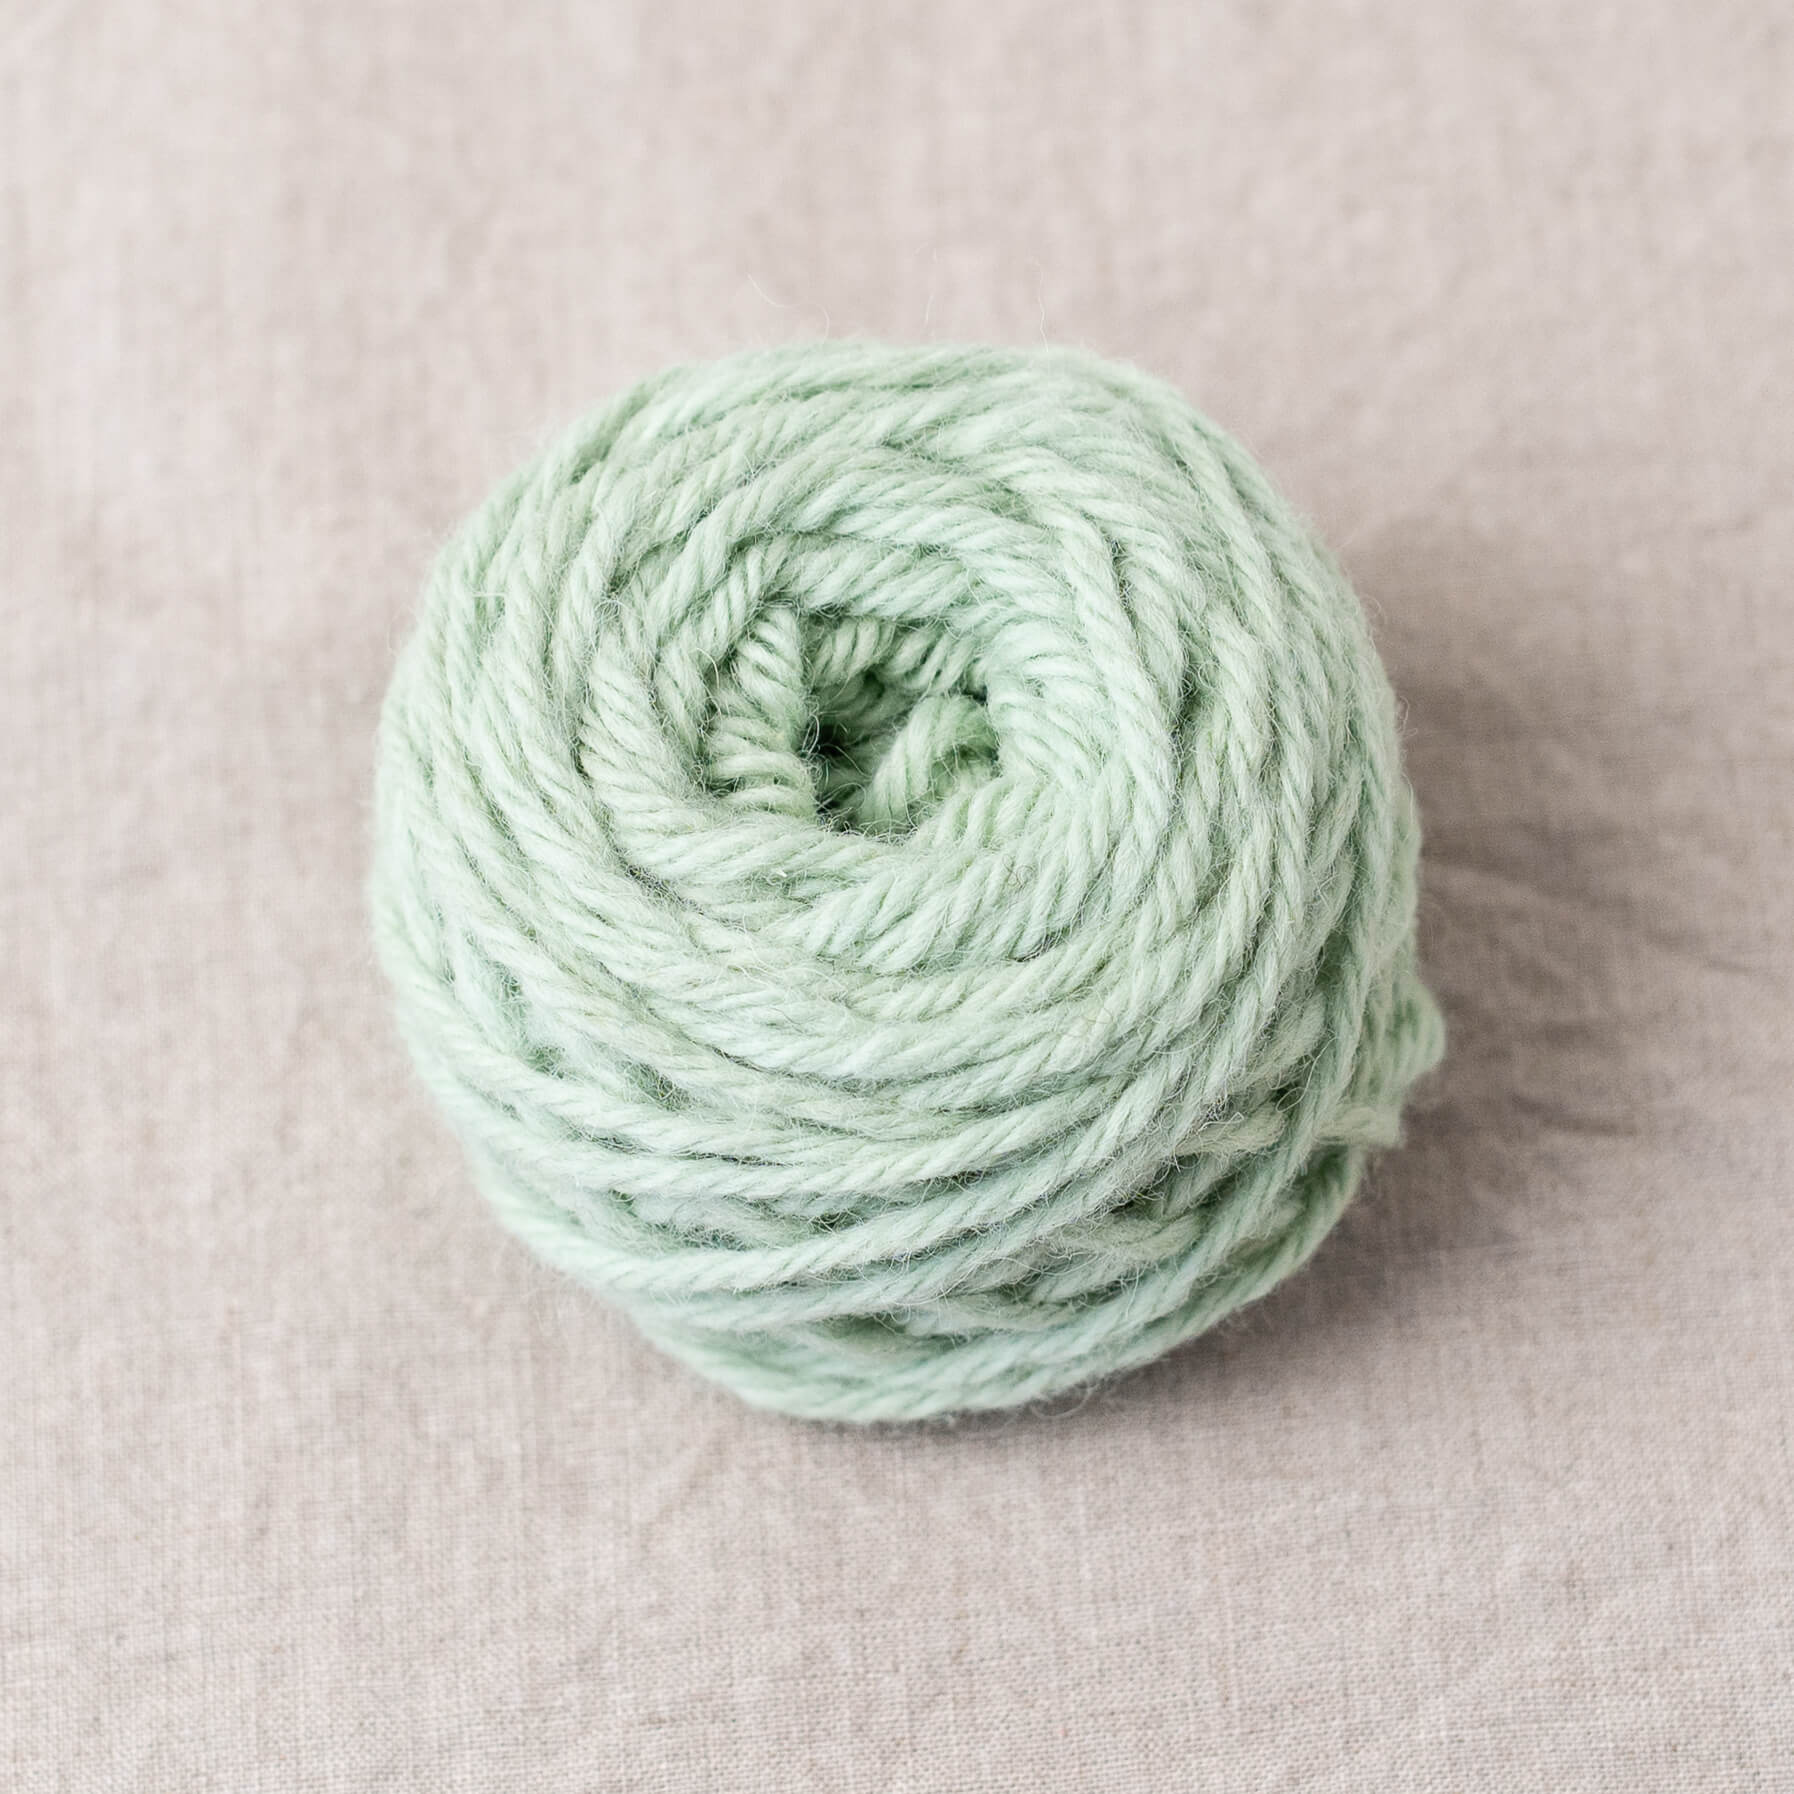
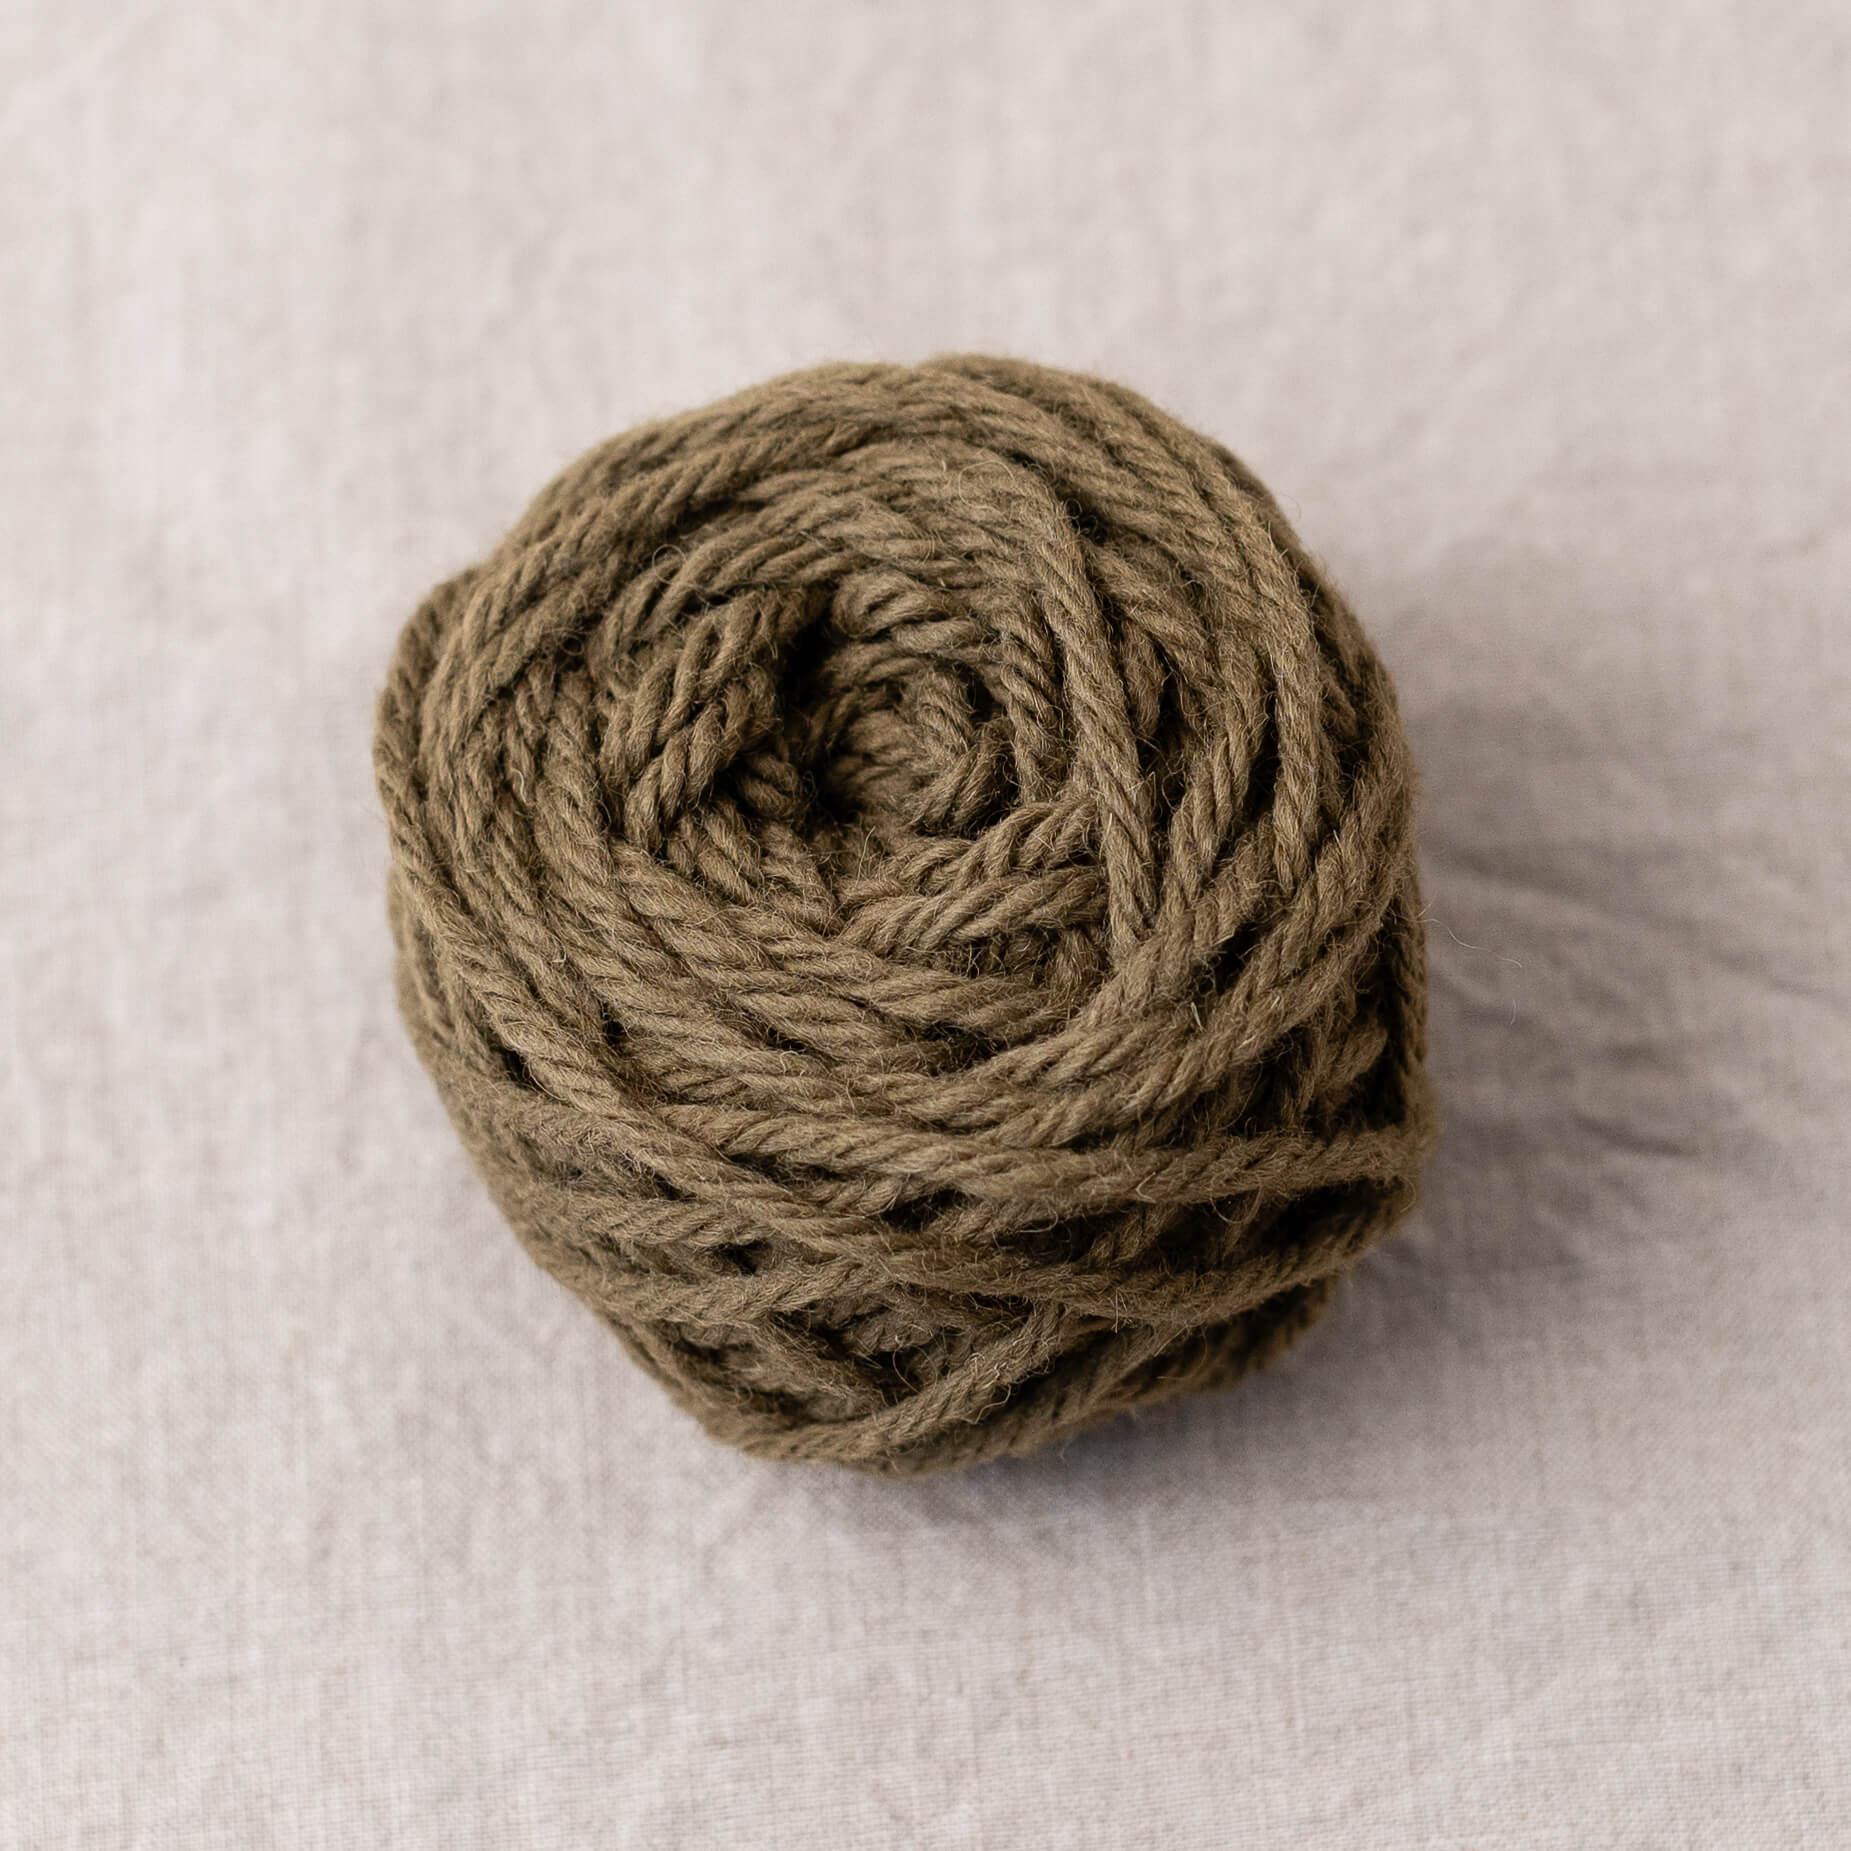
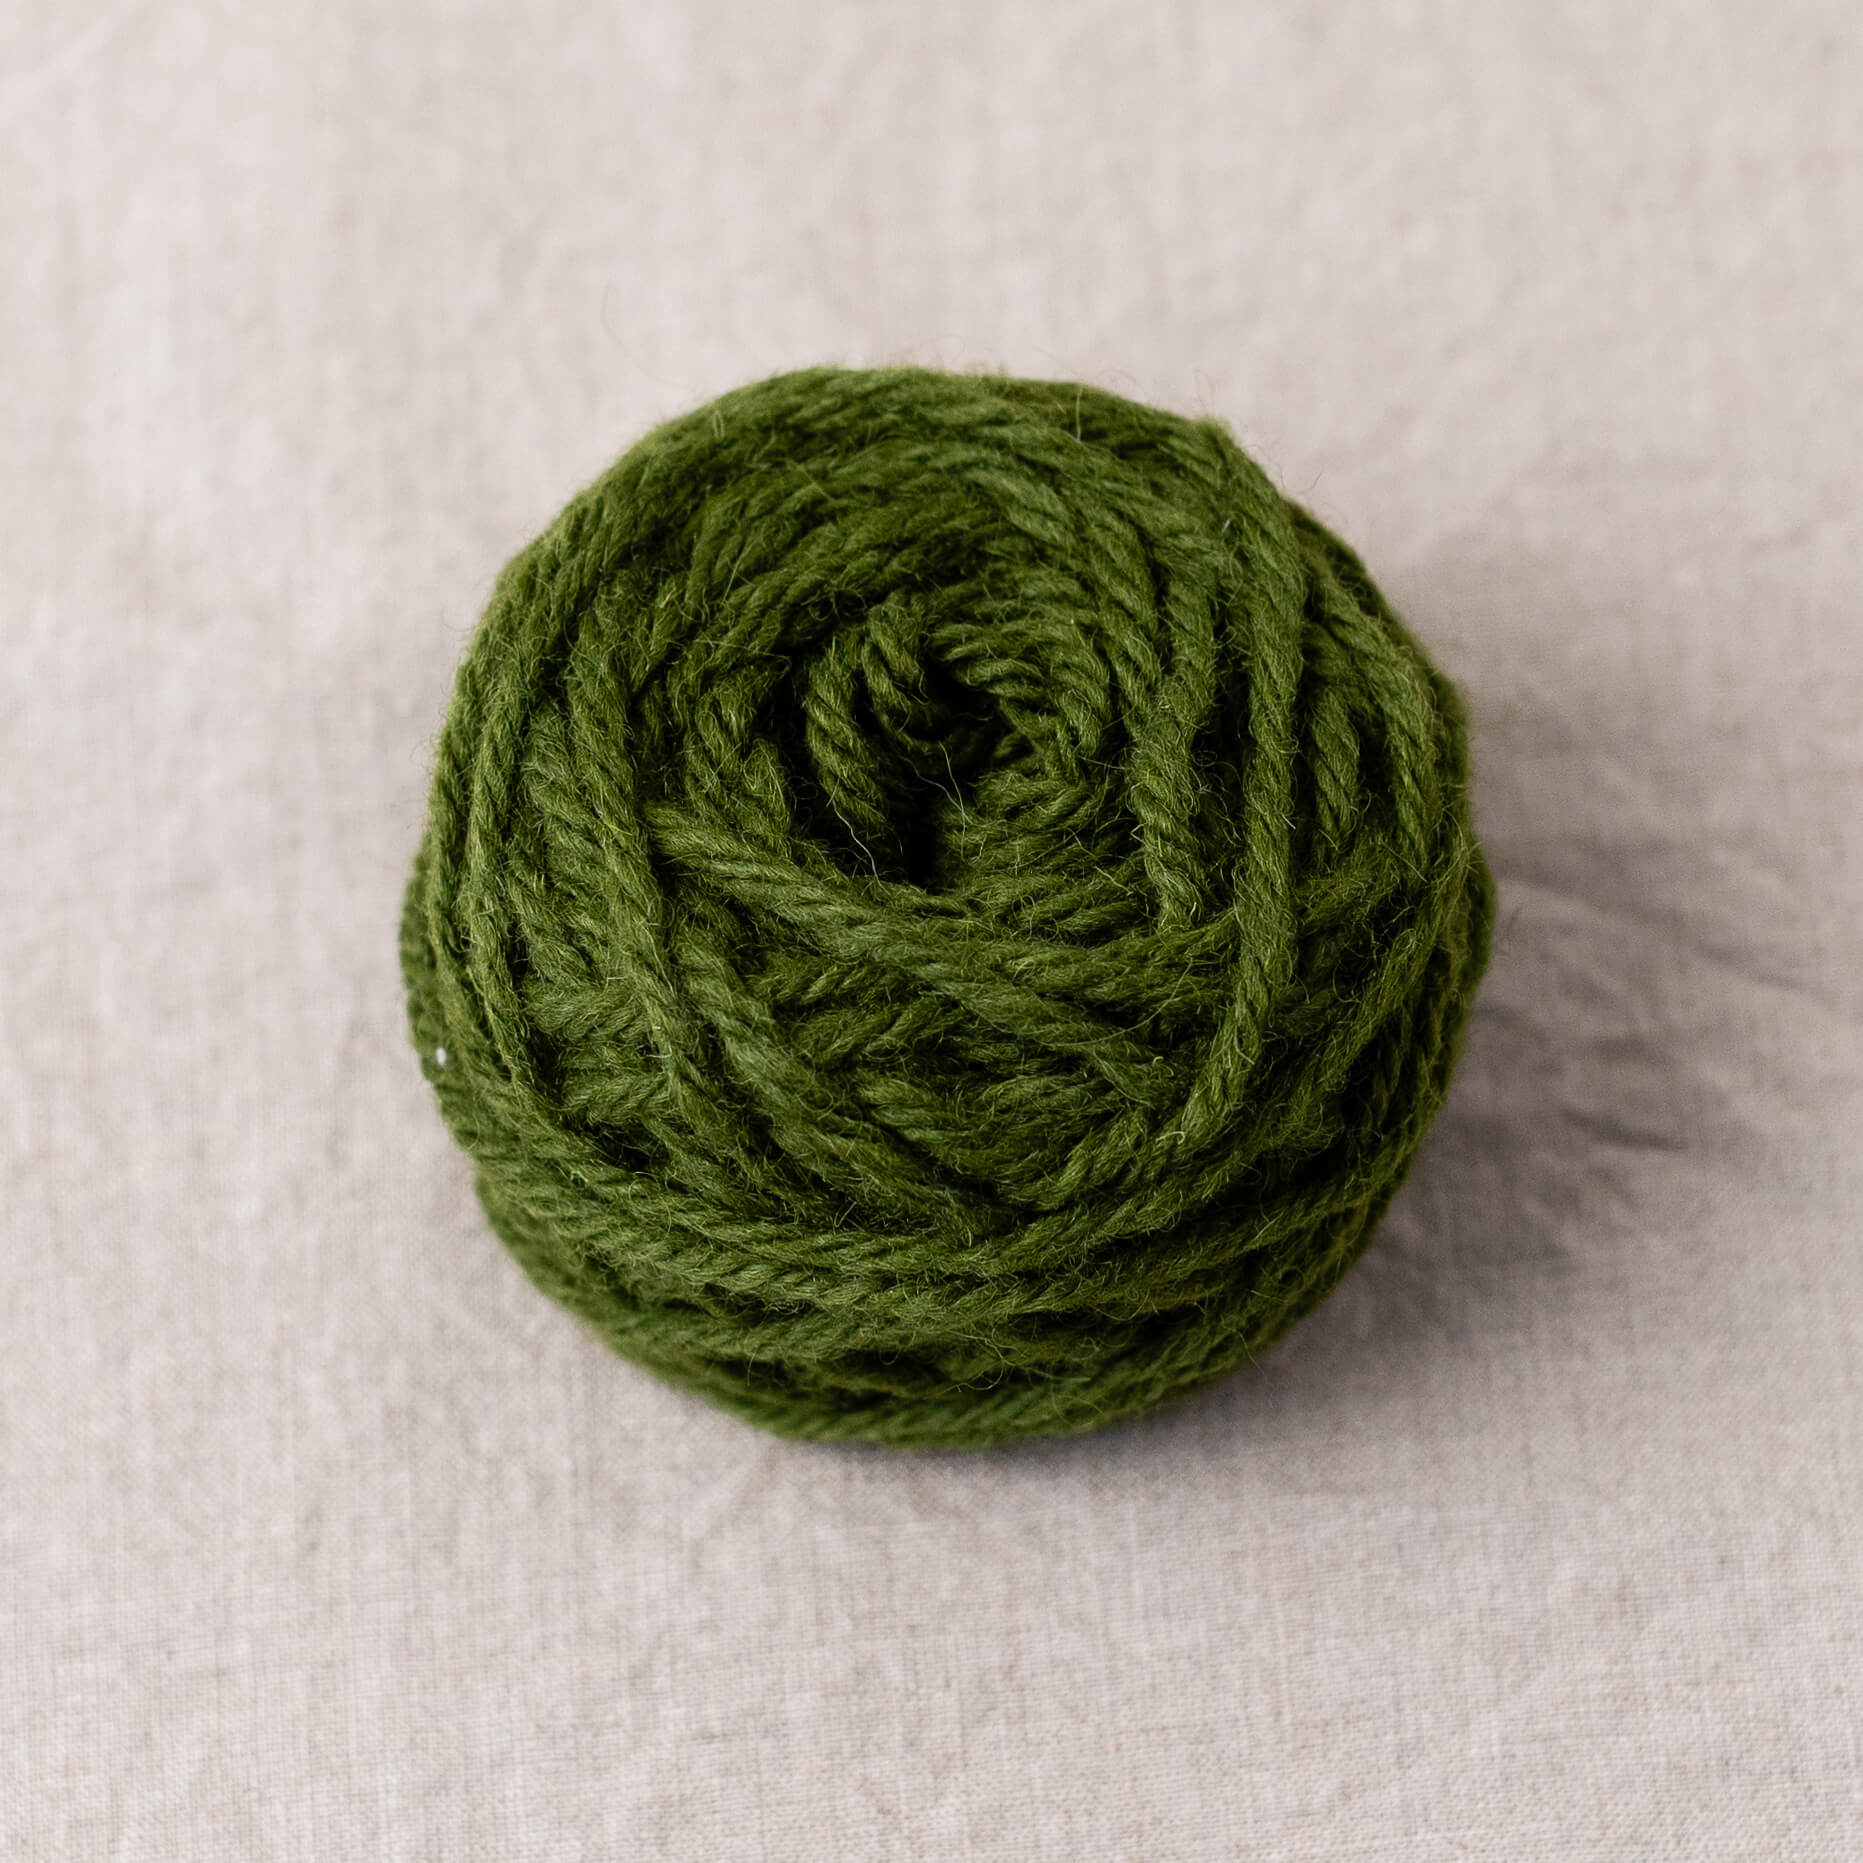
- Rug yarn
Using good quality materials will give your rug a premium finish and make it easier to punch. I use a gripper strip frame which is easy to stretch my foundation fabric on, keeps it taut whilst punching and therefore also makes it less strain on my wrists.

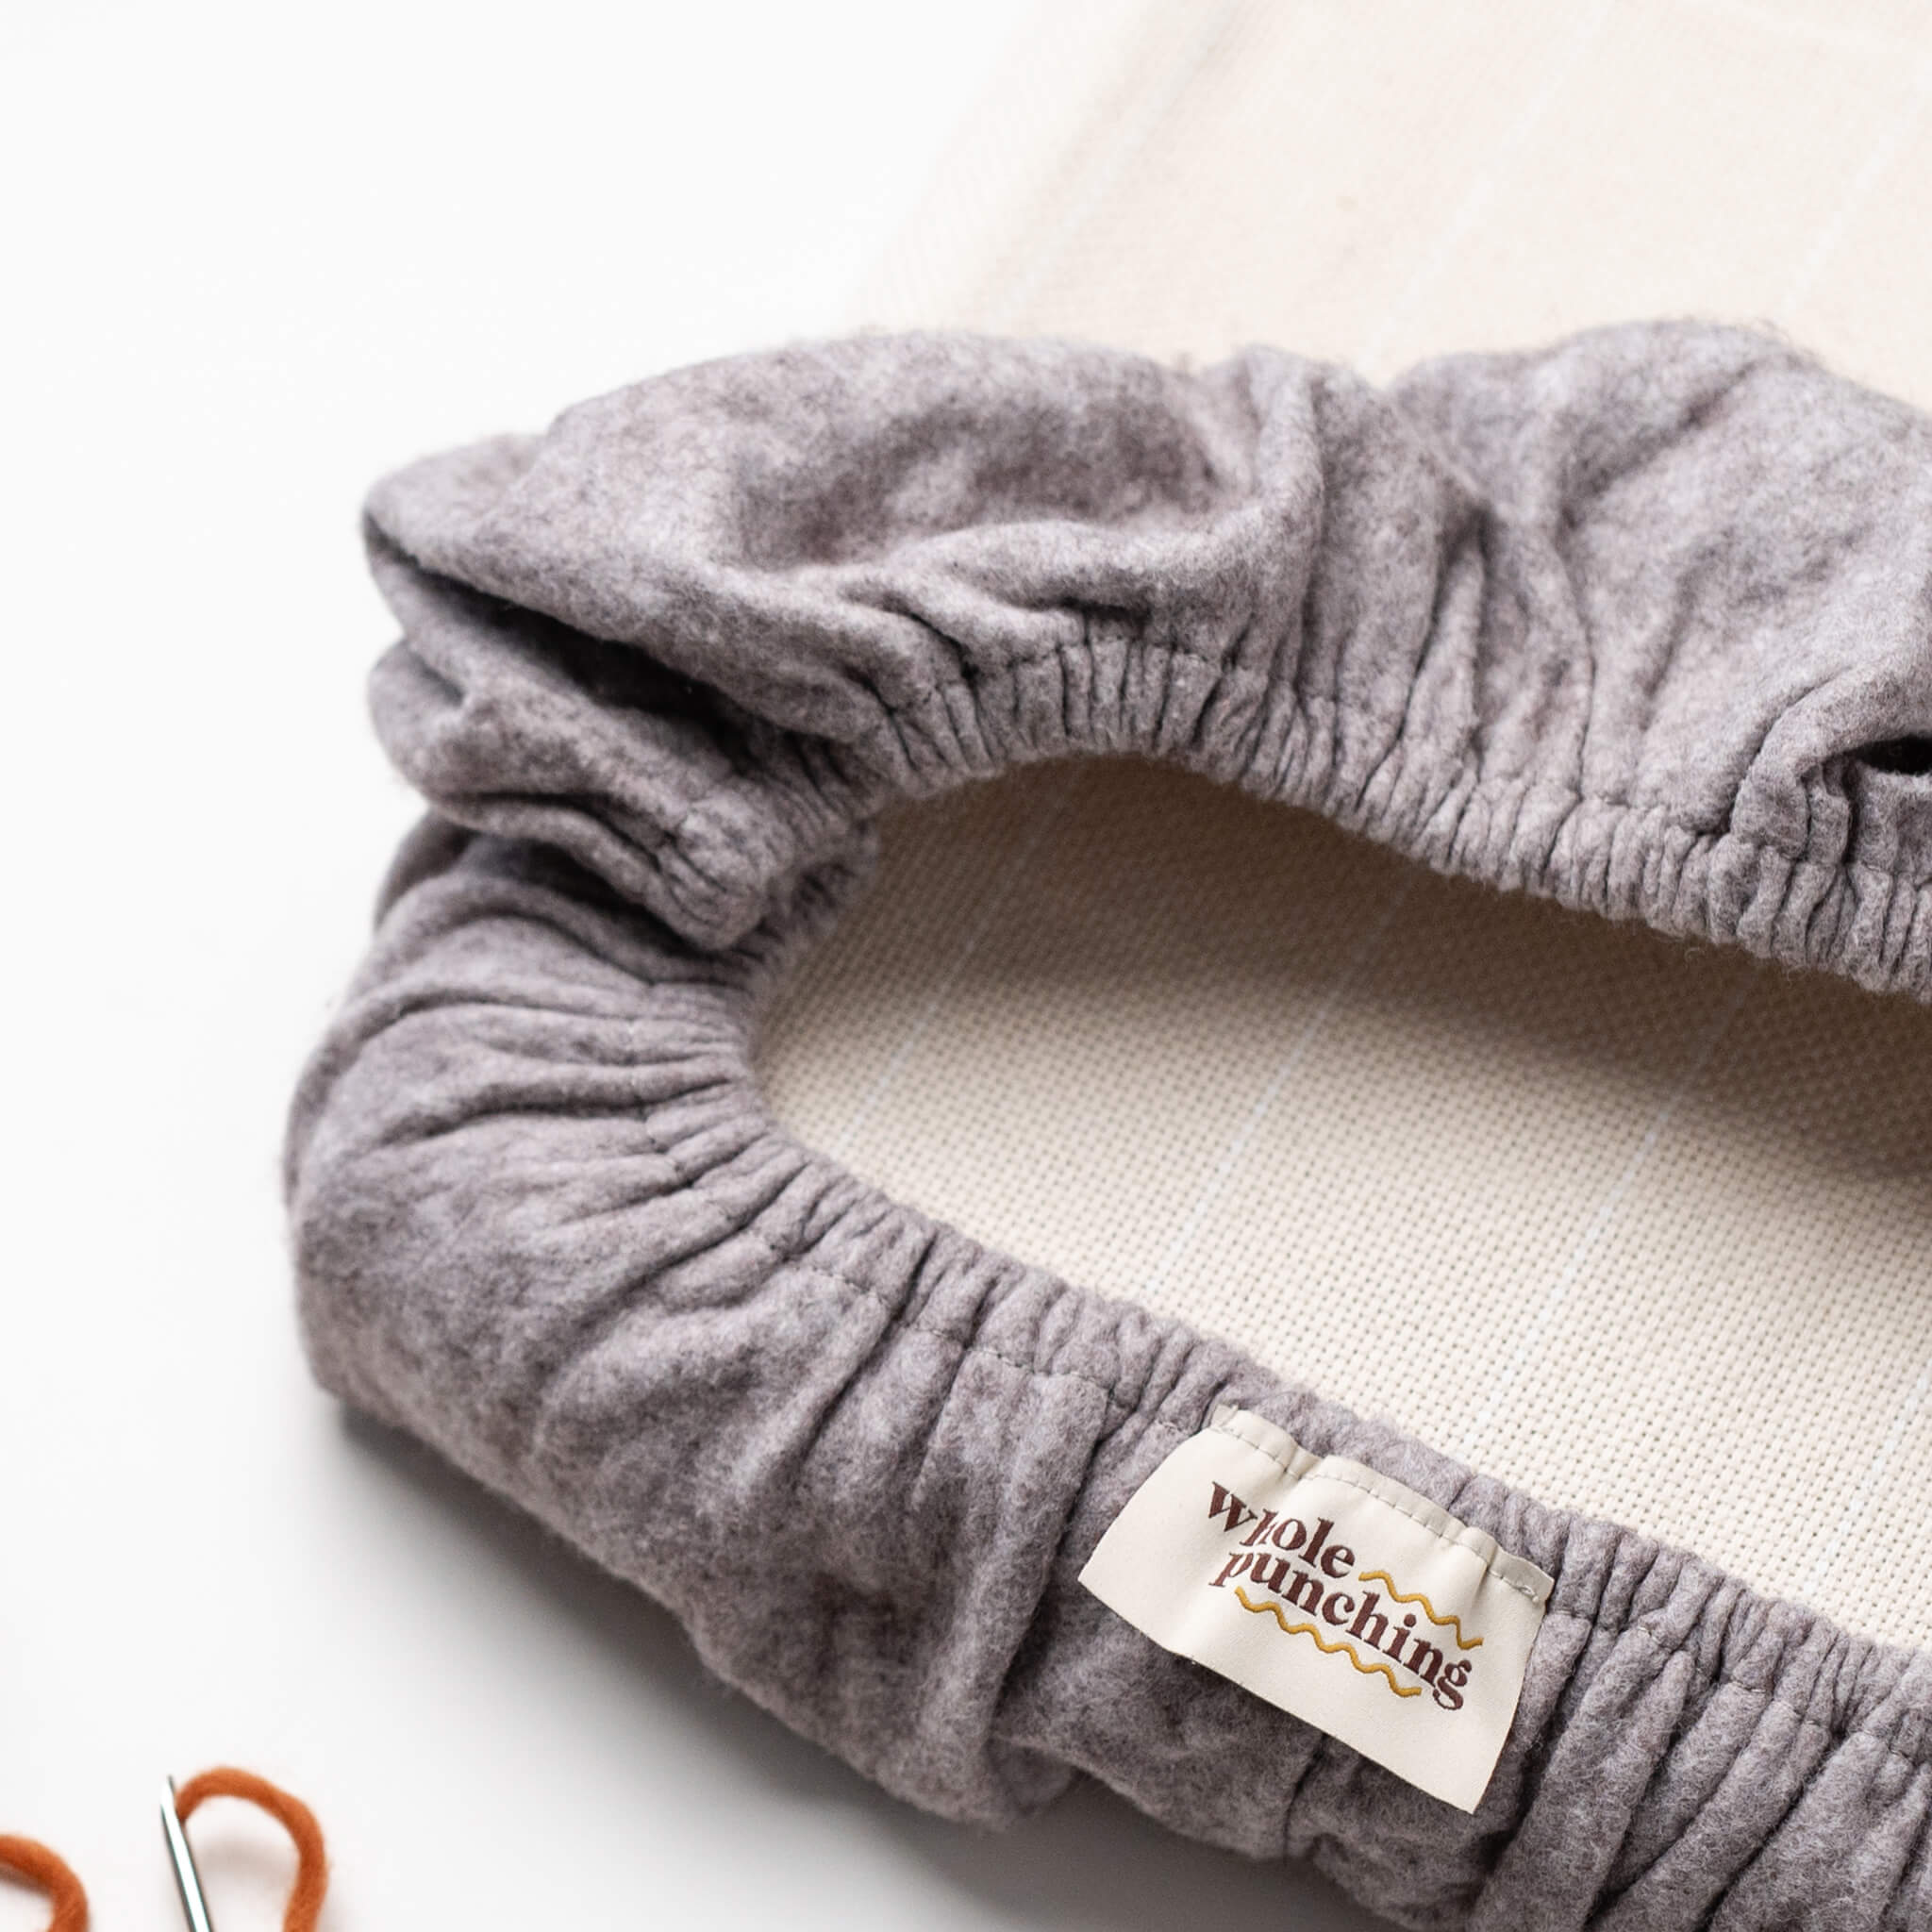
I use monks cloth as the foundation fabric for all my rugs. Woven with a double strand from 100% cotton it is designed specifically for the crafts of rug hooking and punch needle which are both traditionally for making rugs. It’s hard enough to withstand the constant punching movement from the punch needle tool and can stand up to the sharp teeth of the gripper strips. You can use fabric such as linen or rug warp, but I find that monks cloth has a softer handle and is easier to punch on.

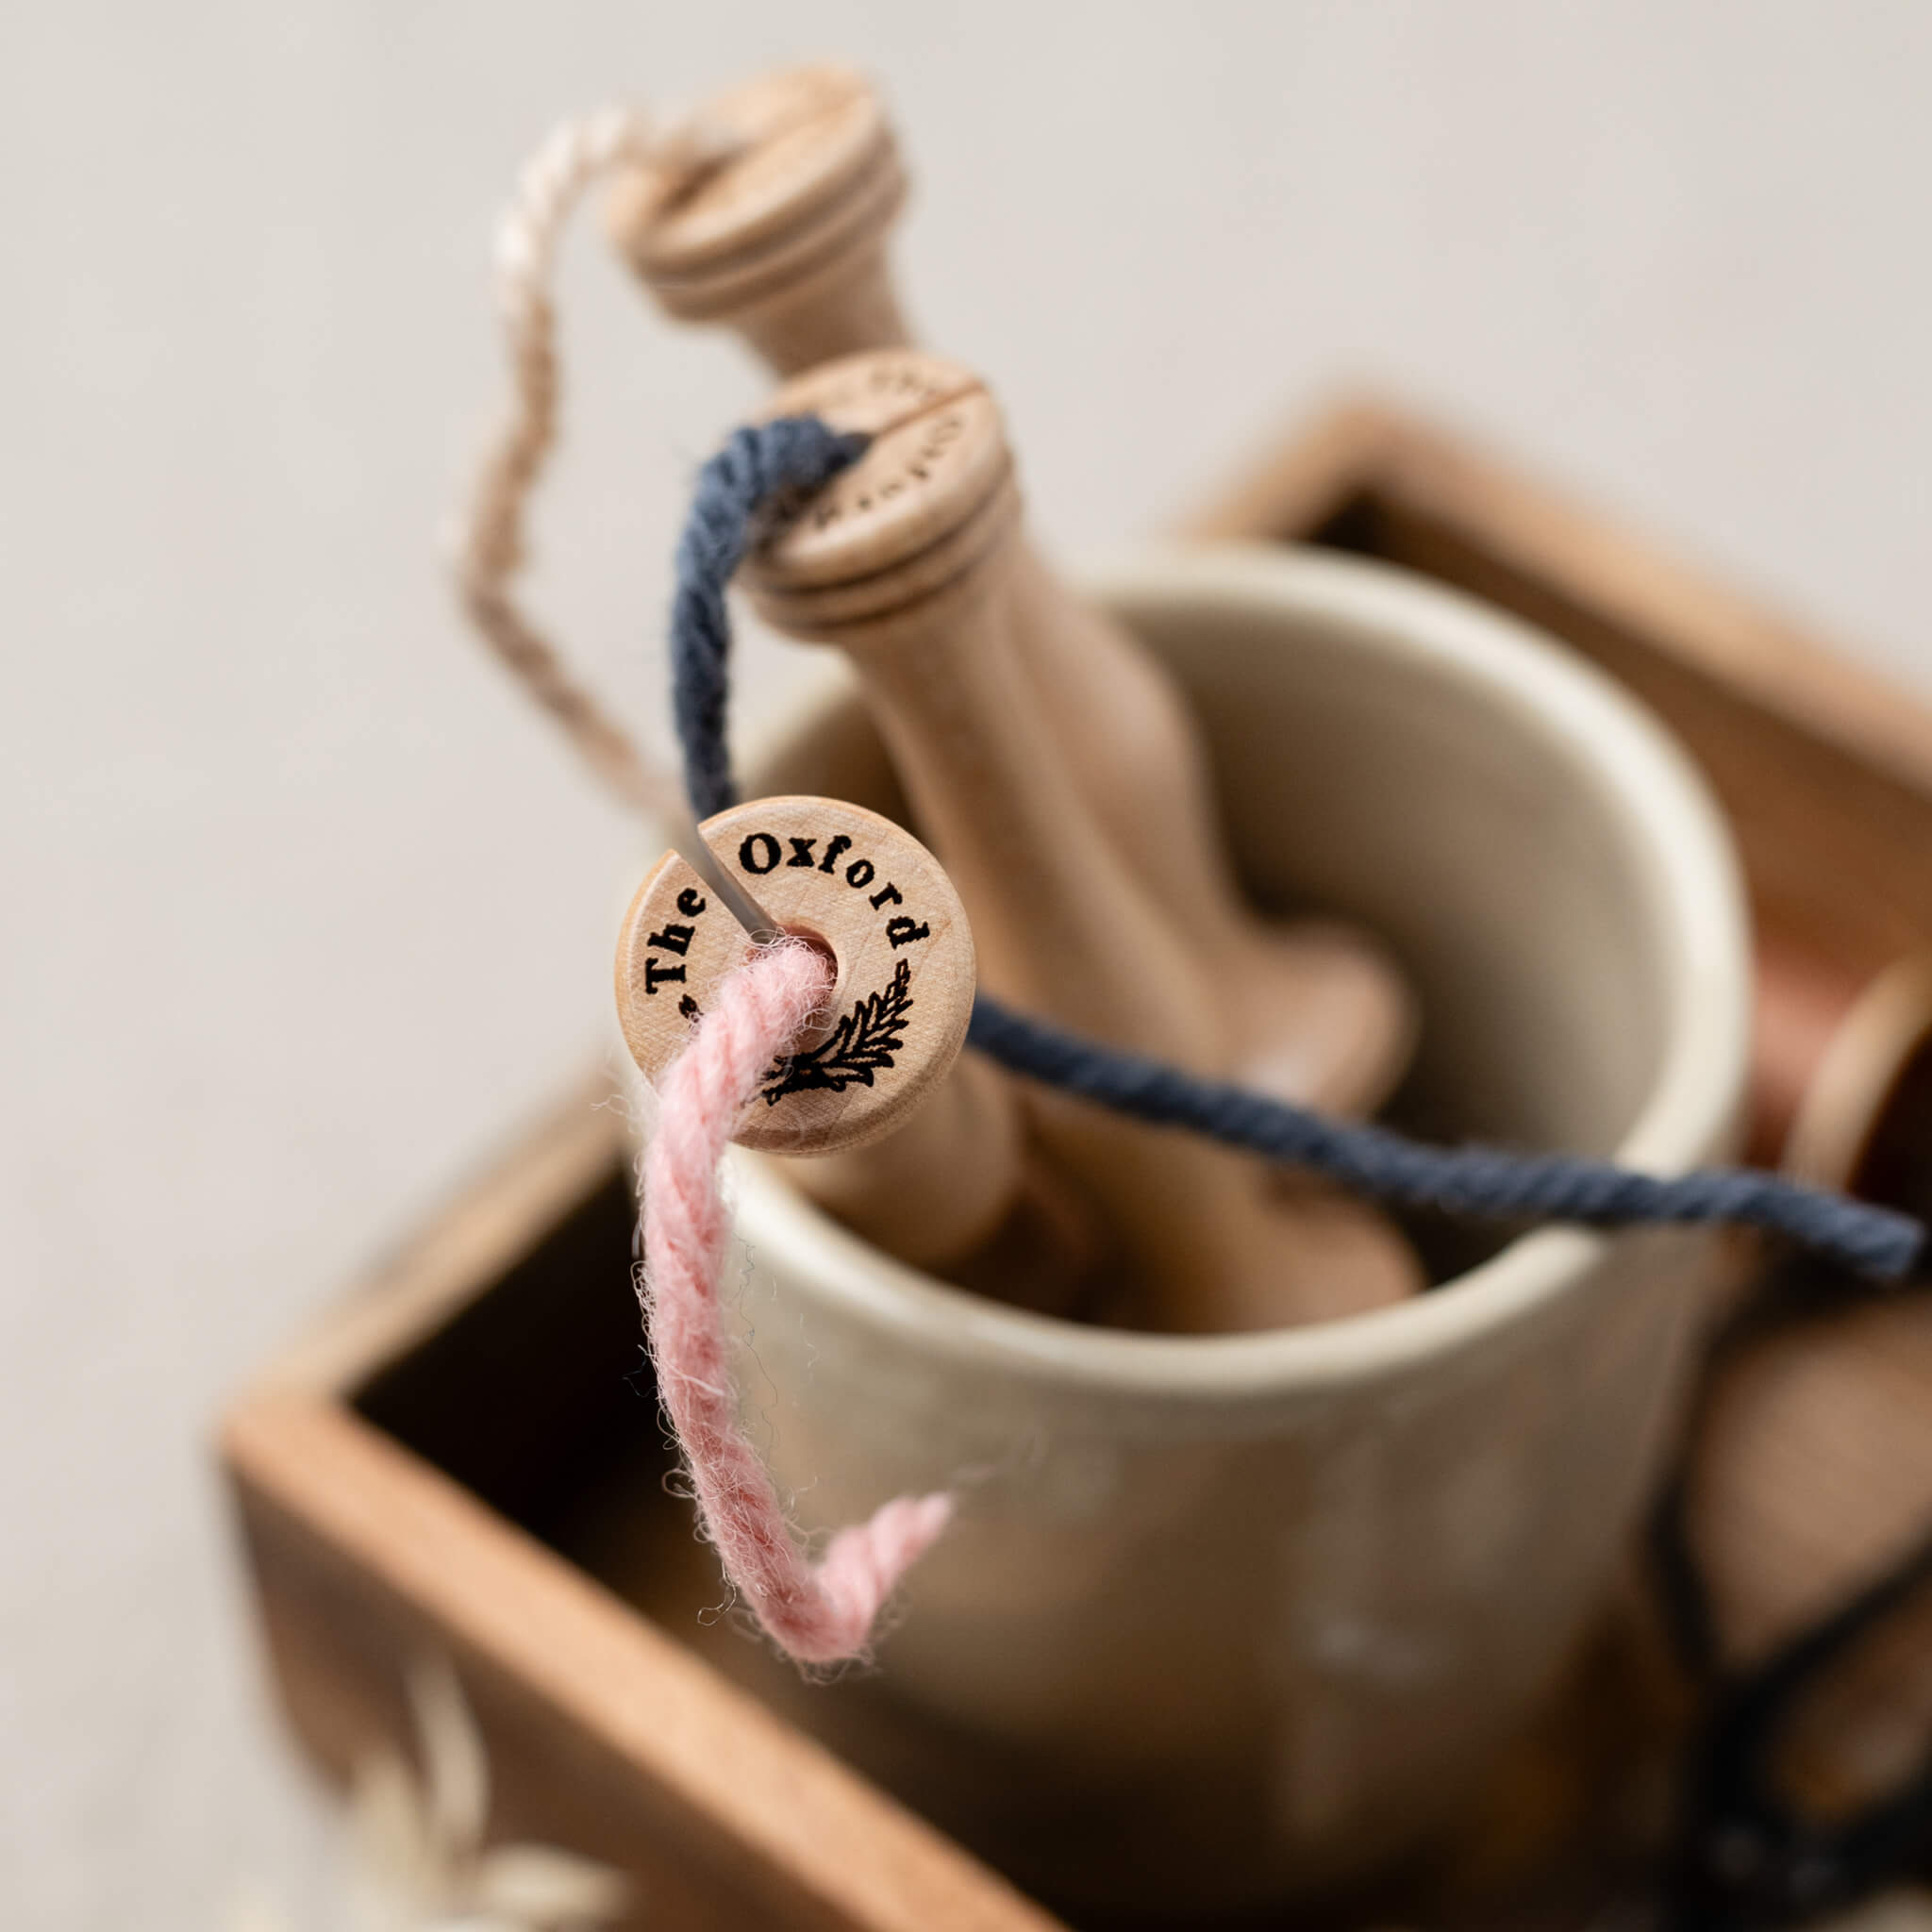
Oxford regular punch needles are the perfect width for a chunky rug yarn. The large, ergonomic handle is comfortable for extended periods of punching. If your rug is going to take hours of your time to make, make sure that your hand is comfortable throughout. The needles are well made and easy to thread. My preference is for a #10 regular Oxford punch needle, whereas using an #8 or #9 regular will give you a slighter deeper pile and longer loops.

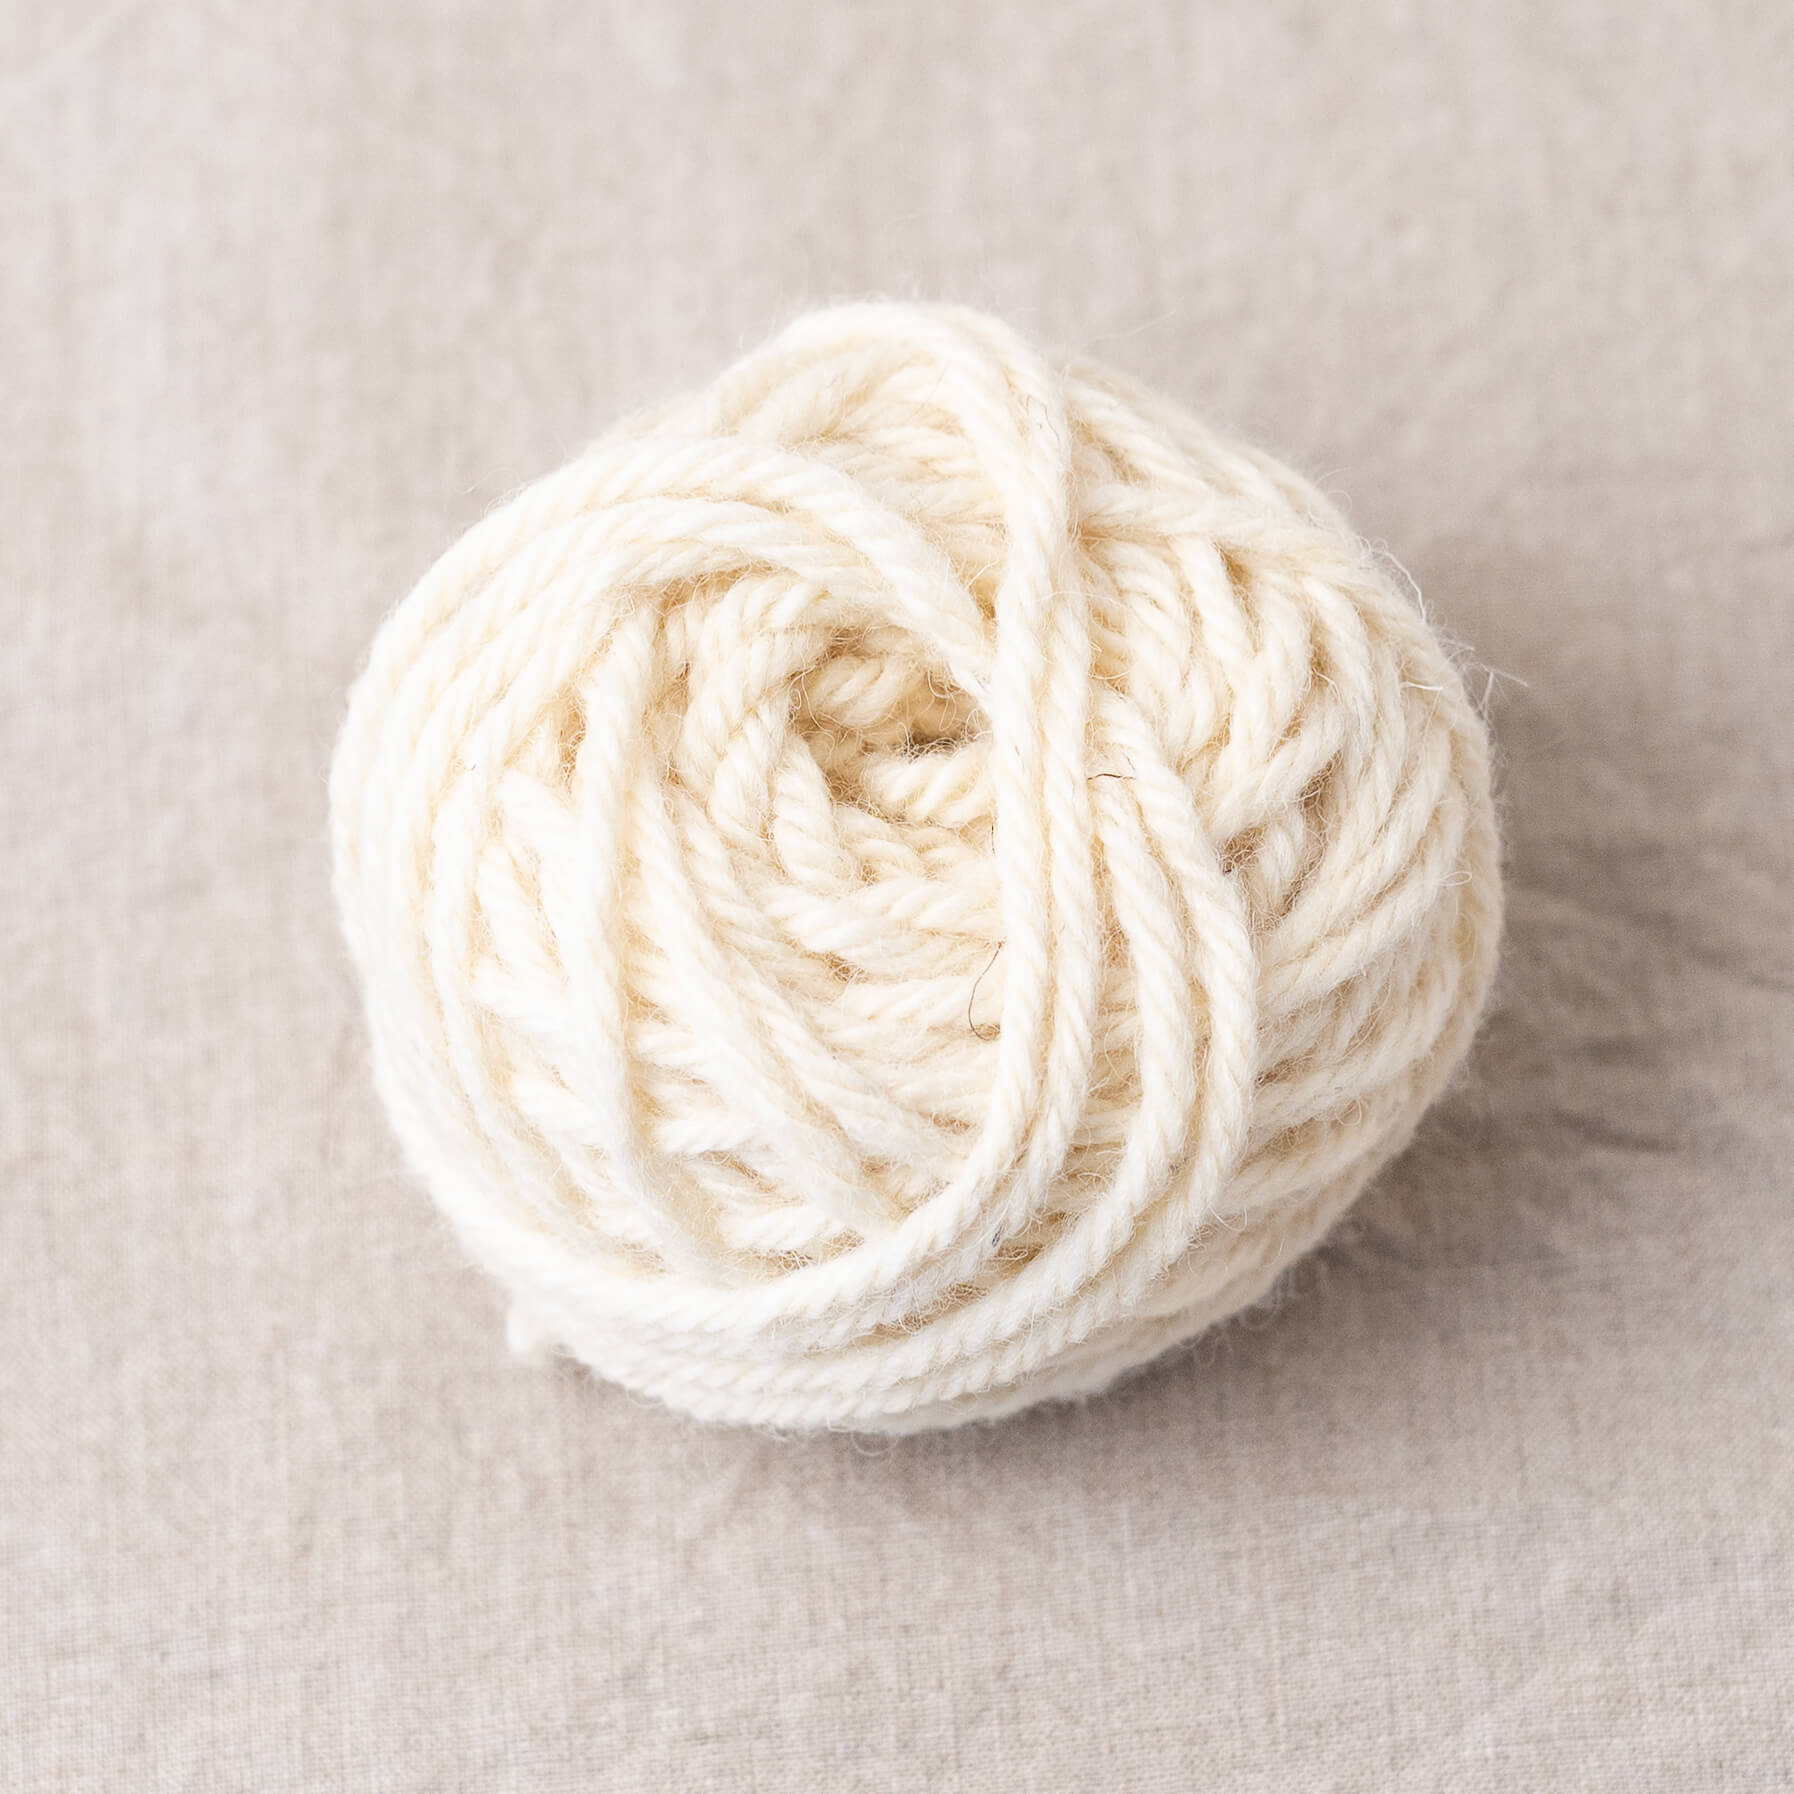
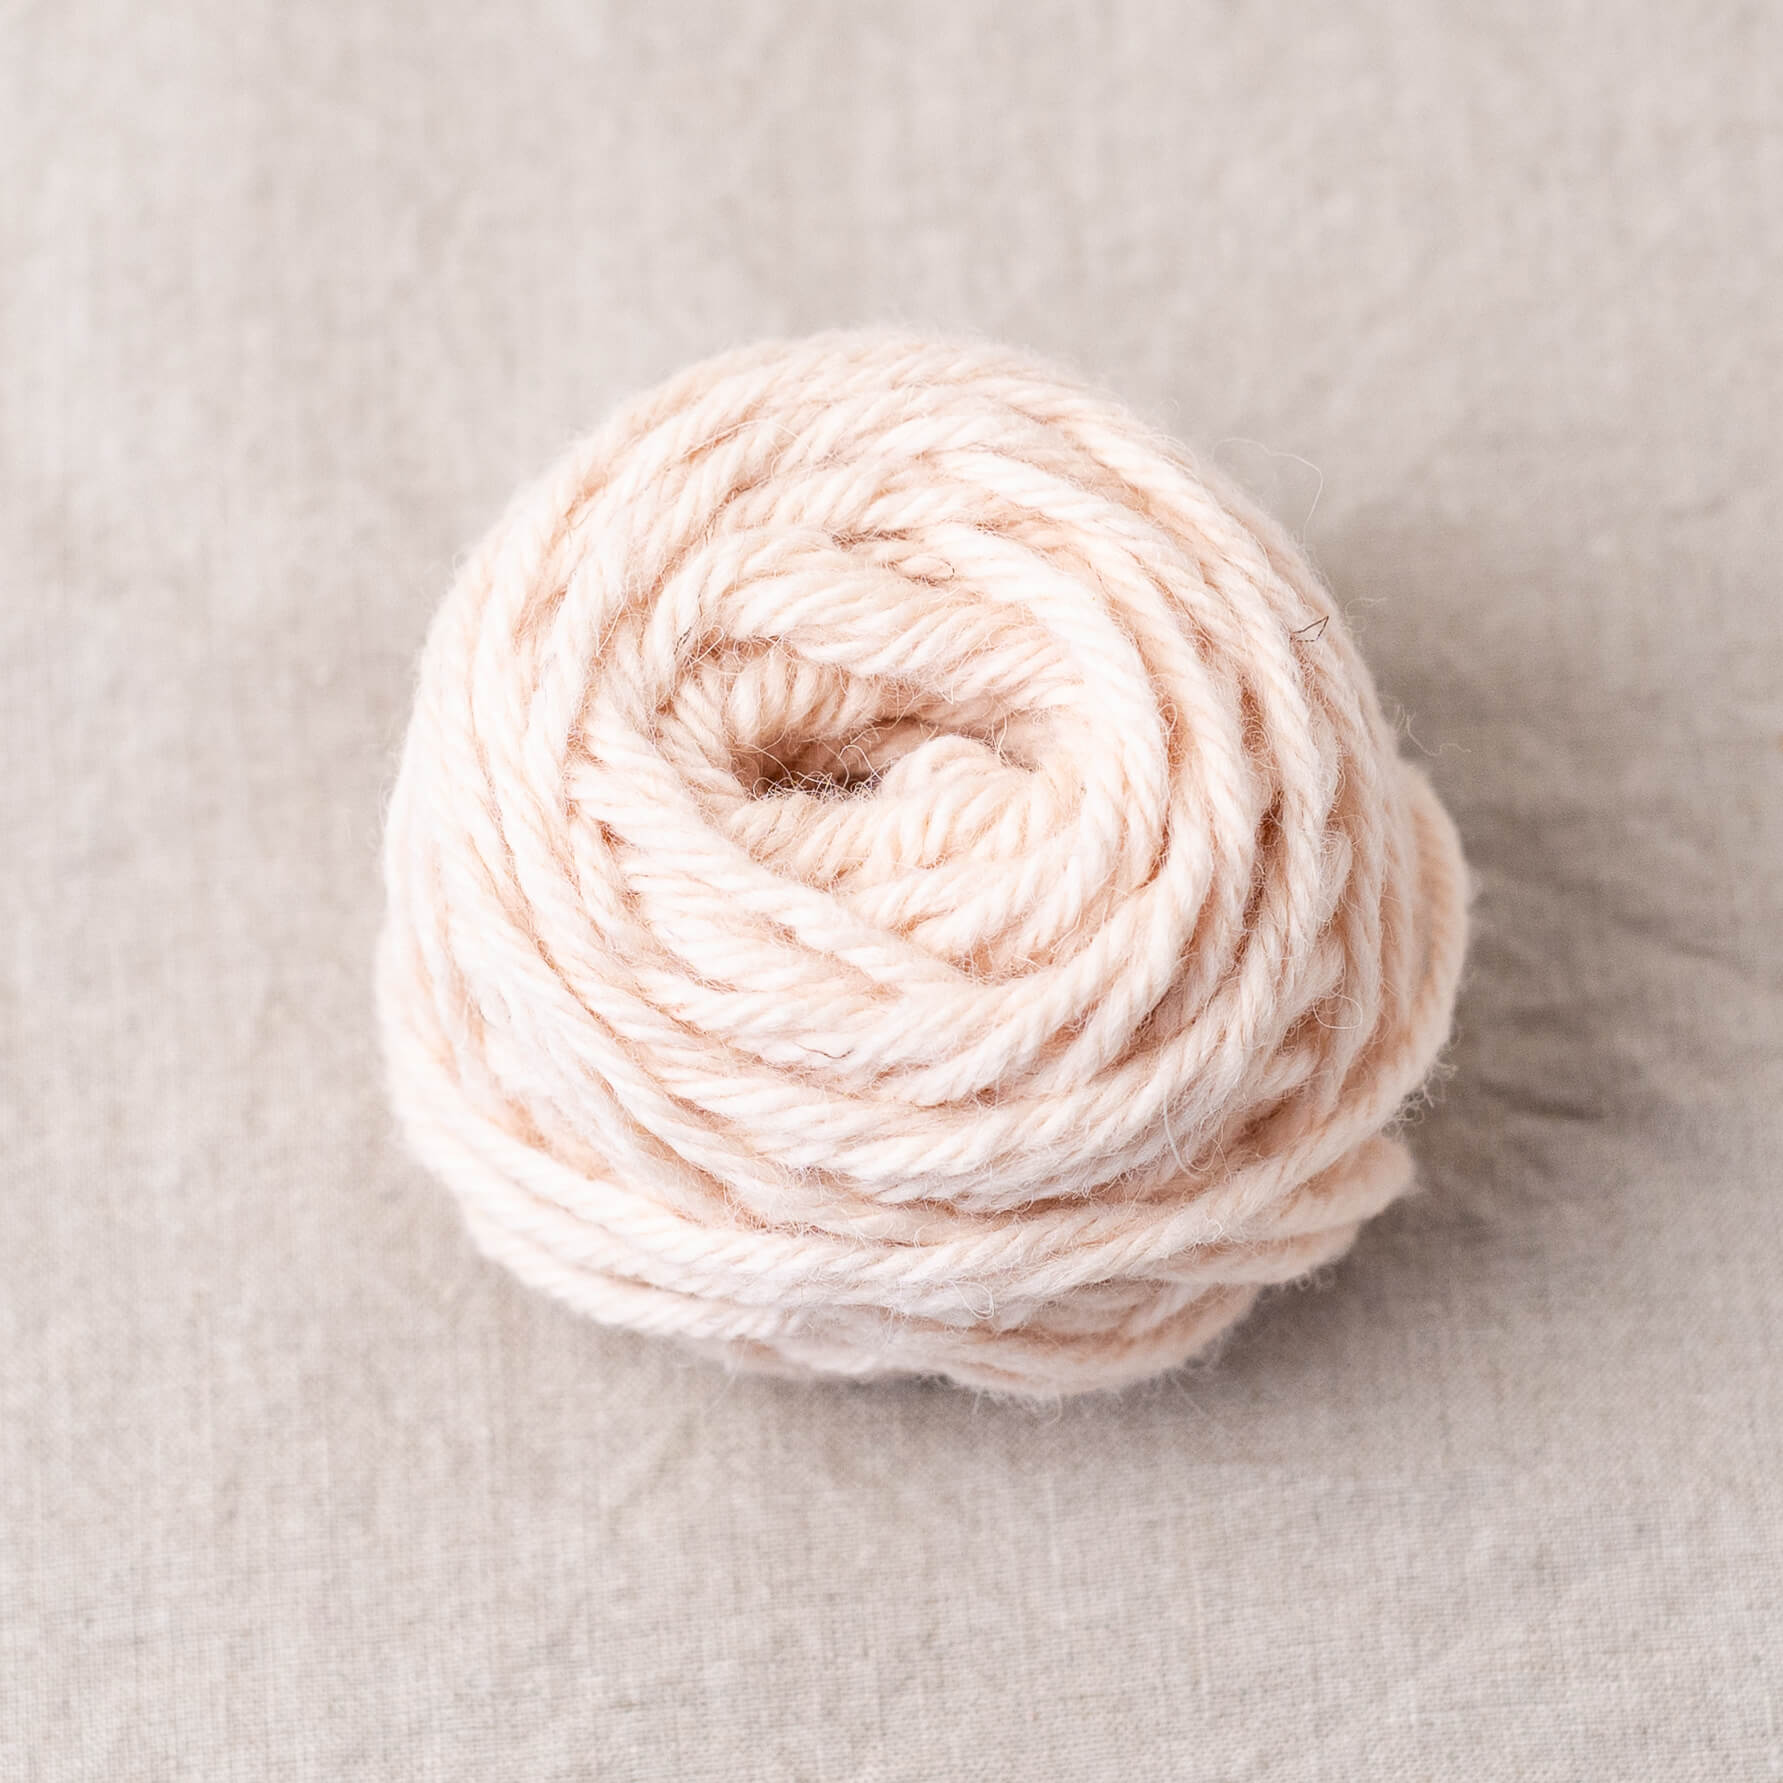
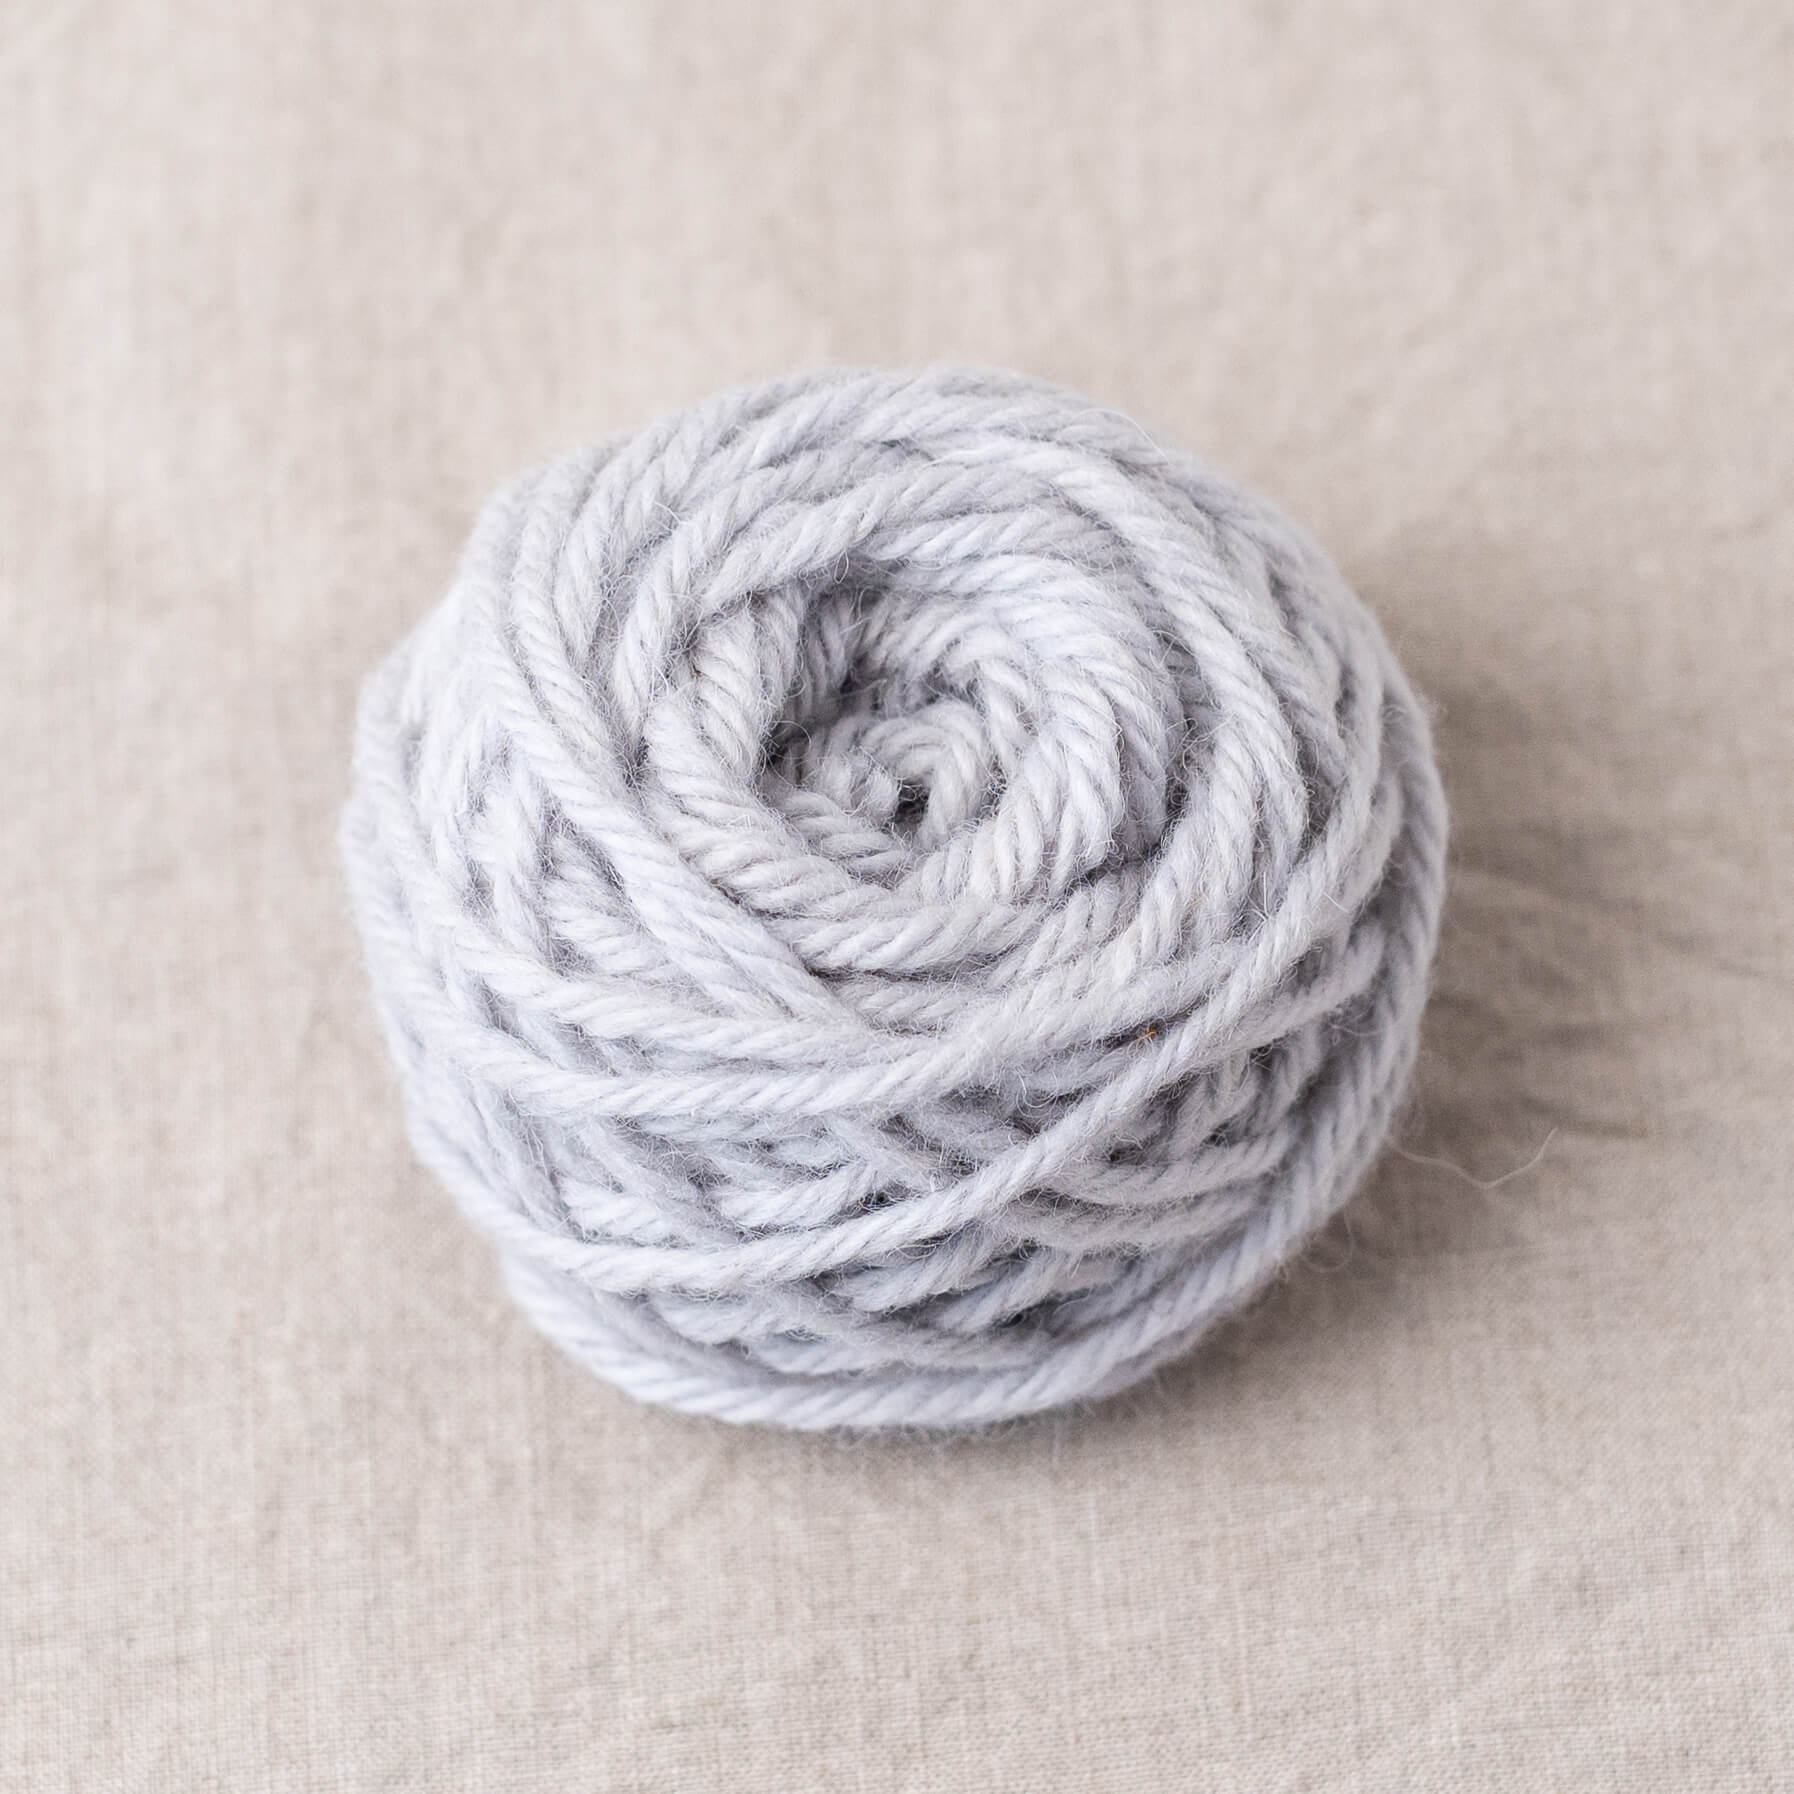
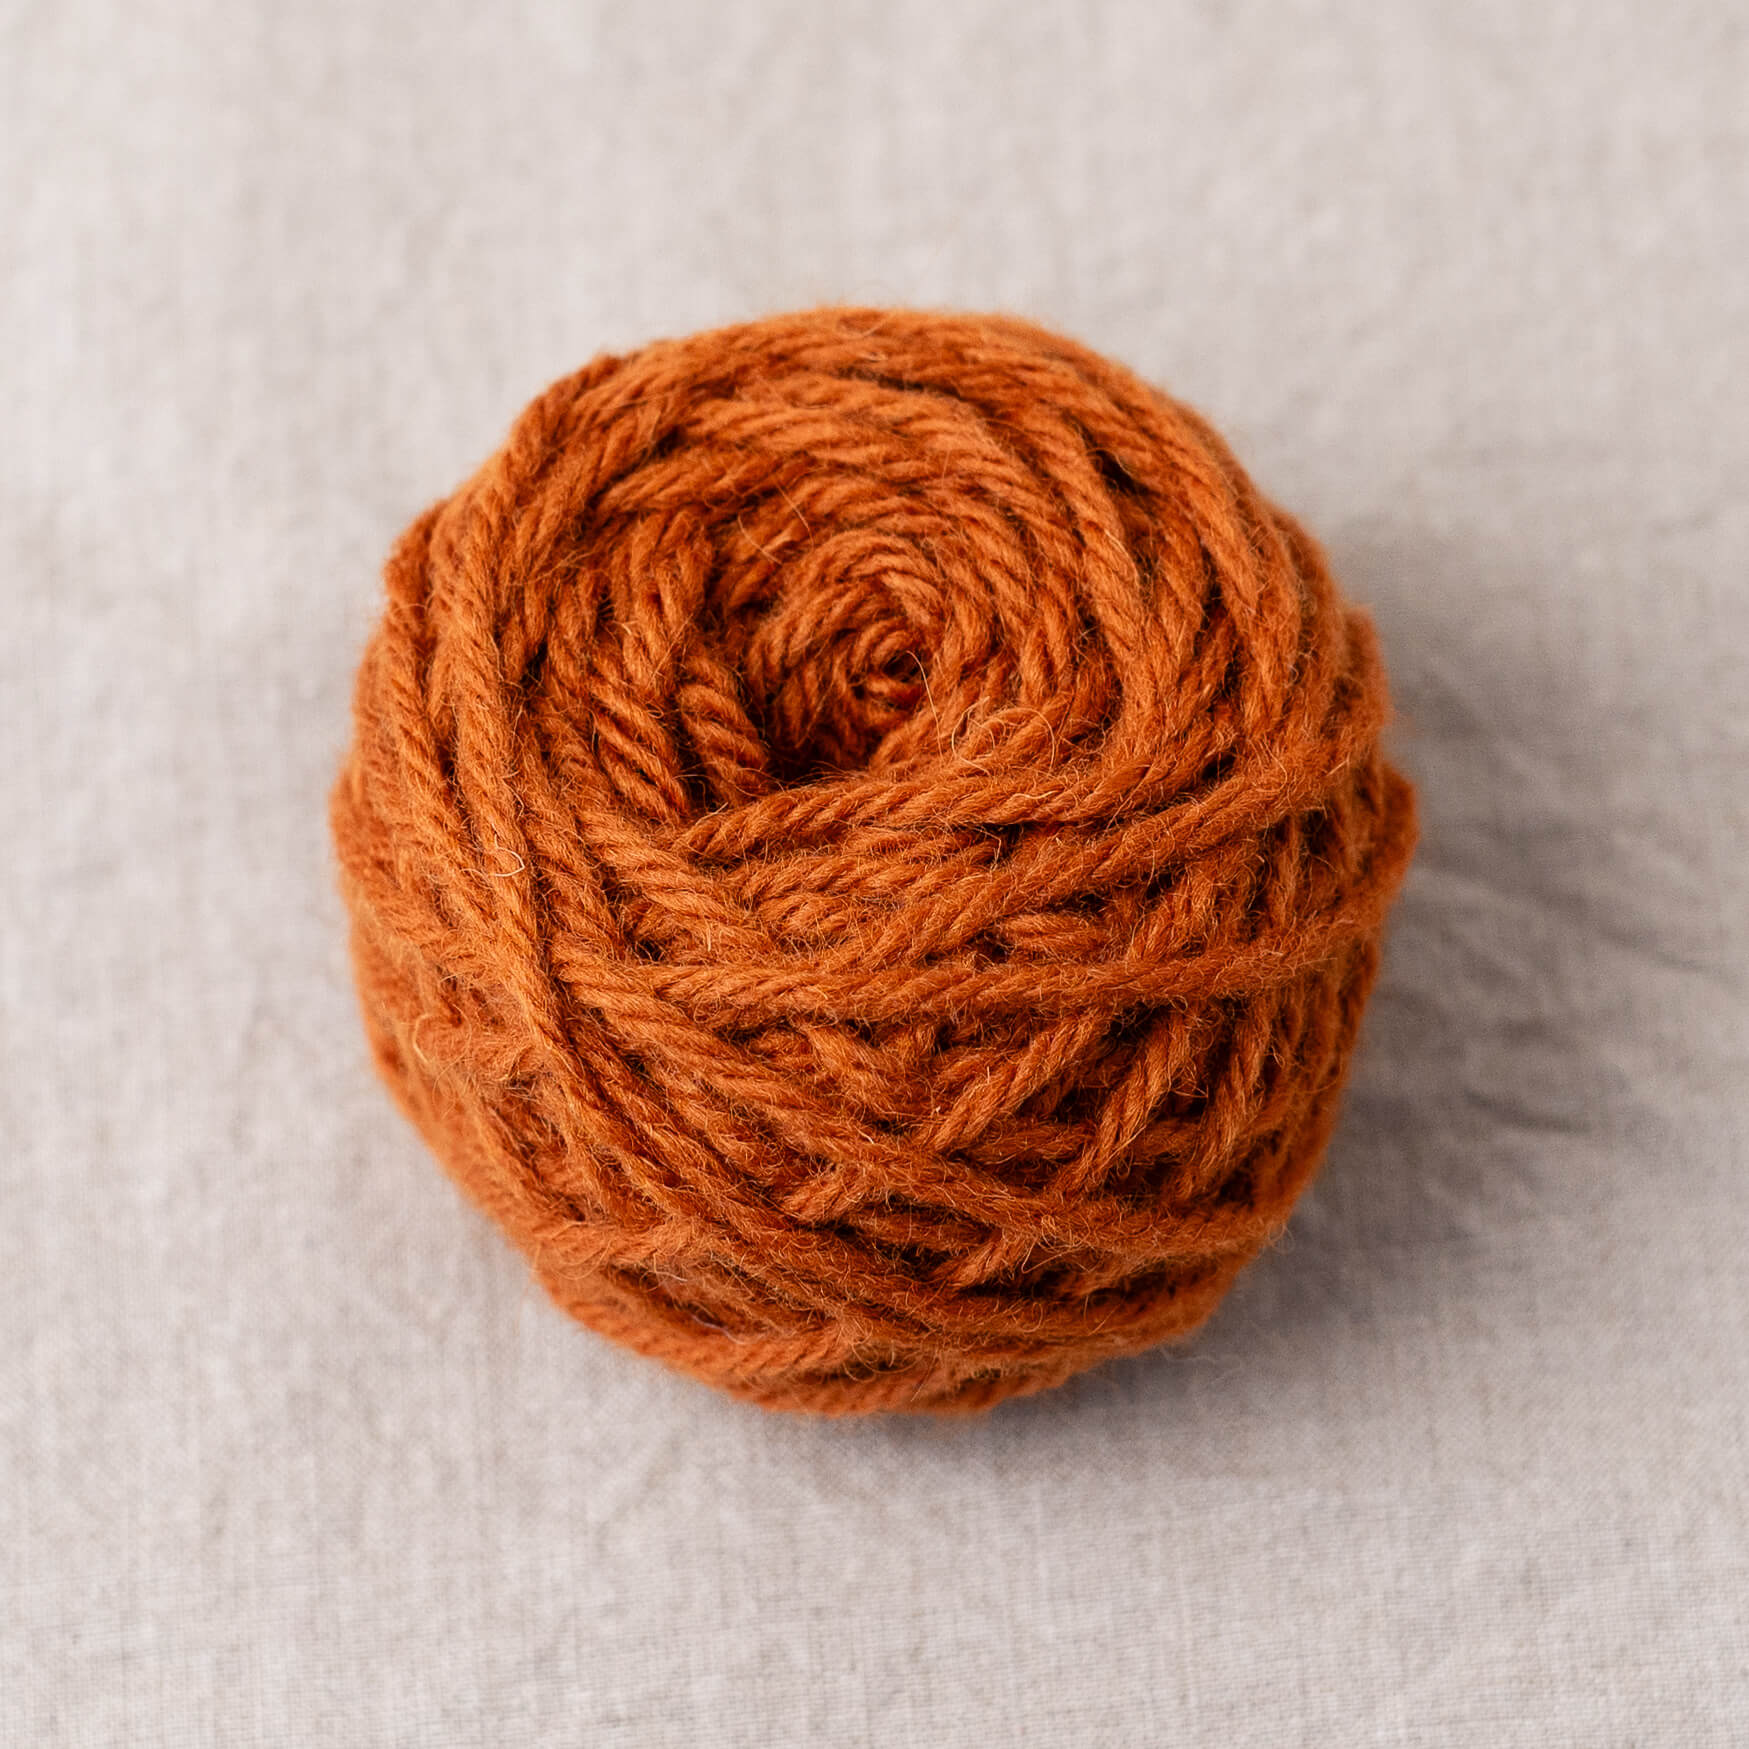
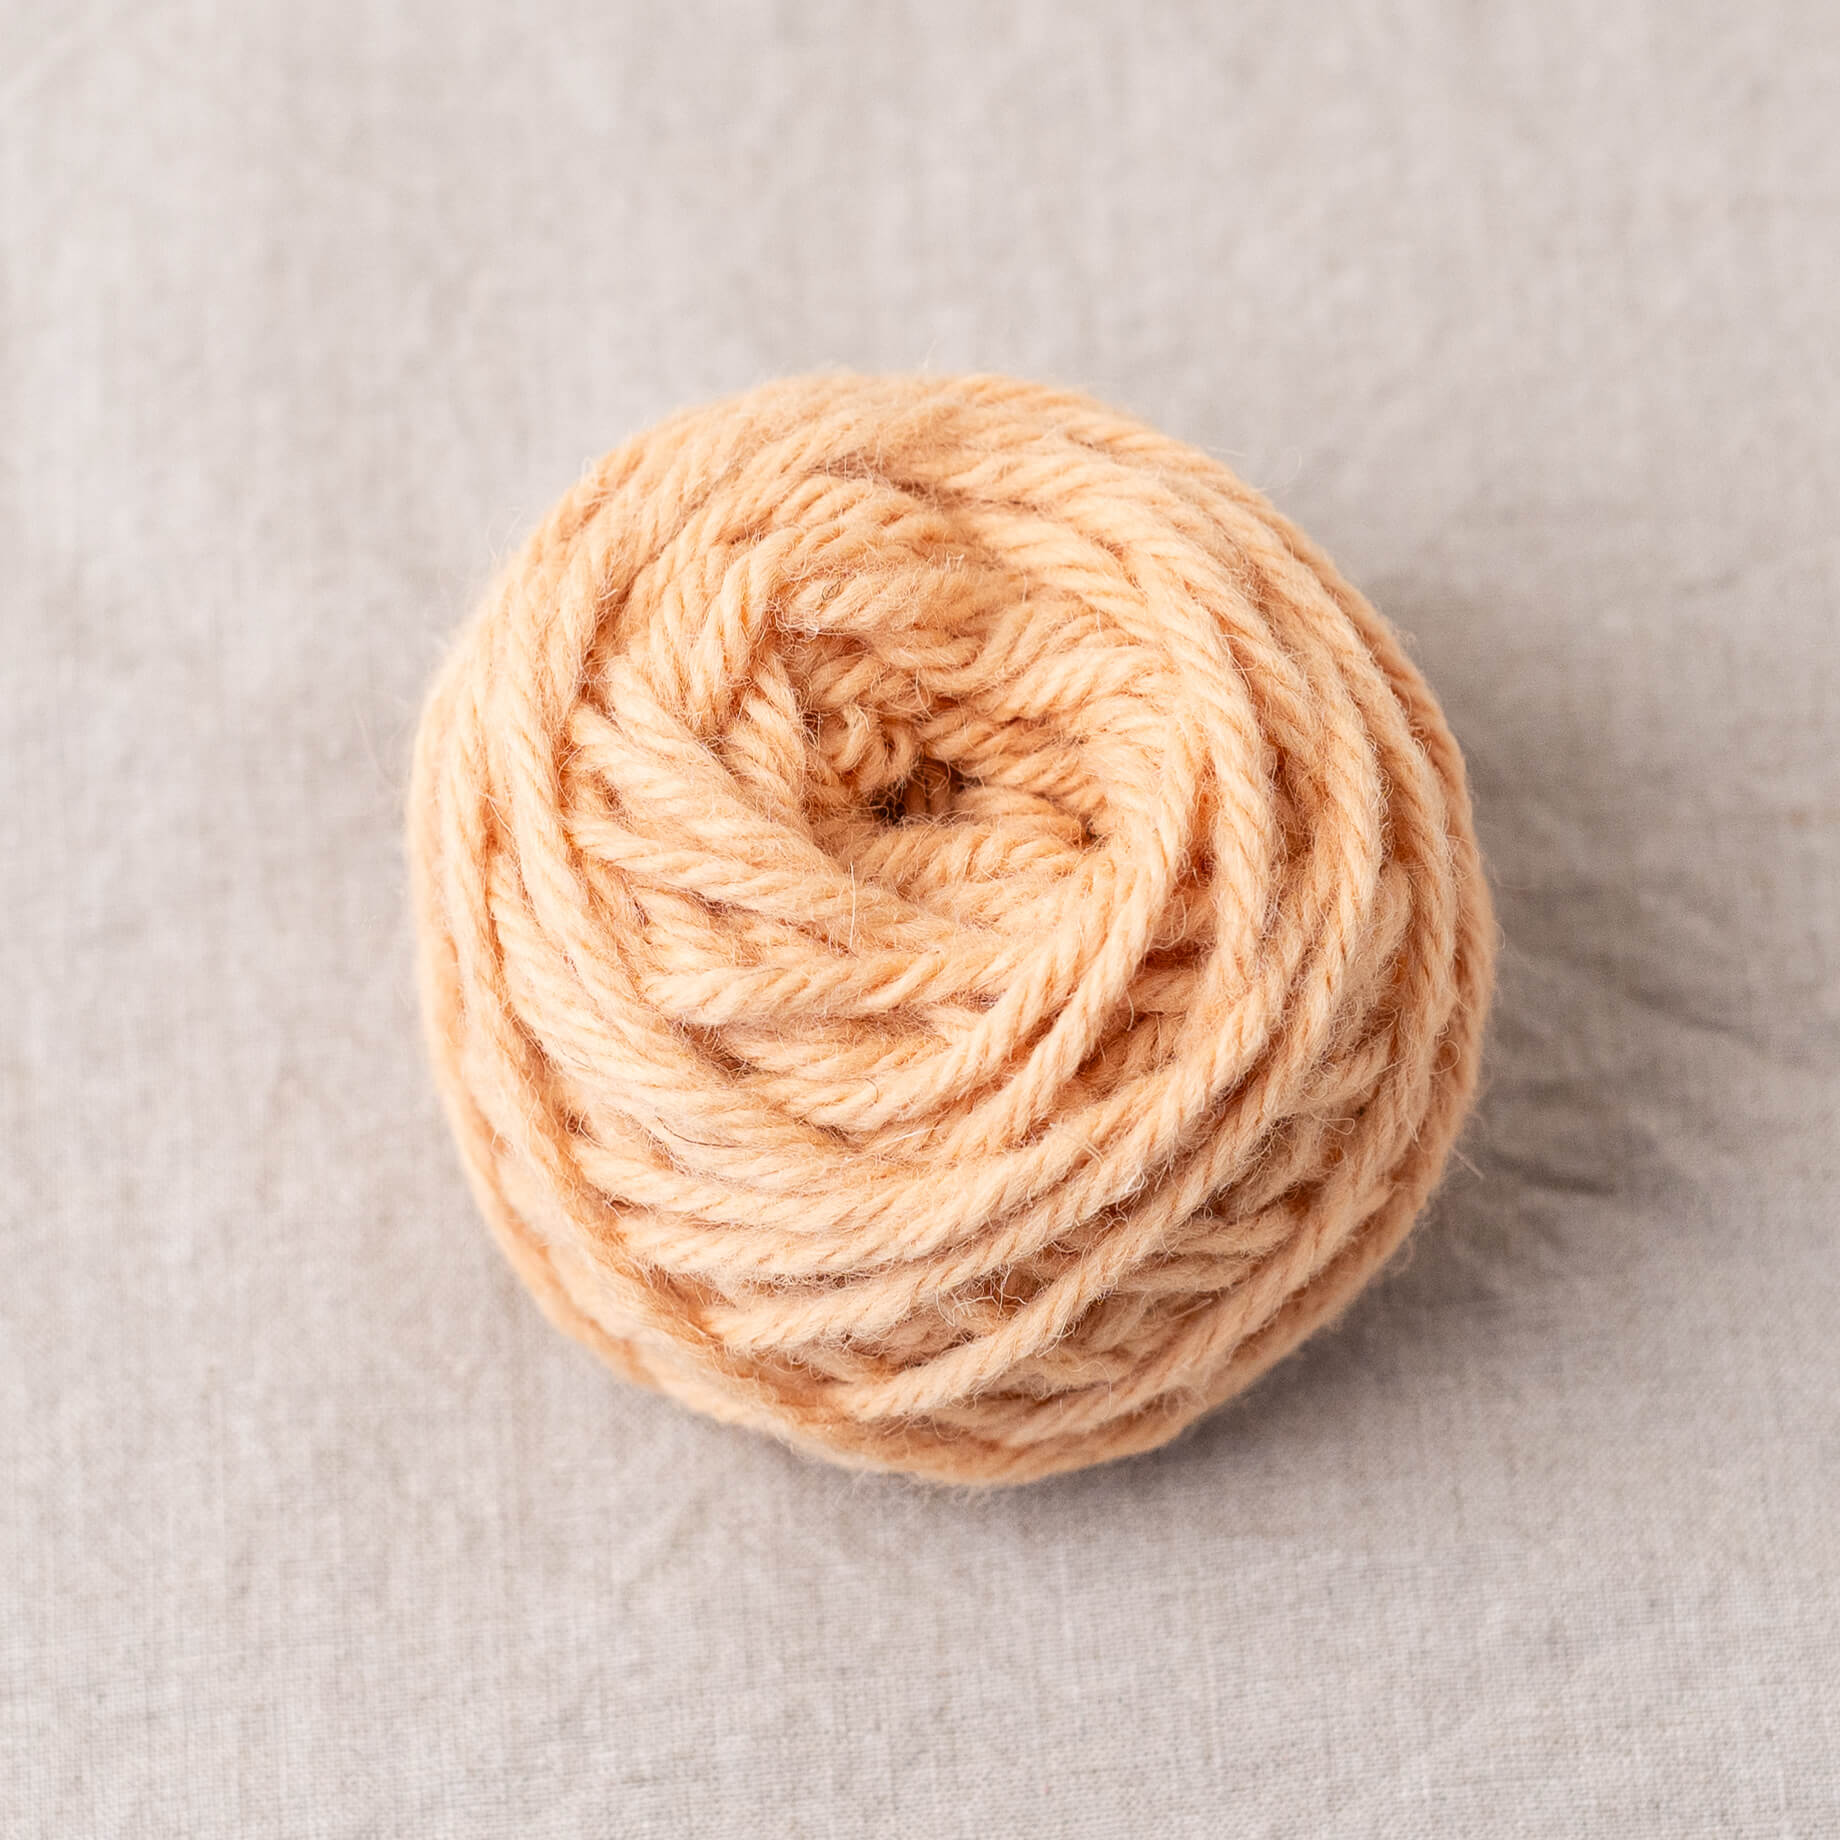
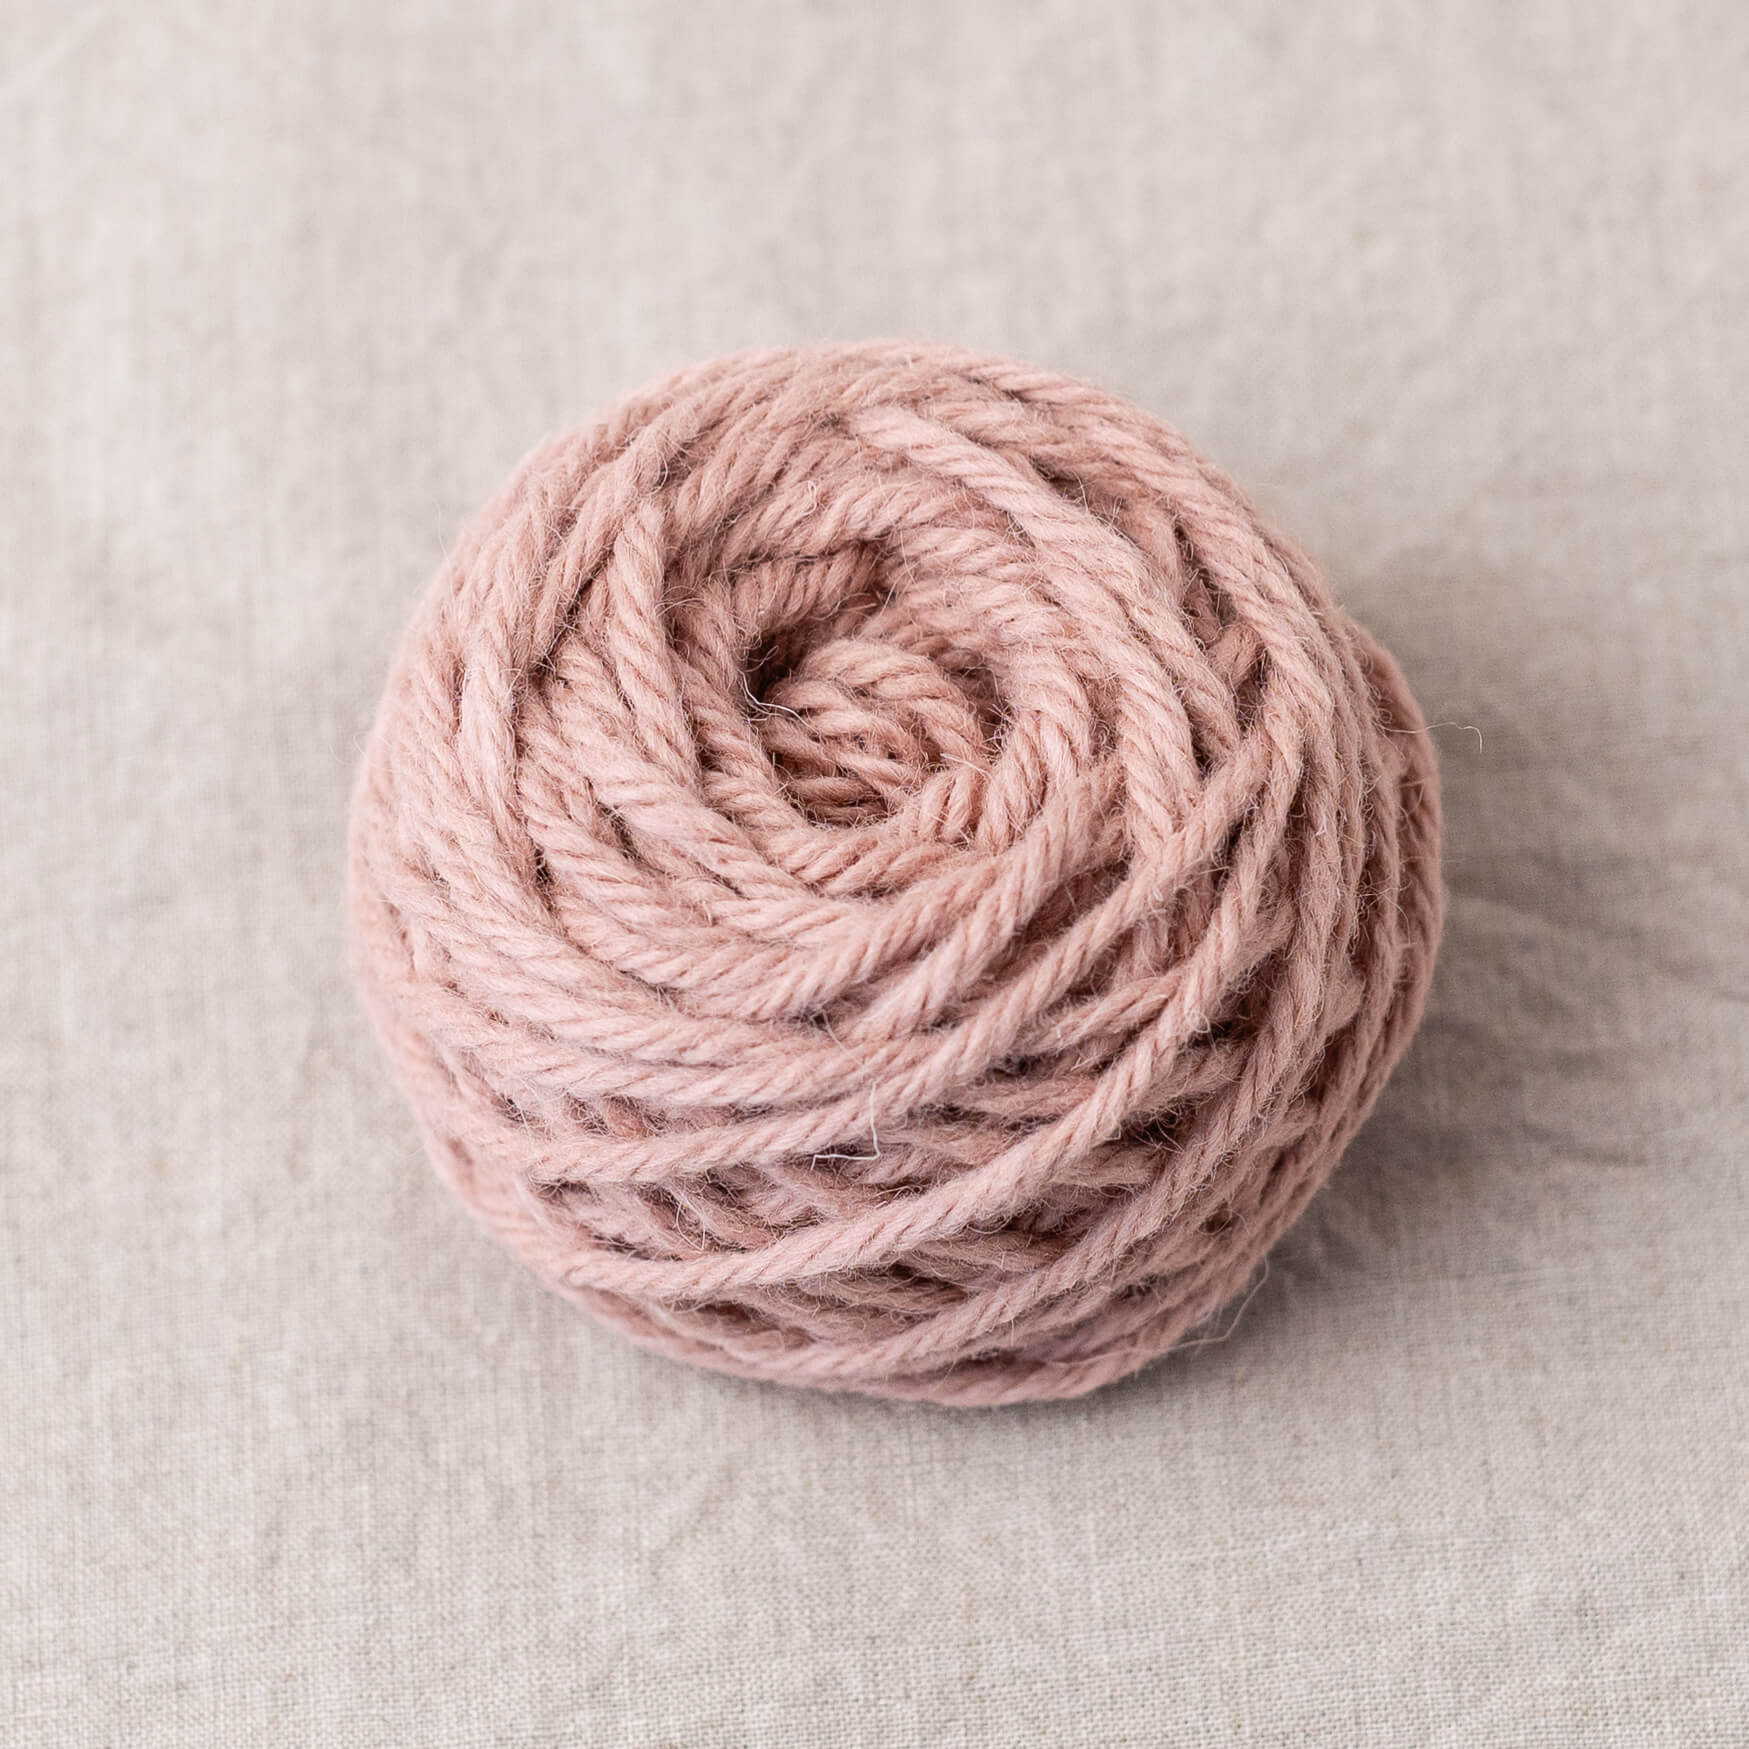
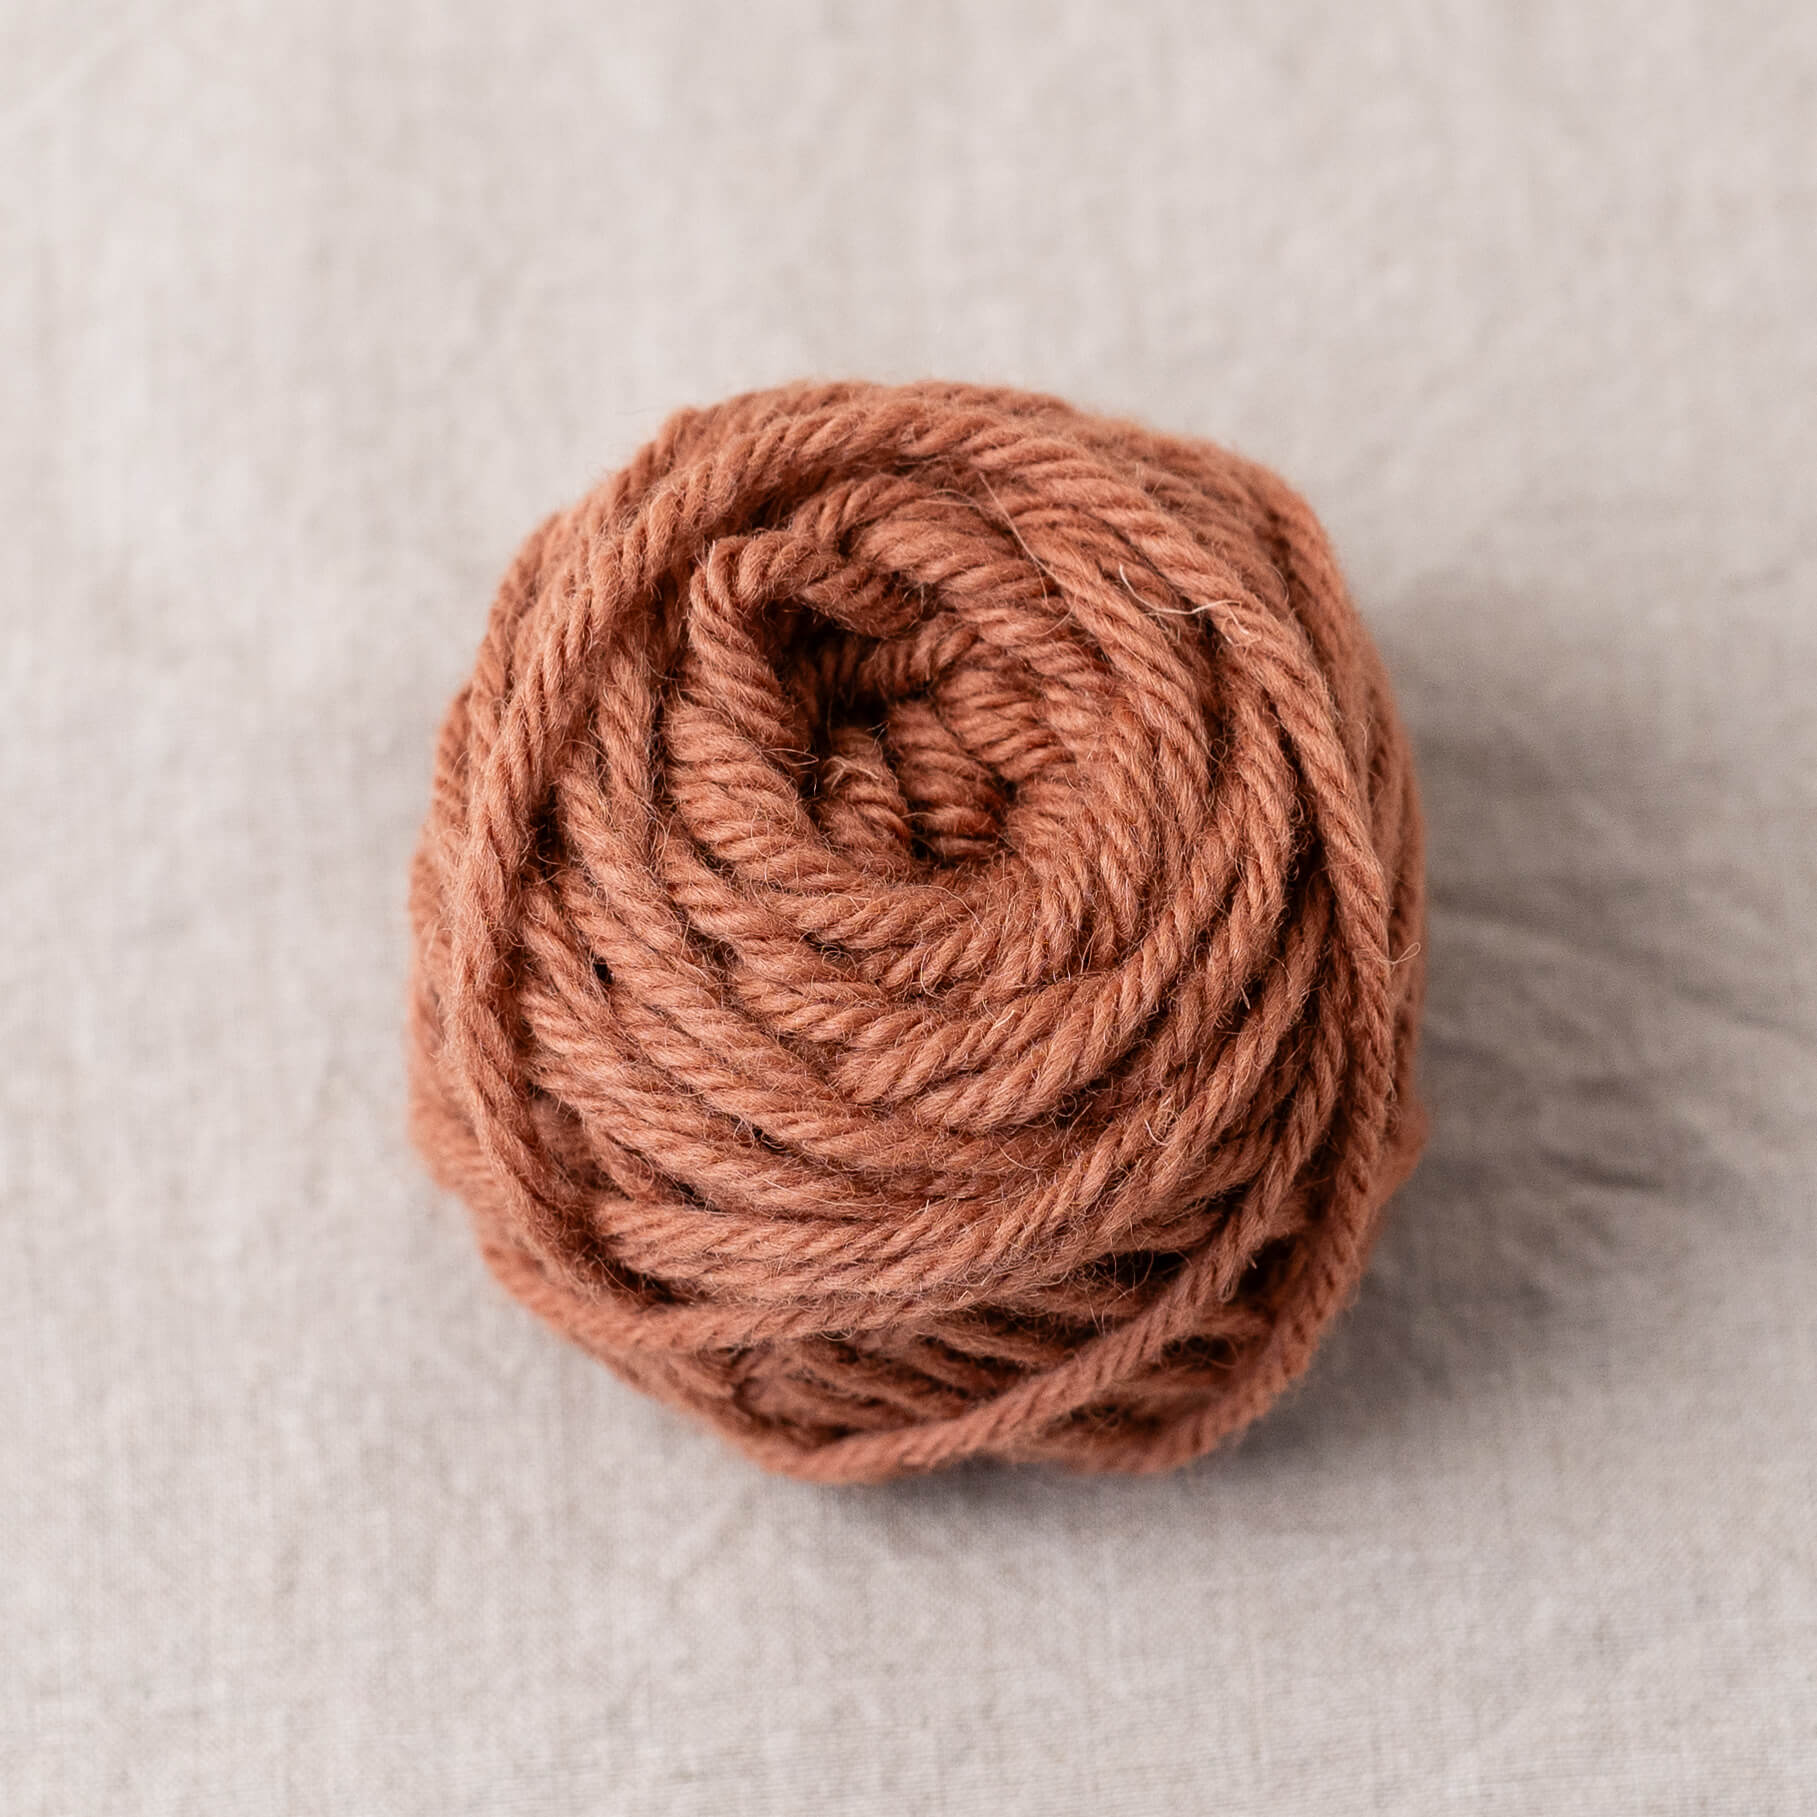
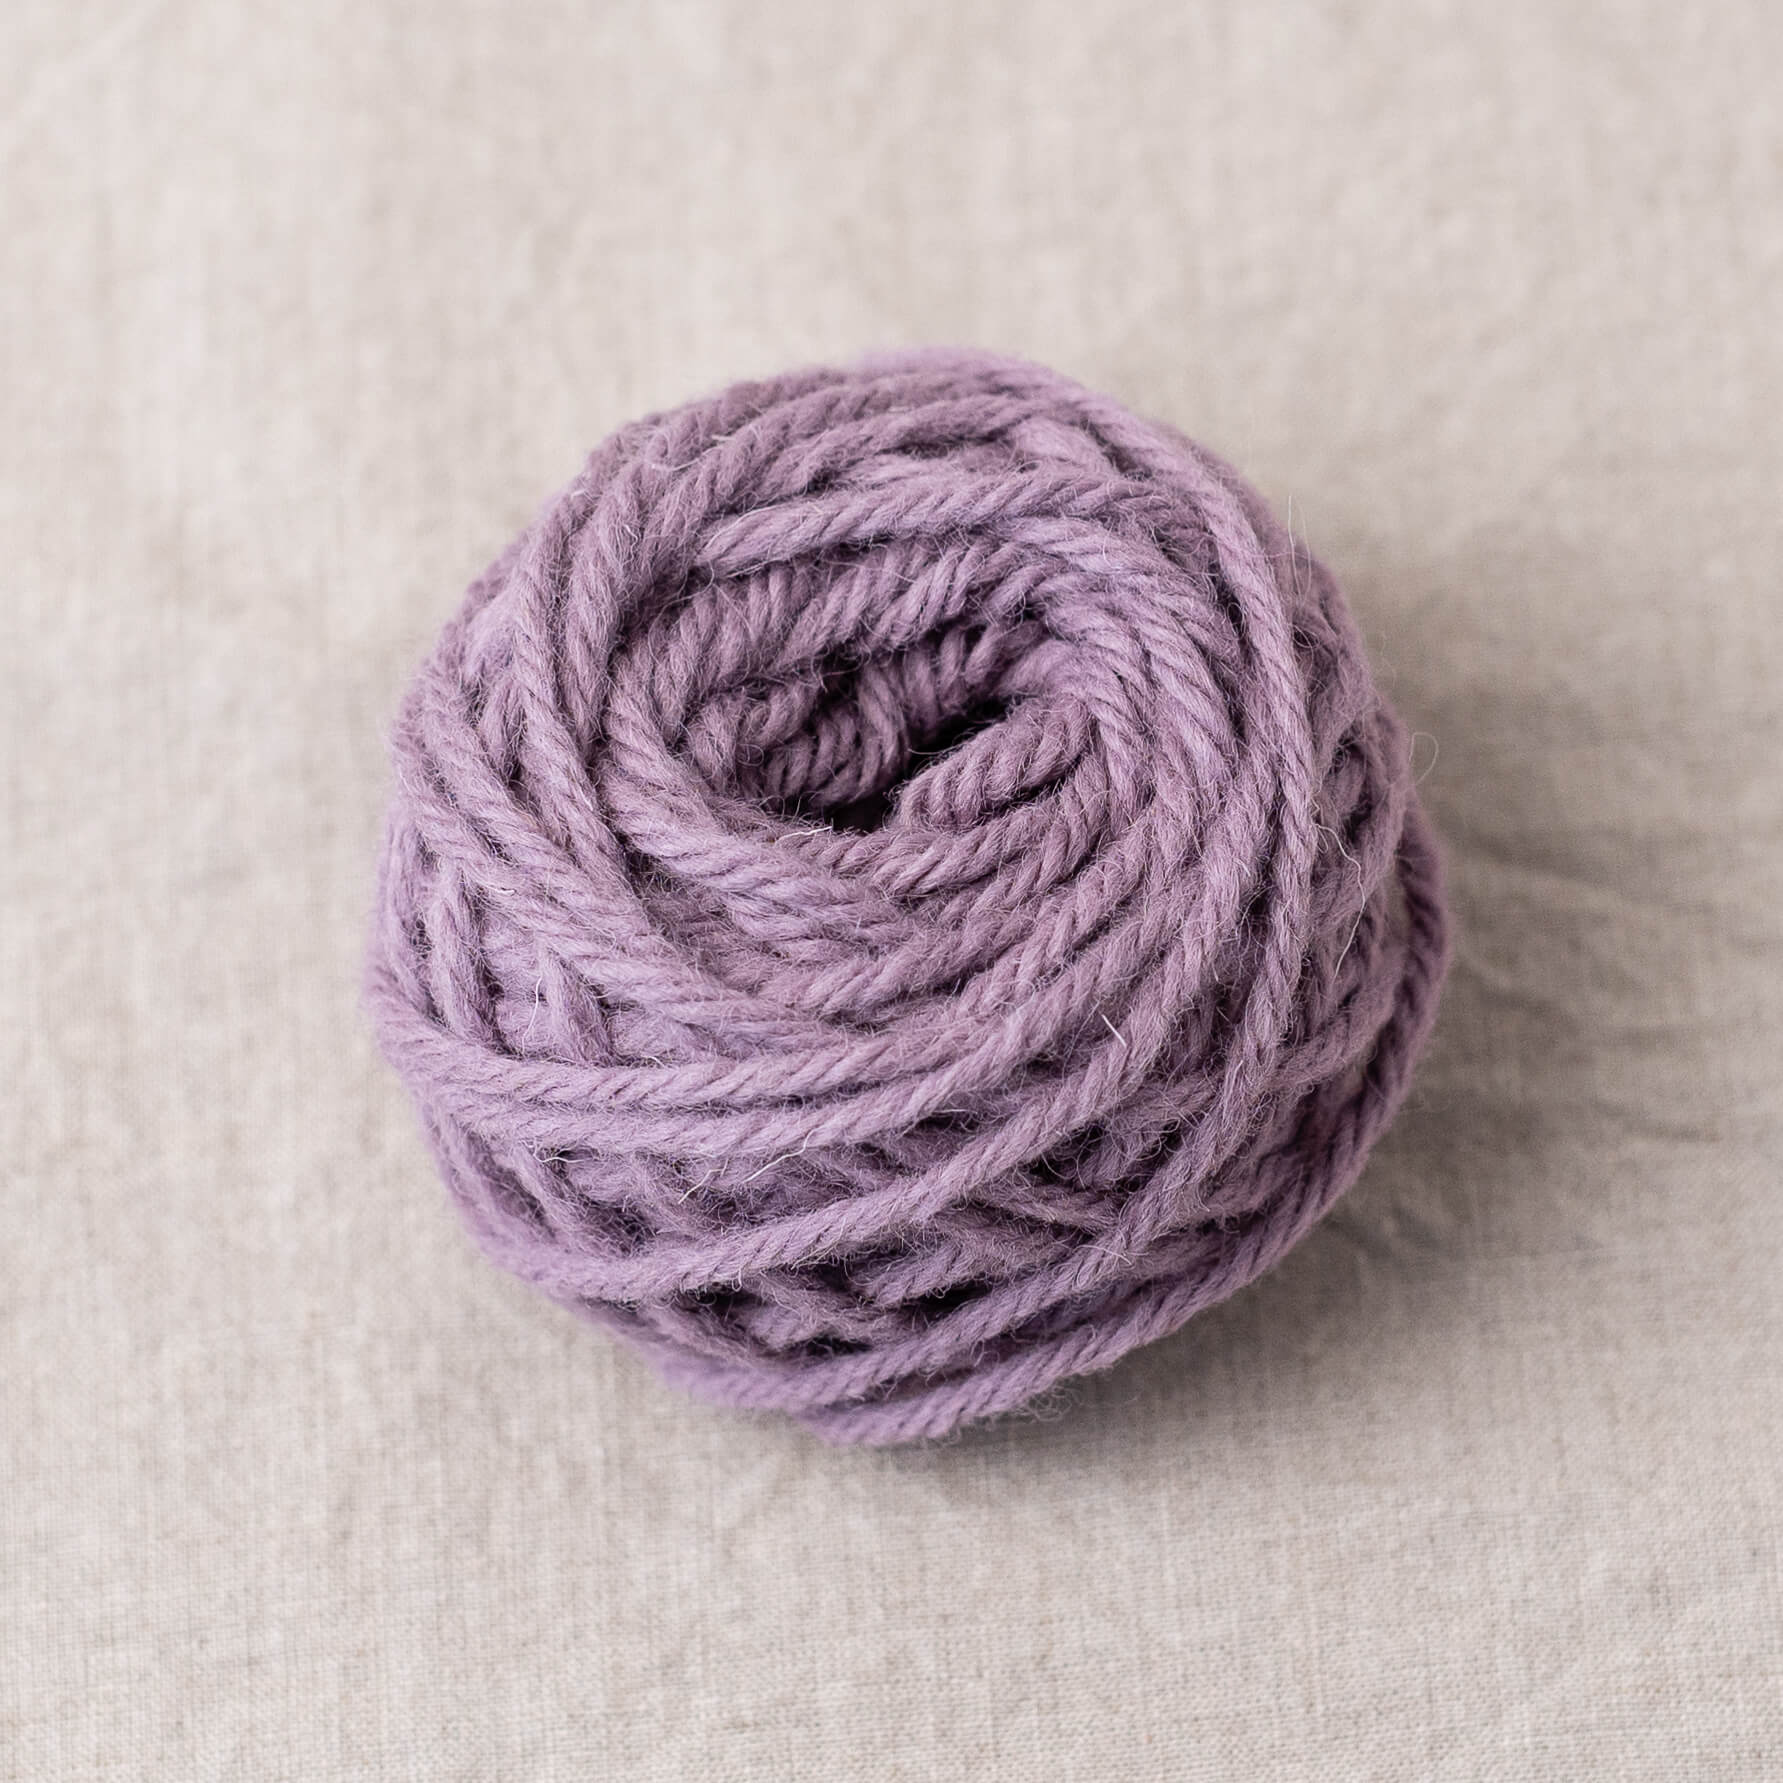
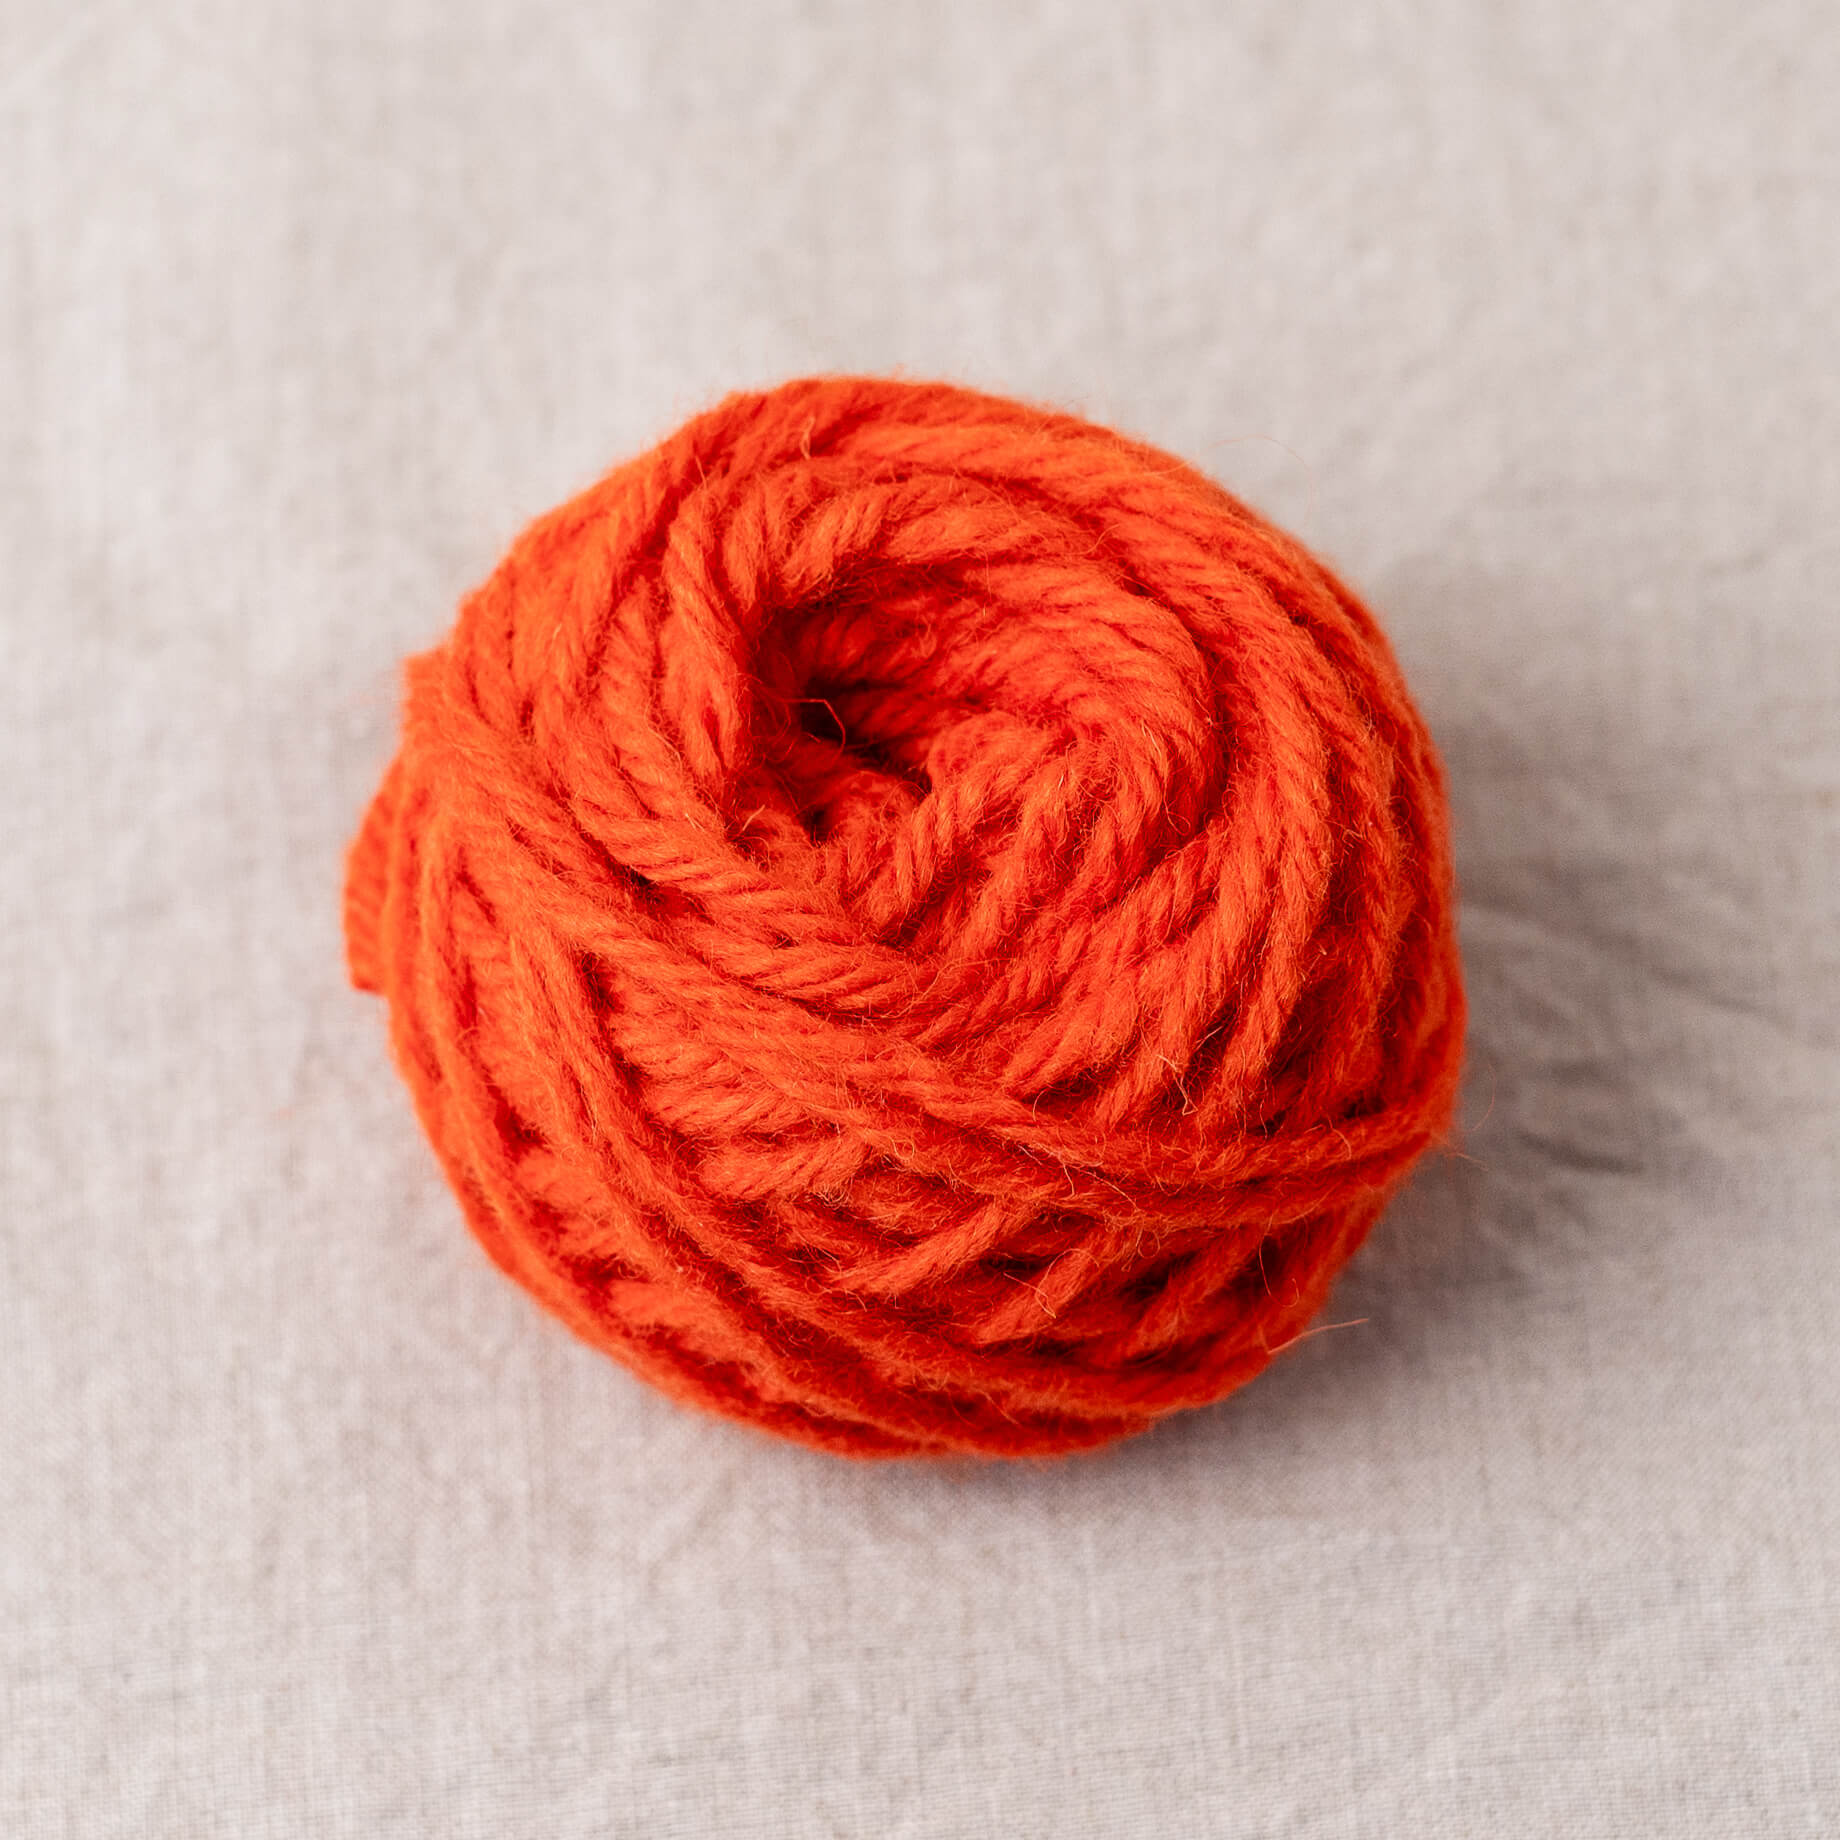
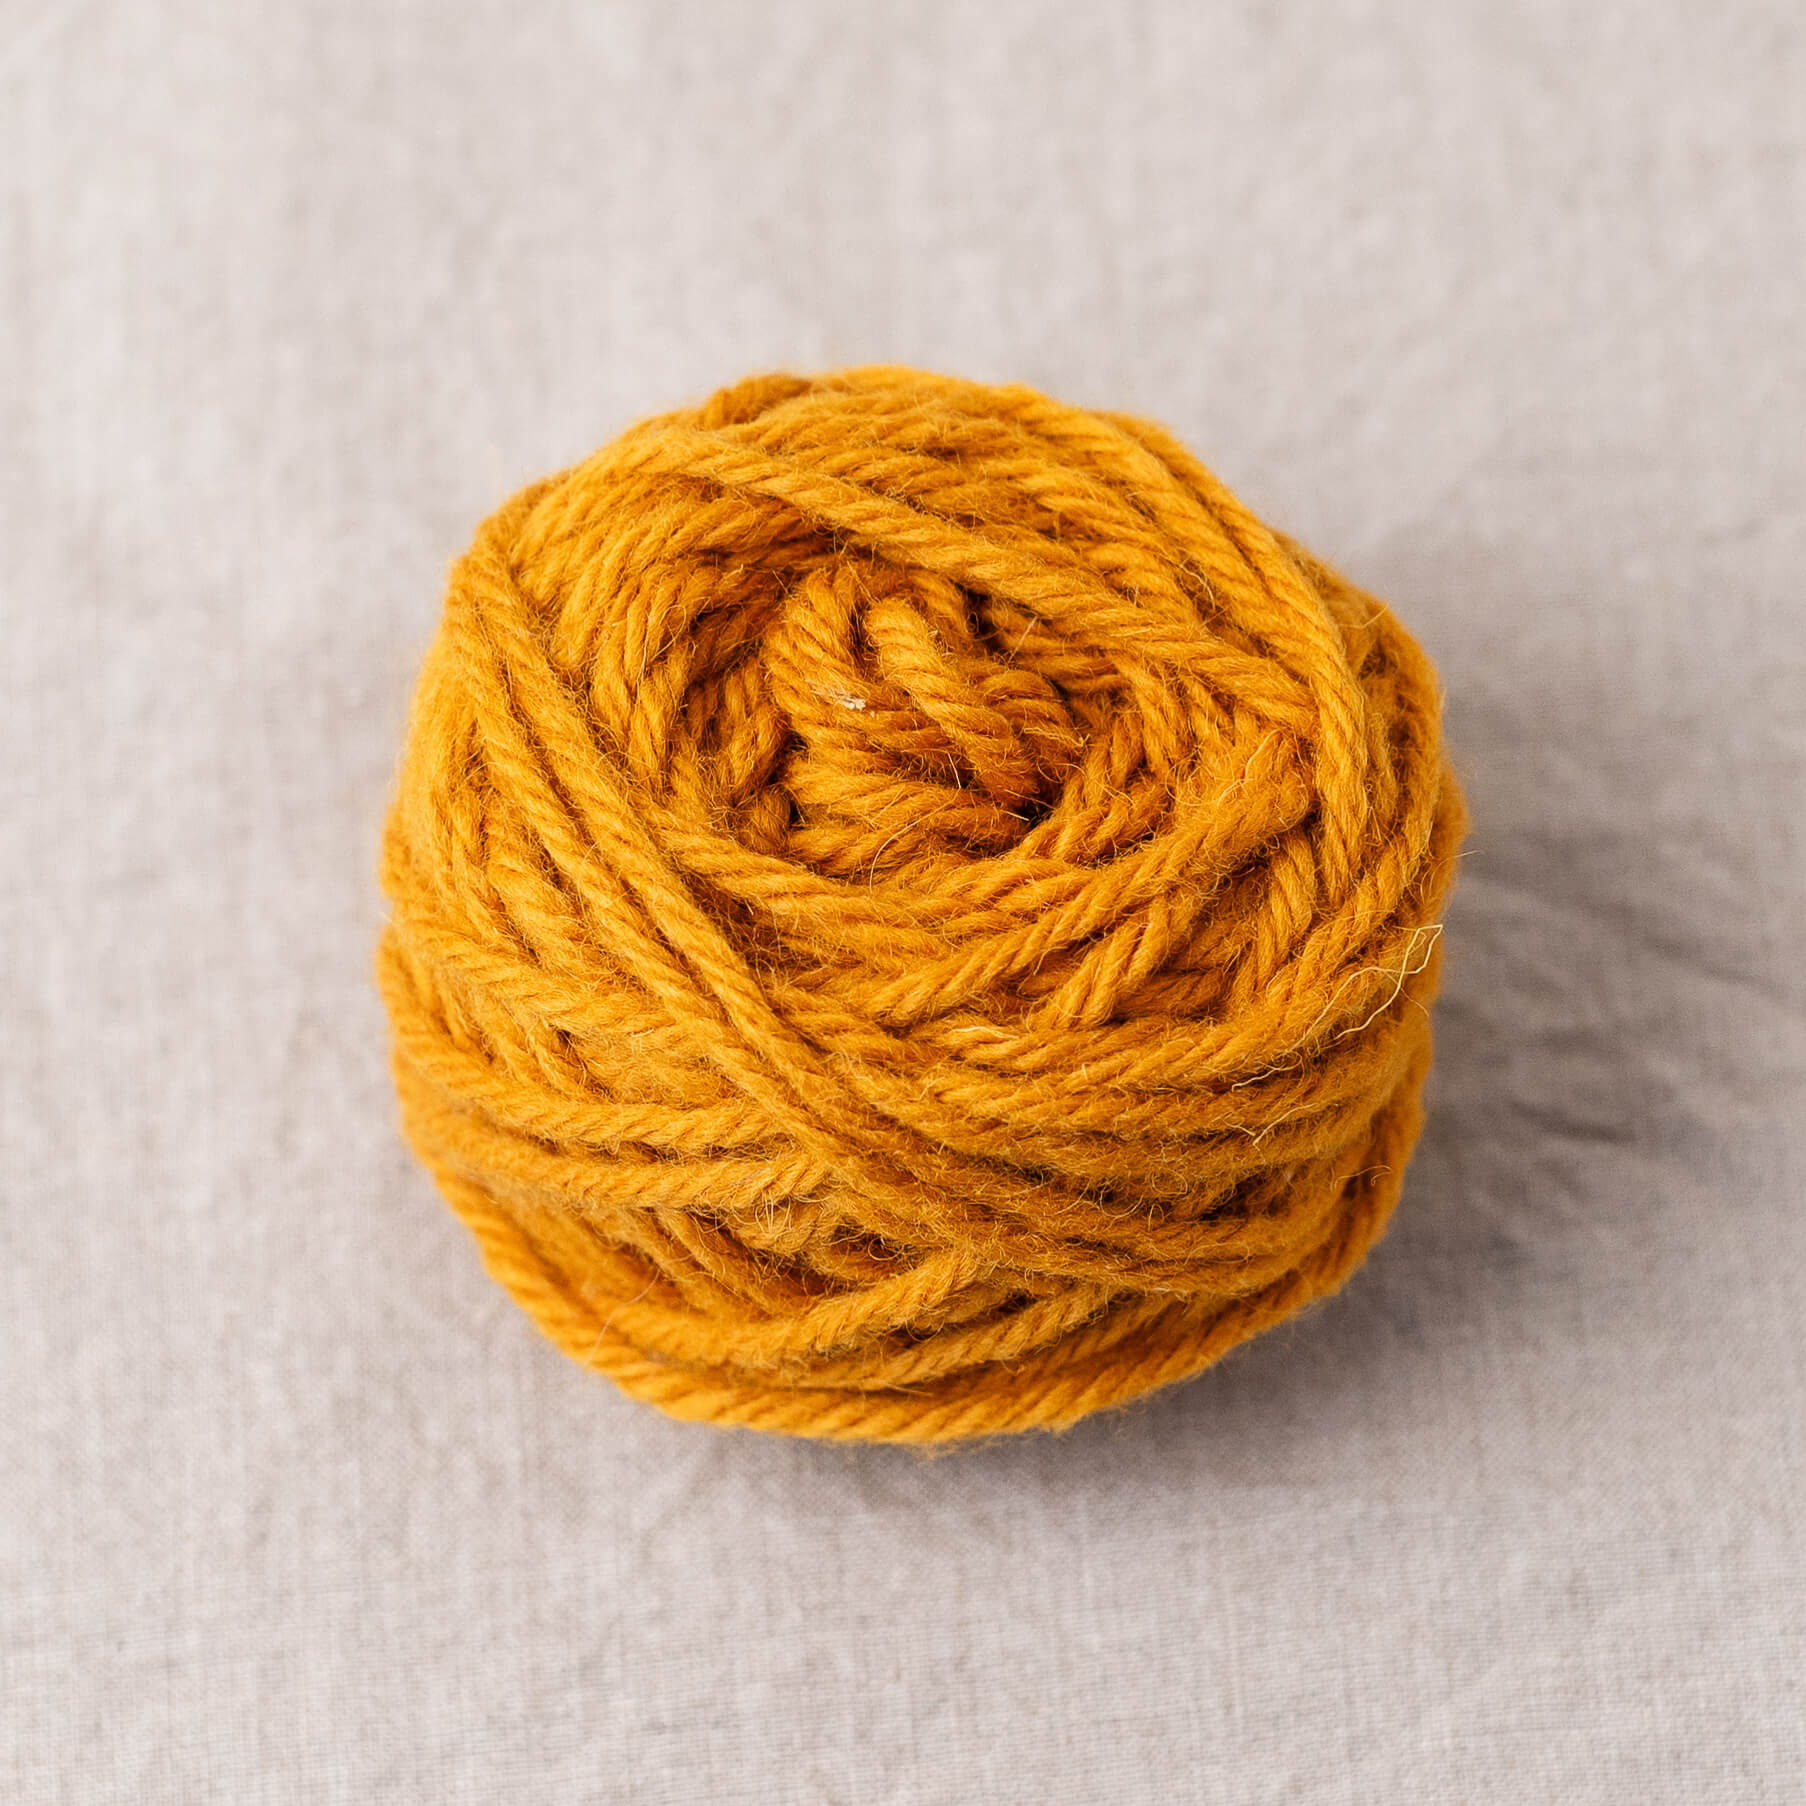
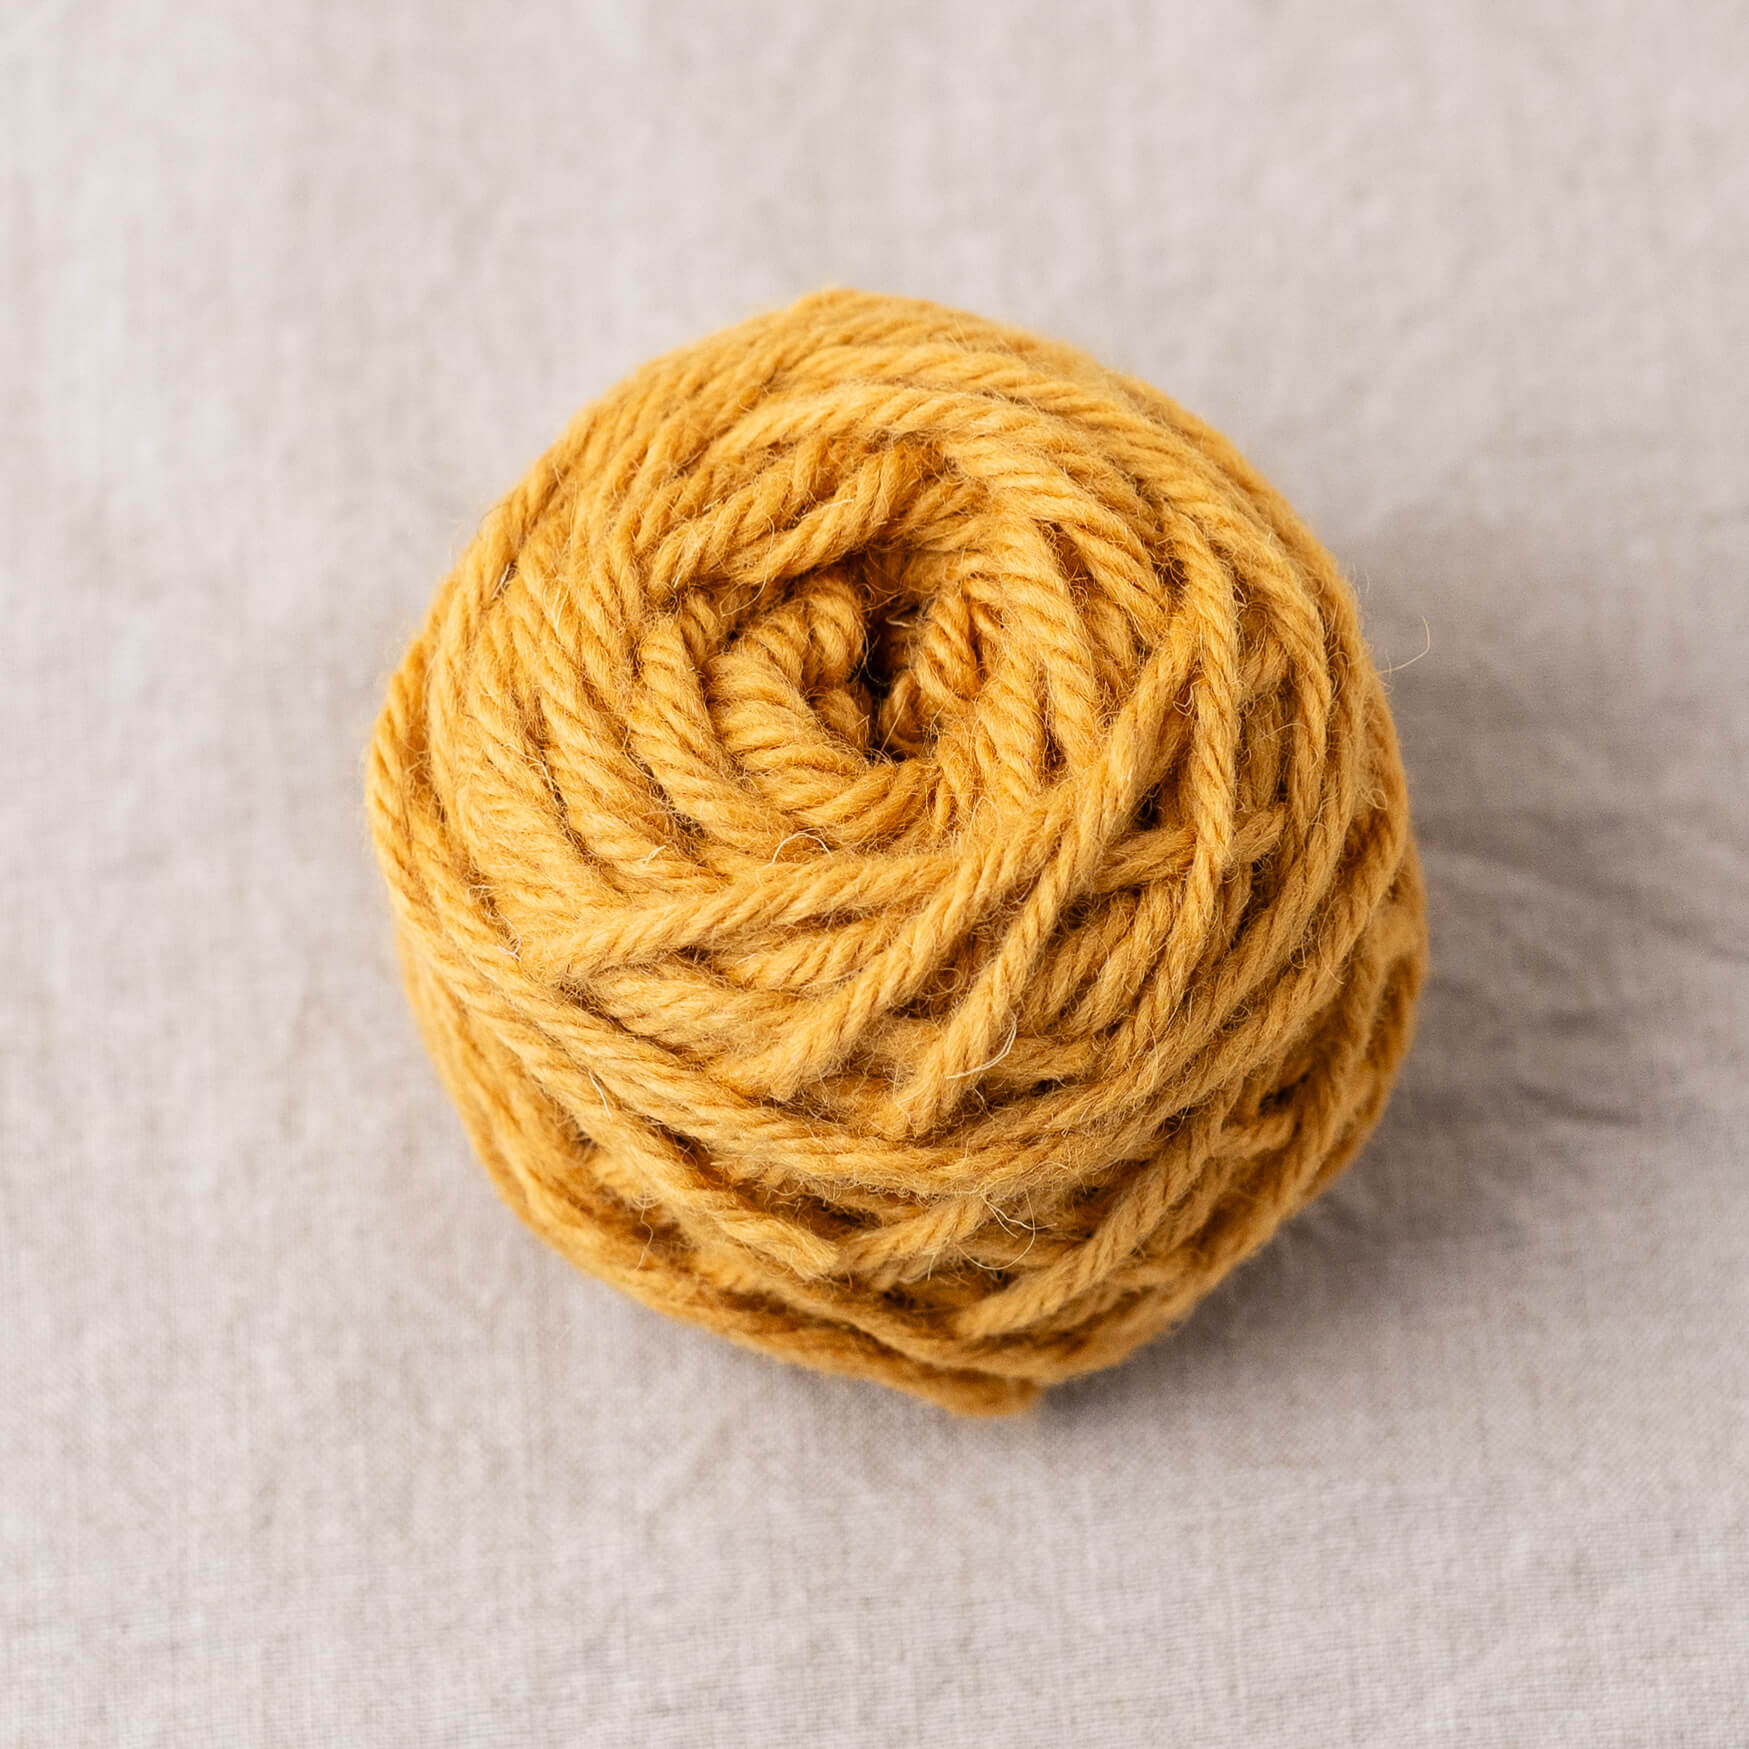
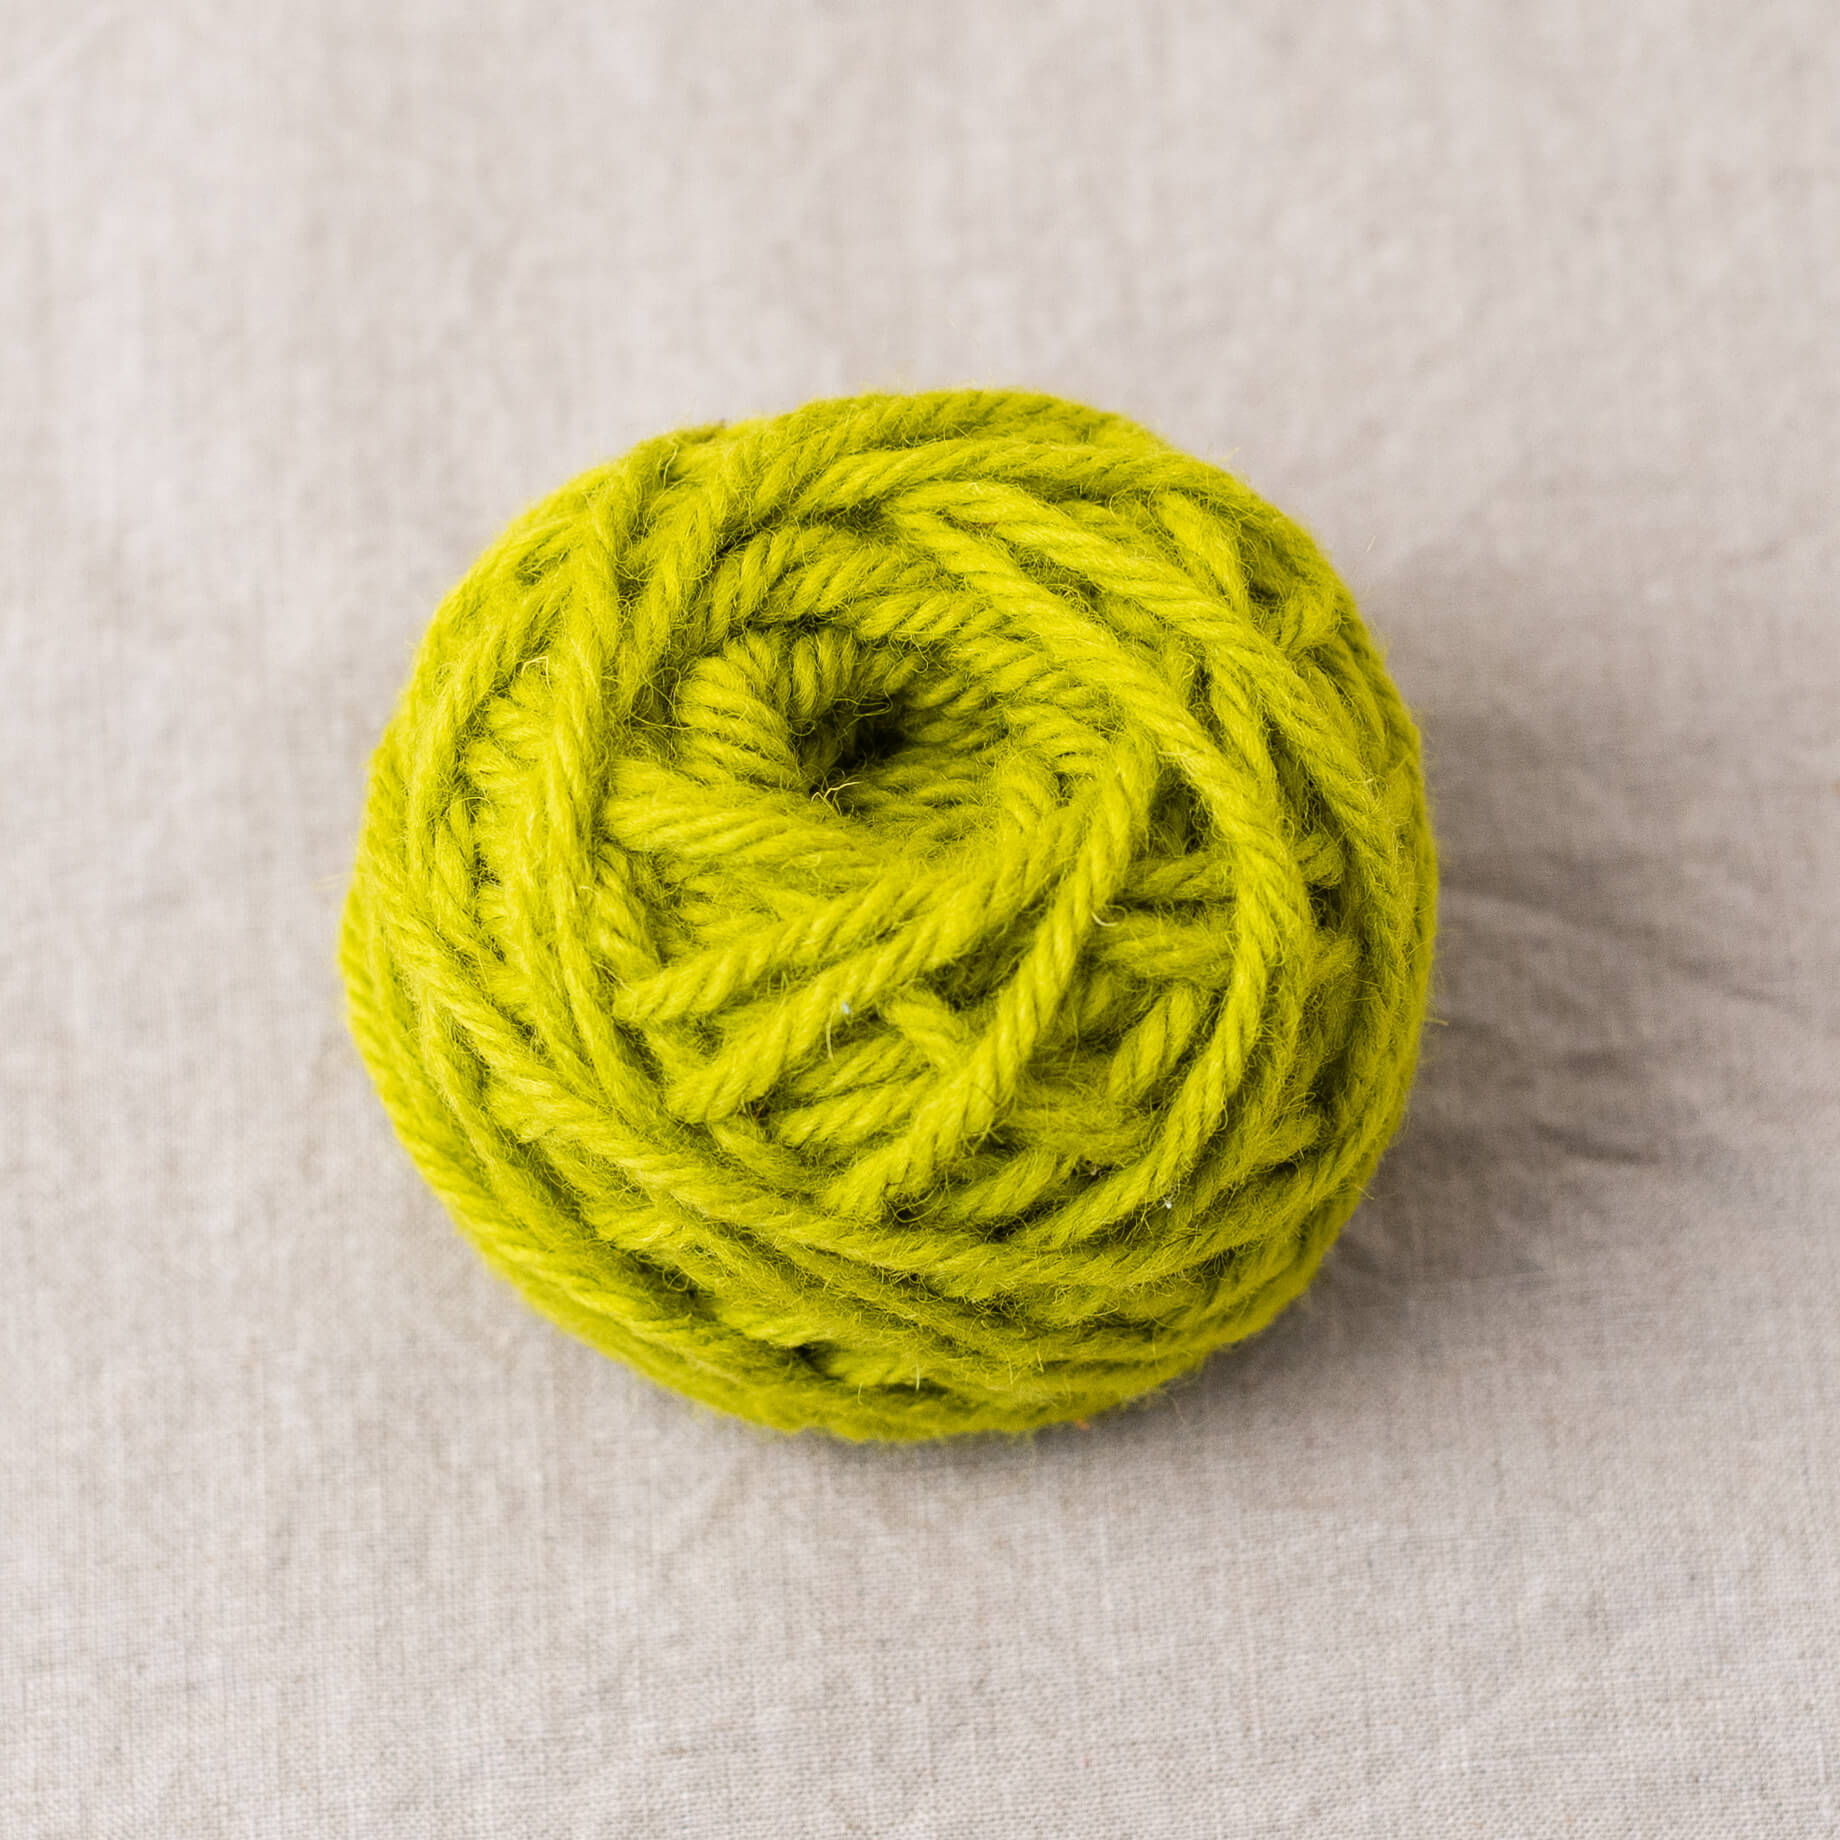
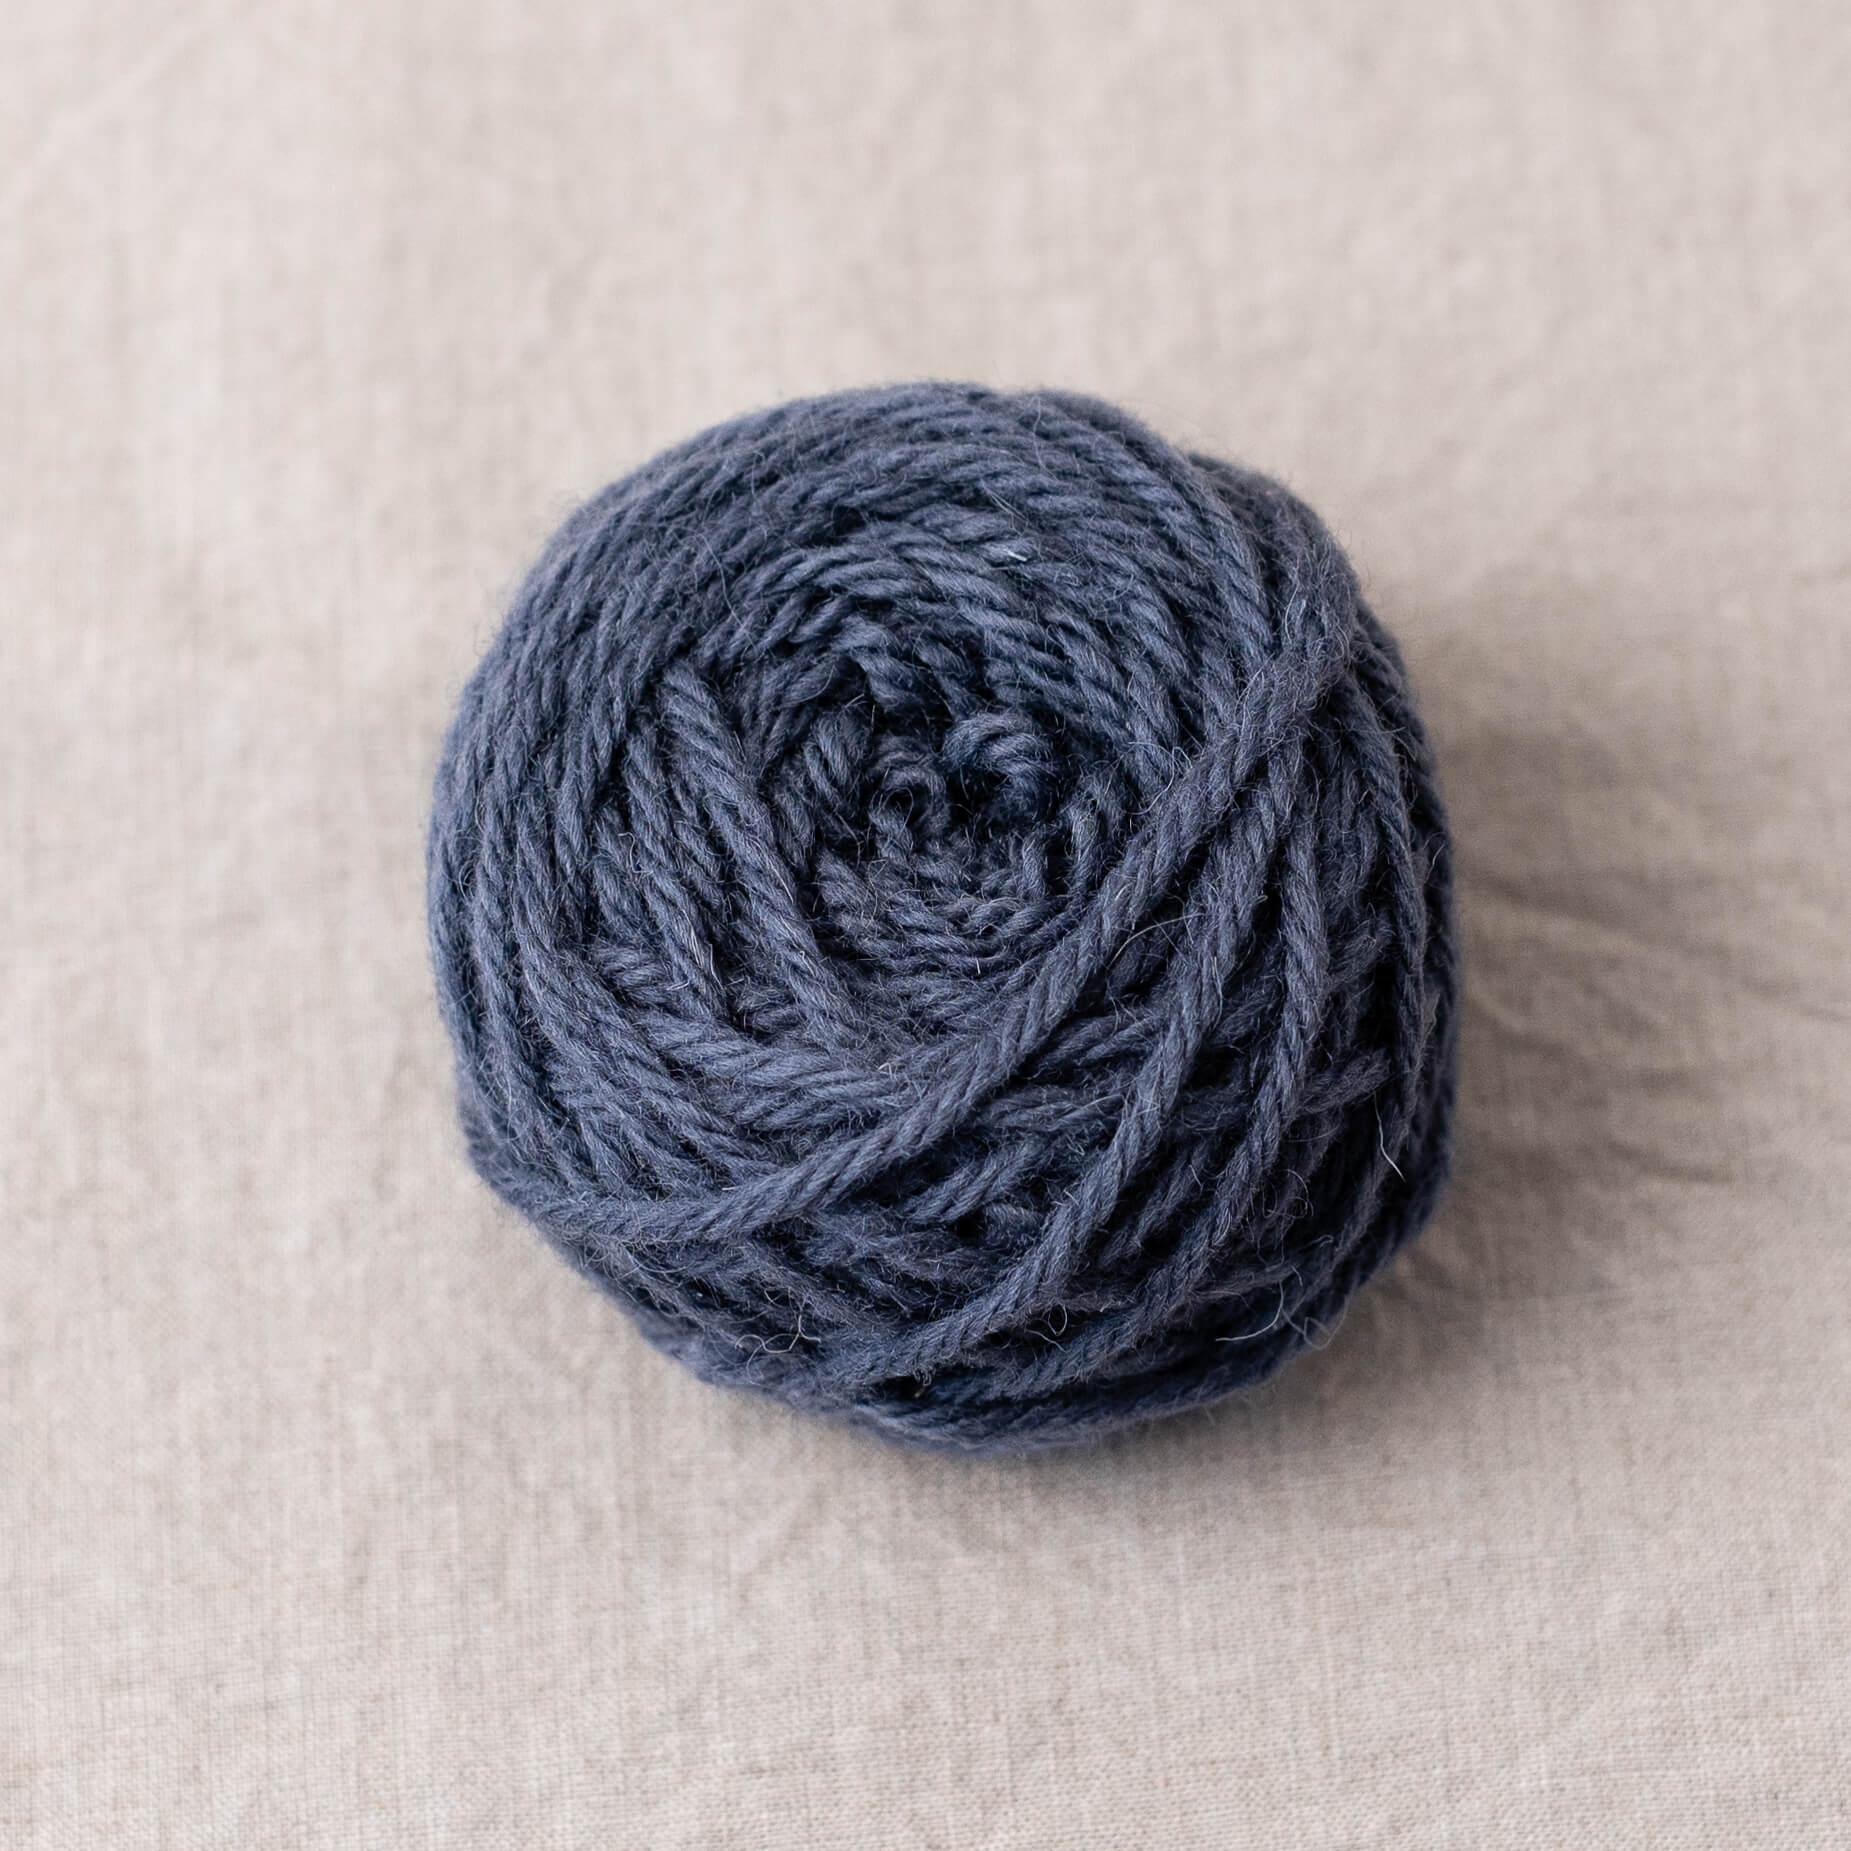
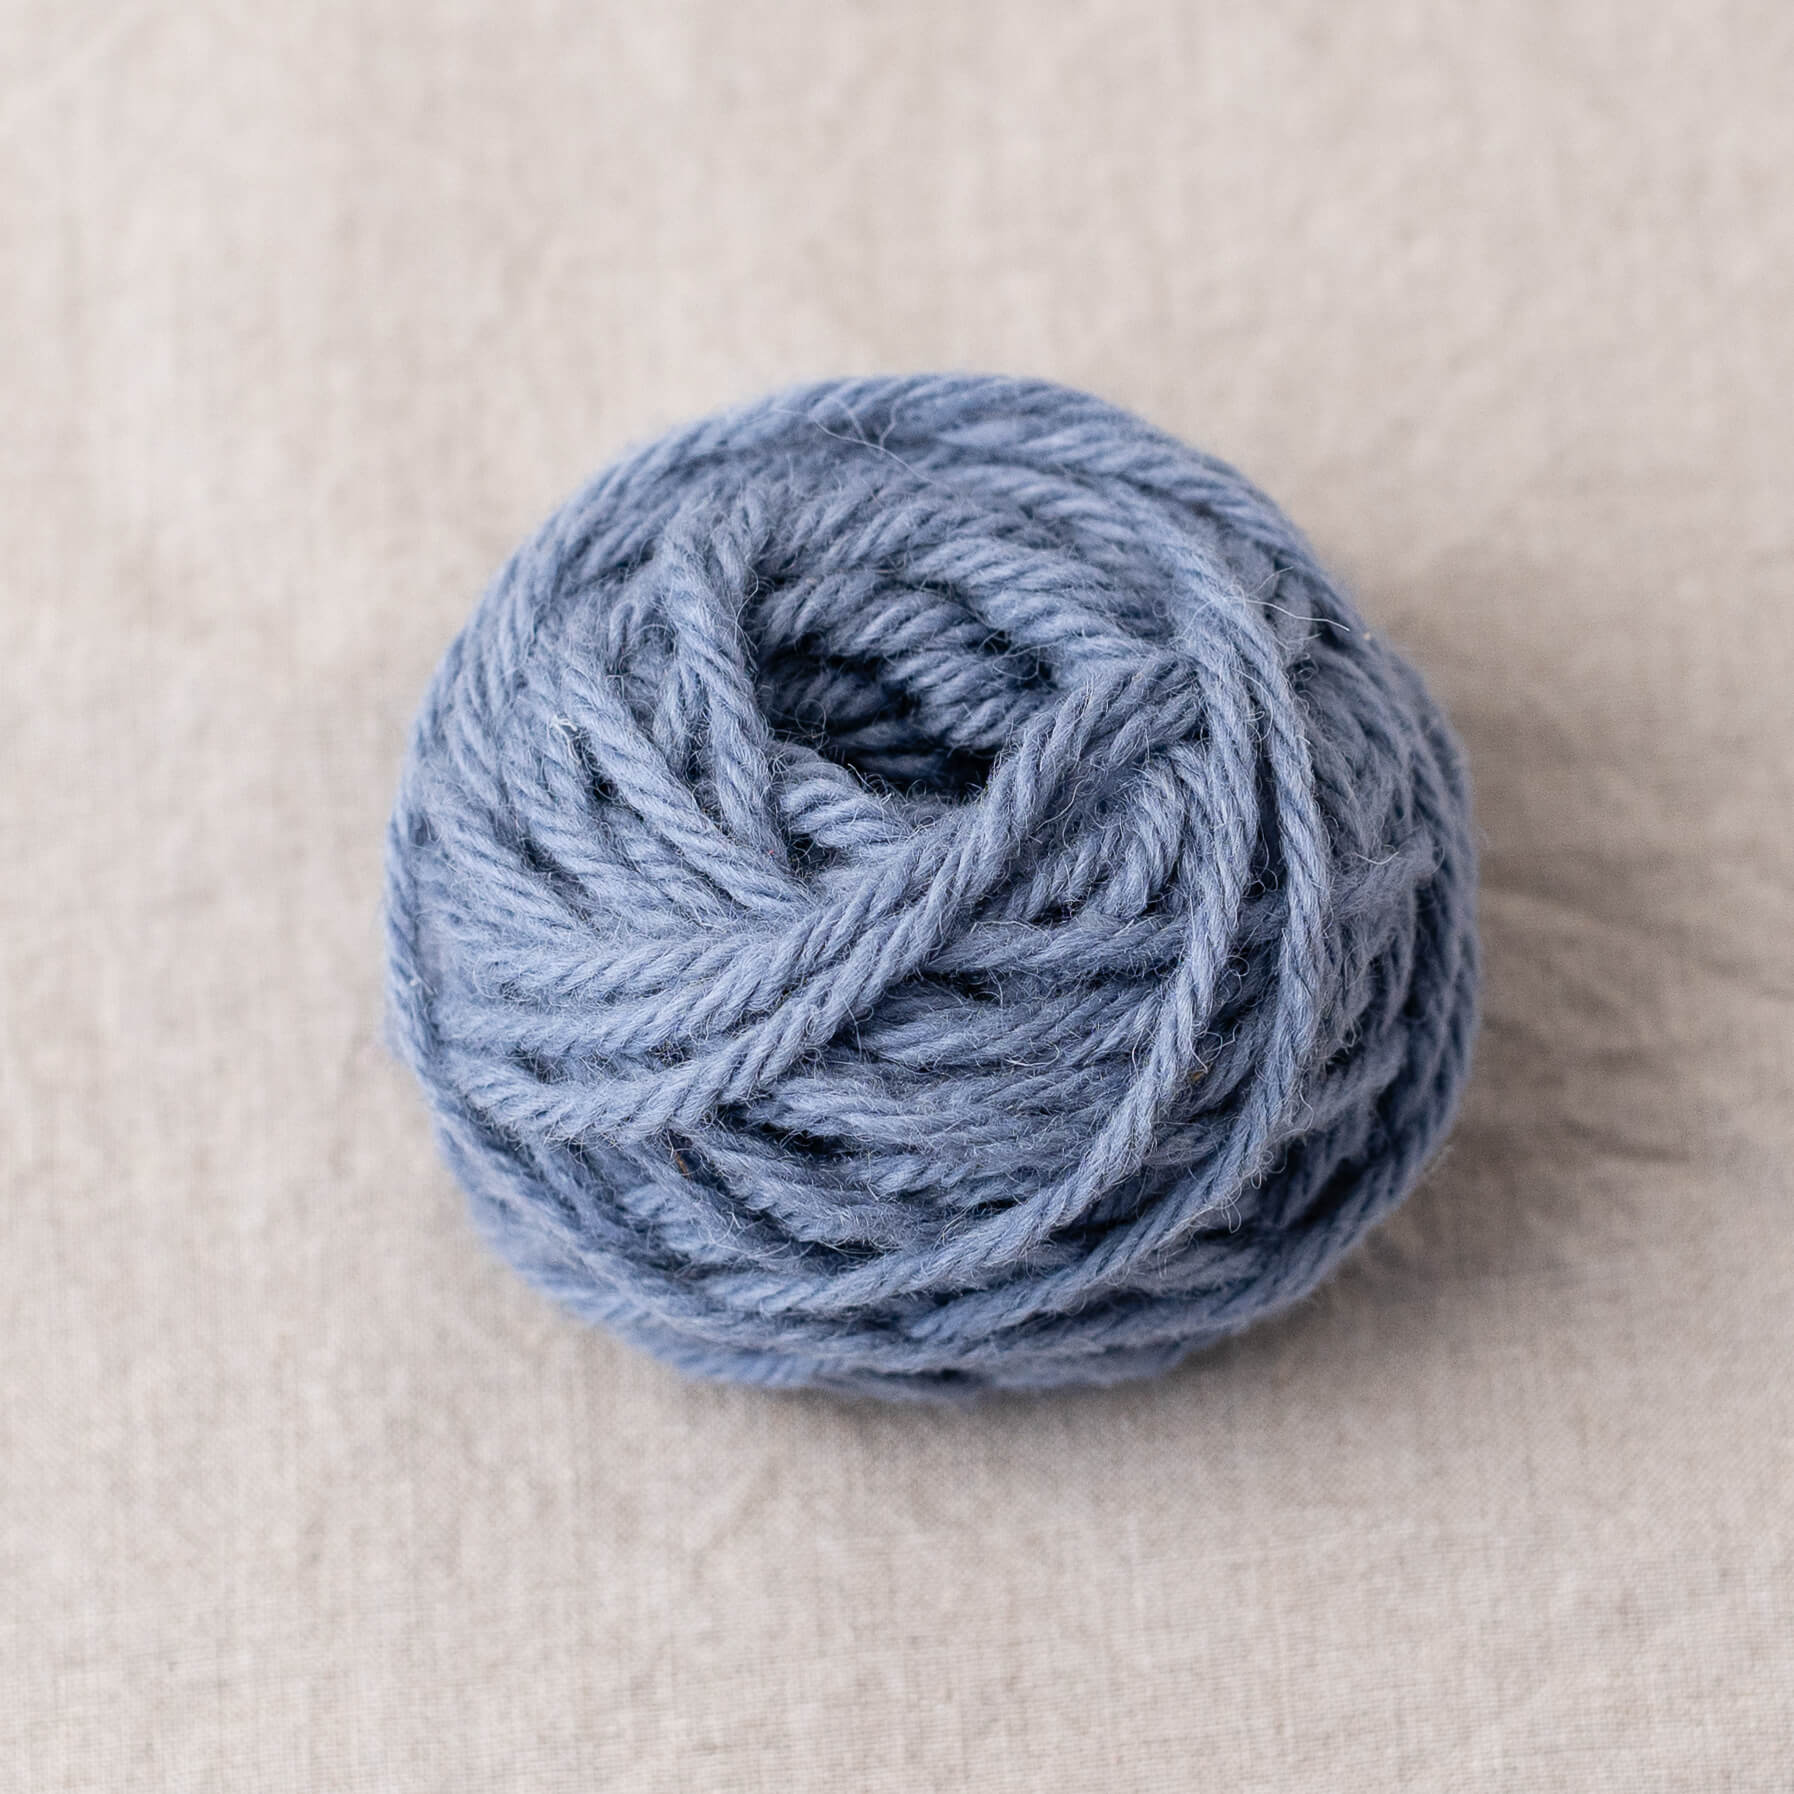
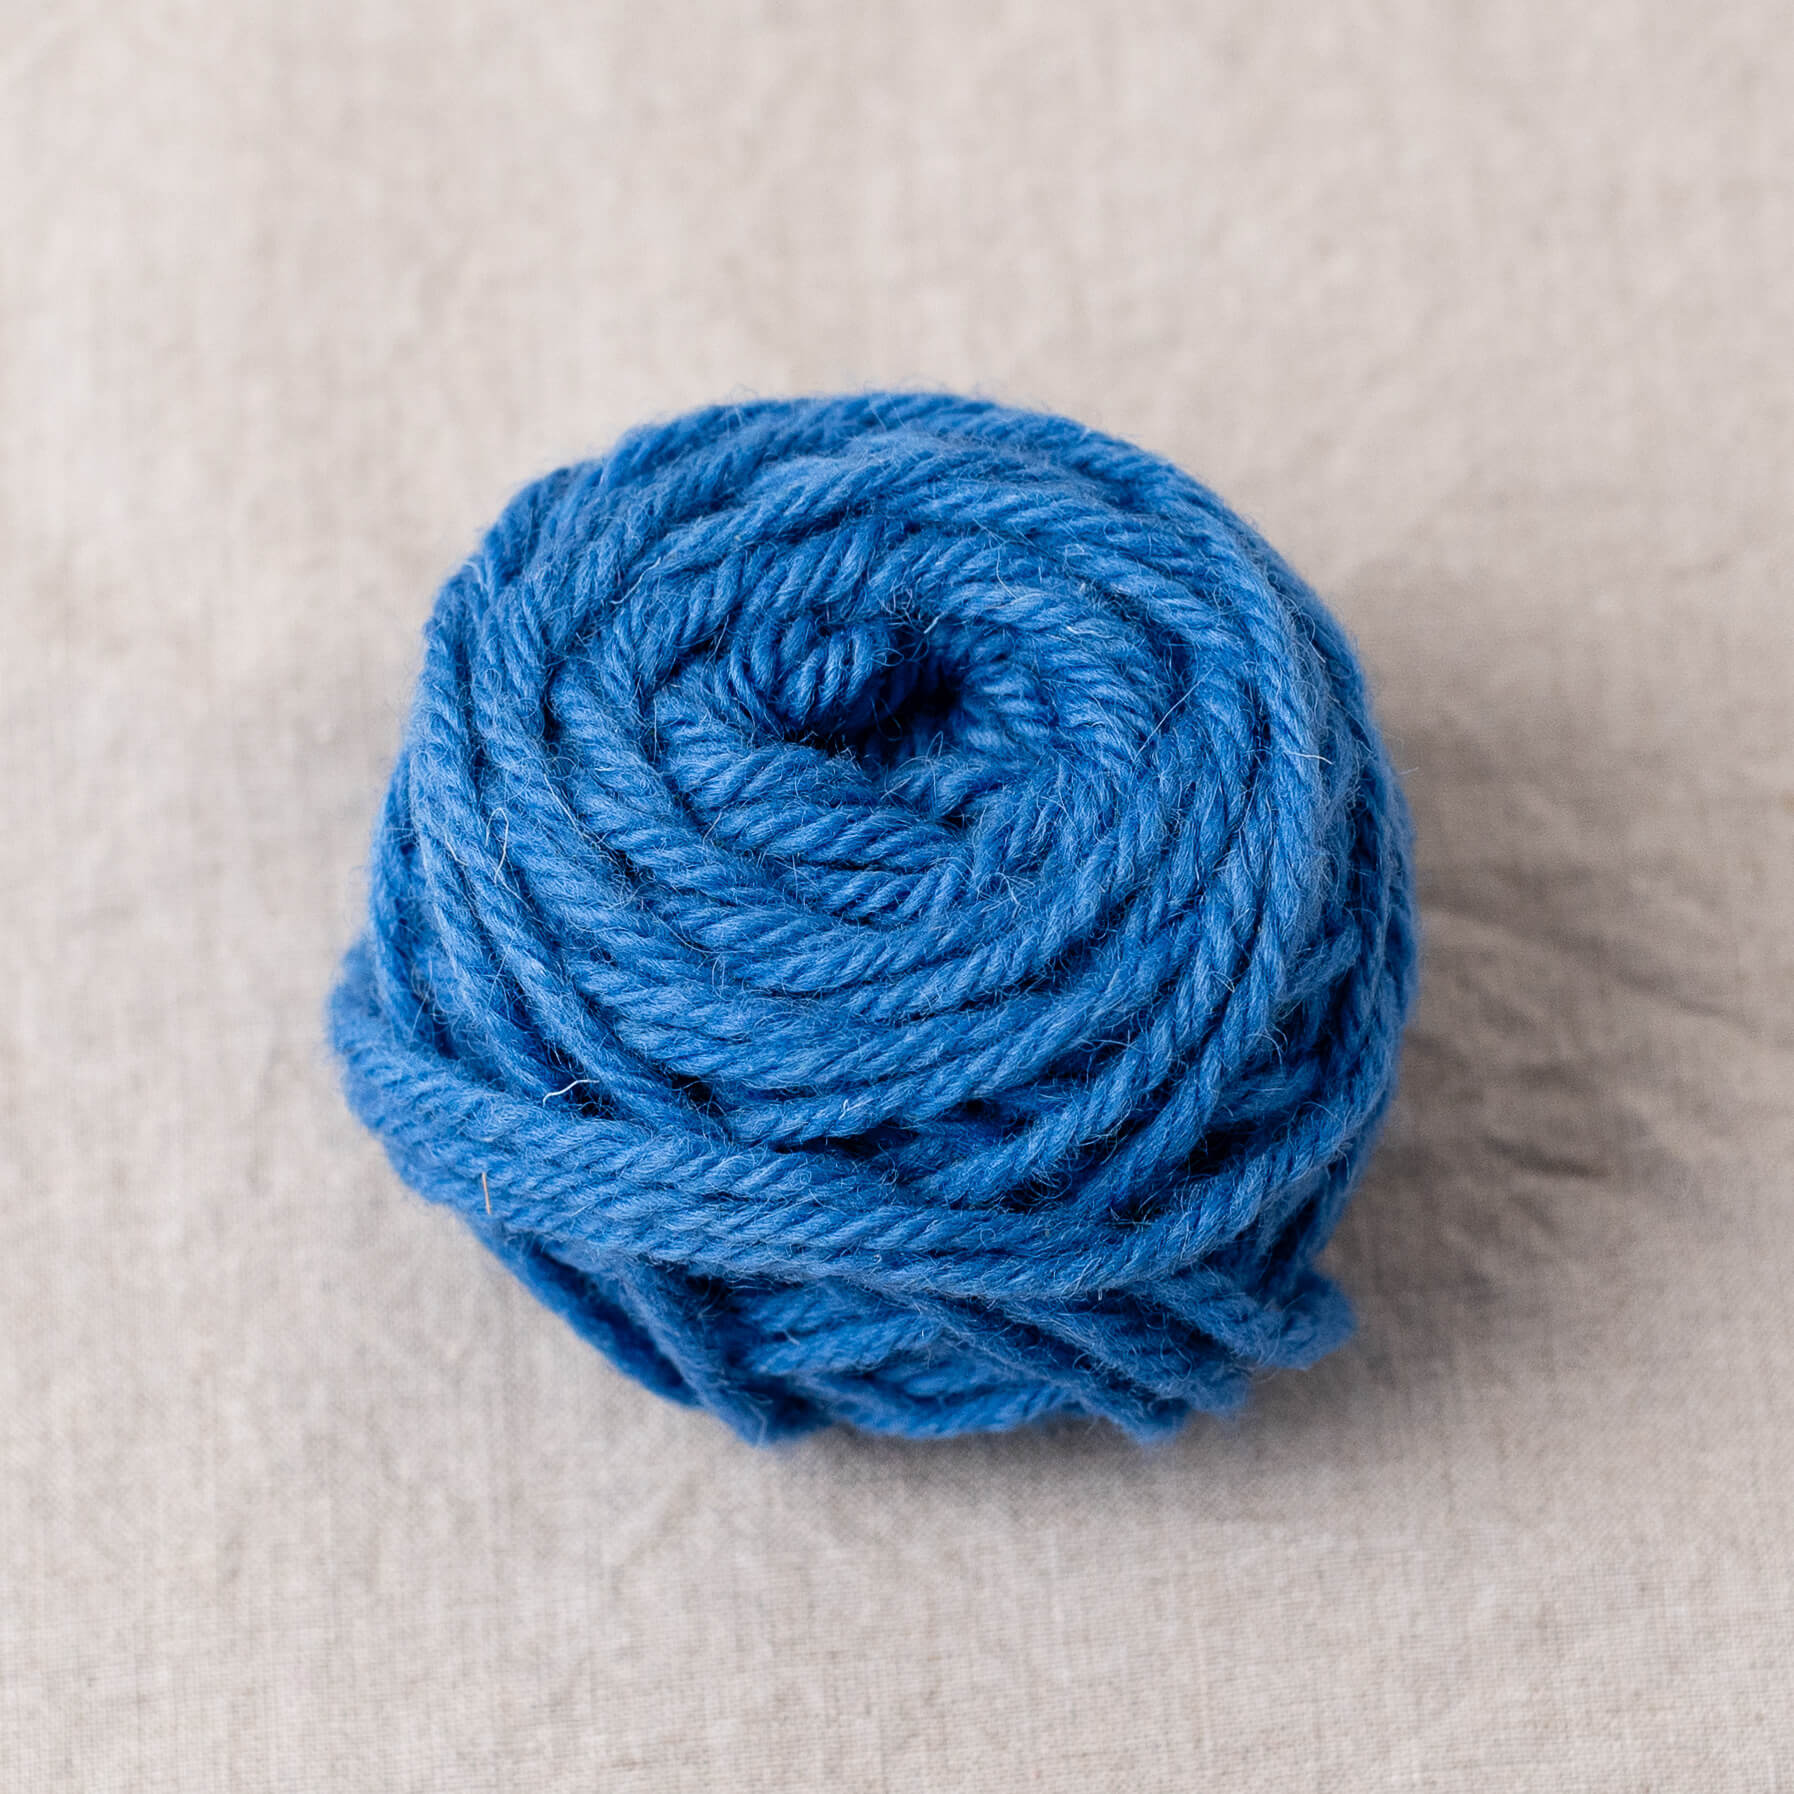
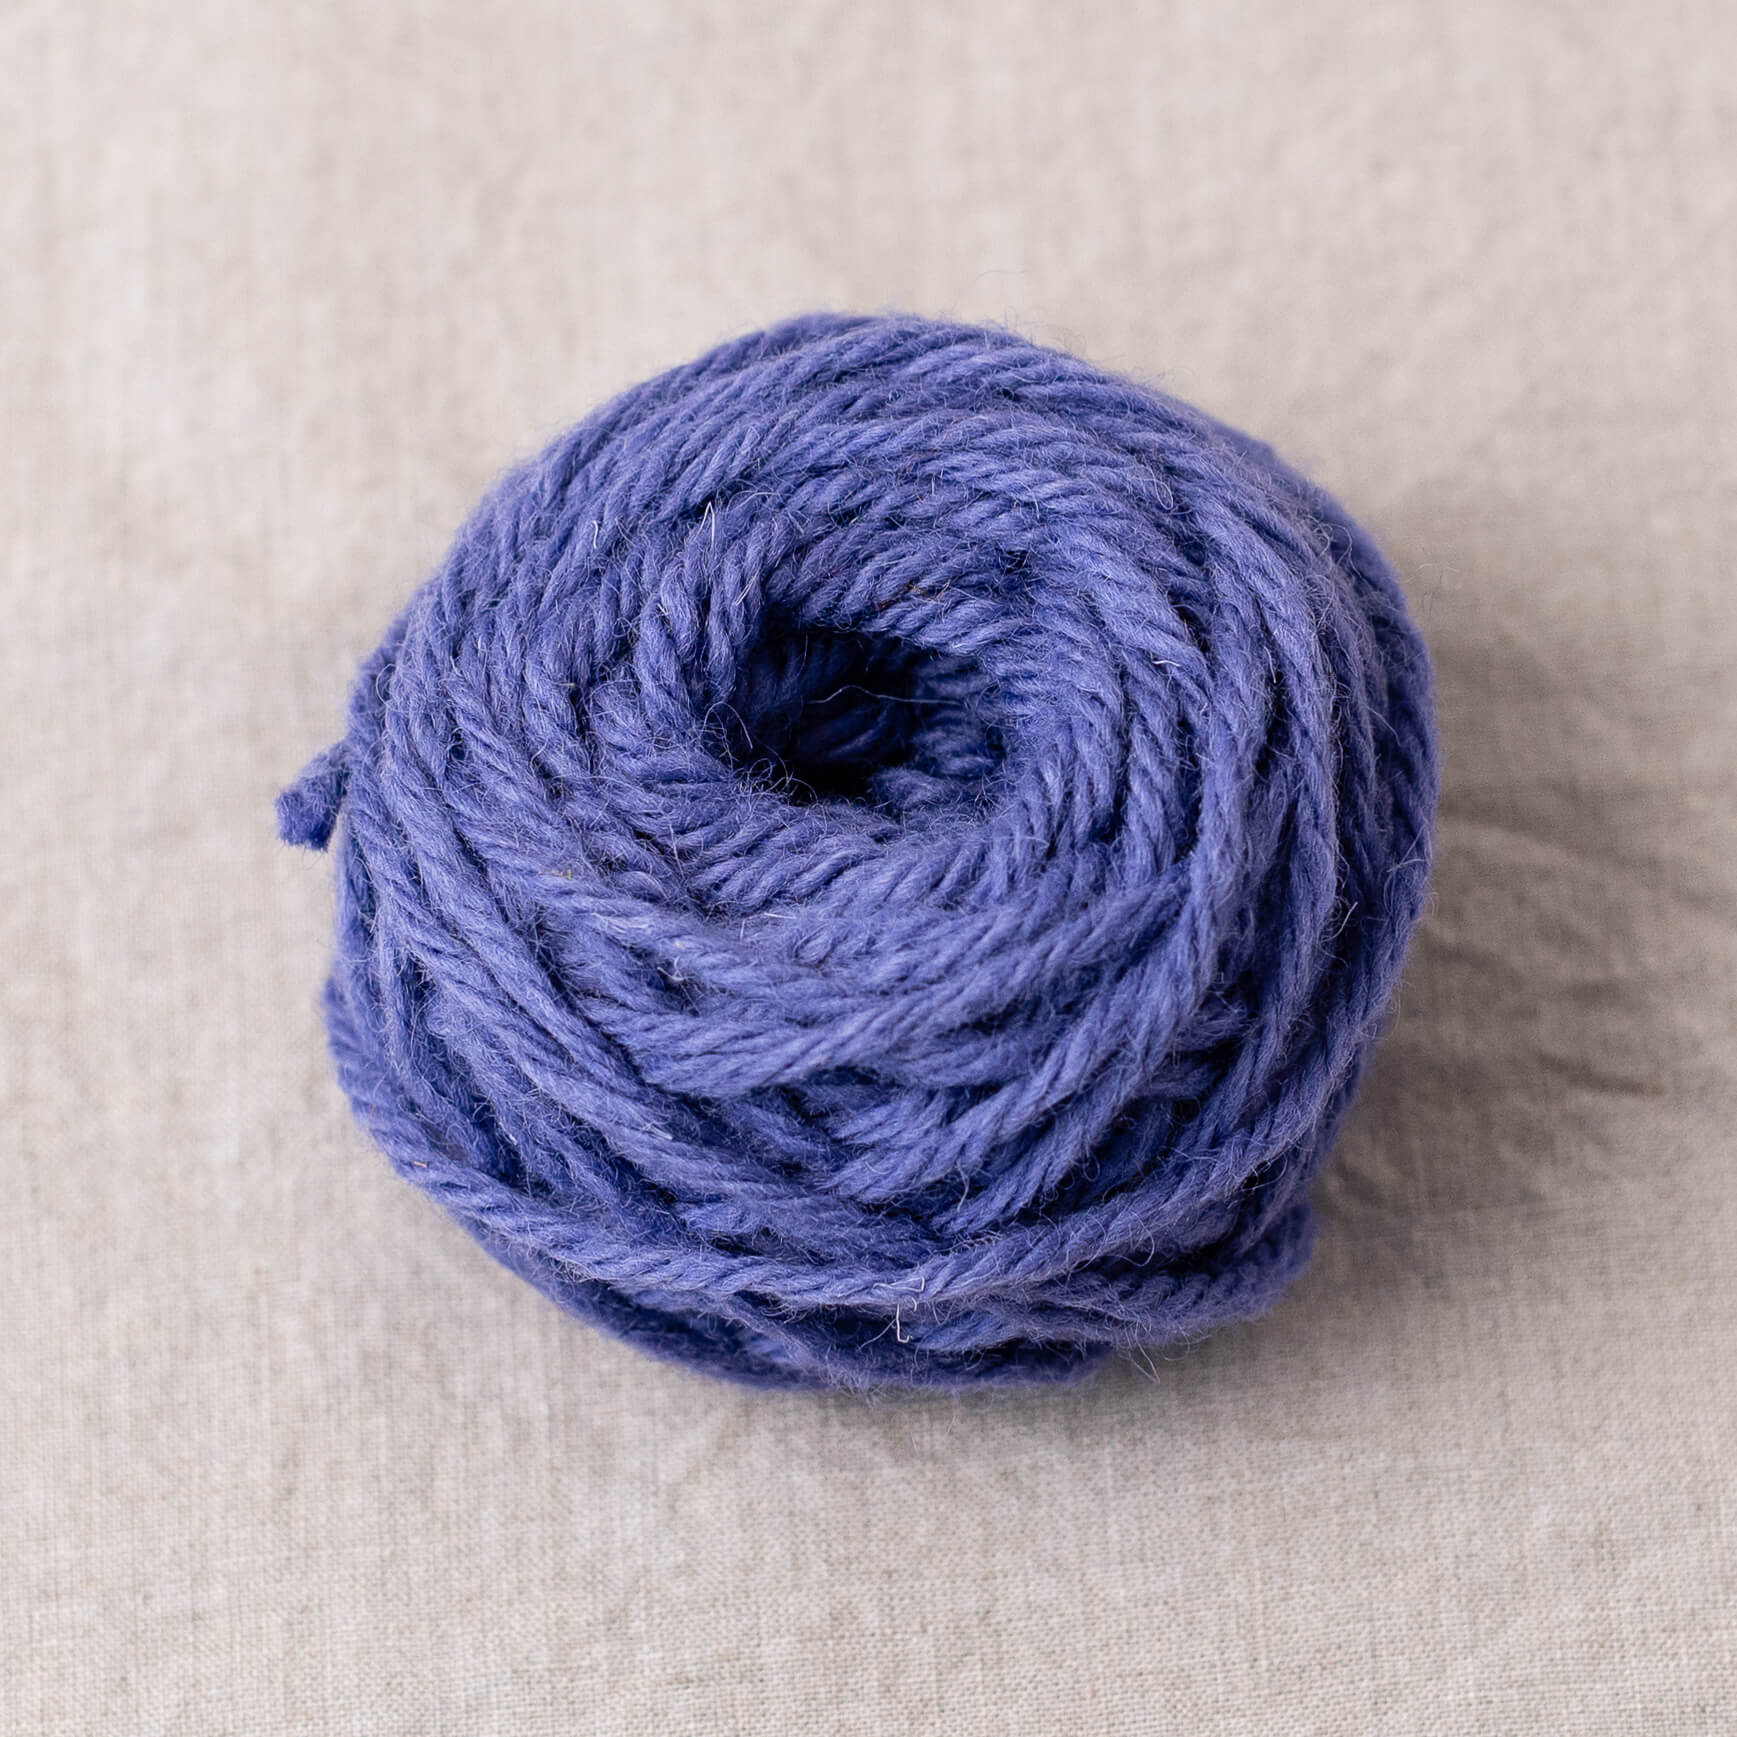
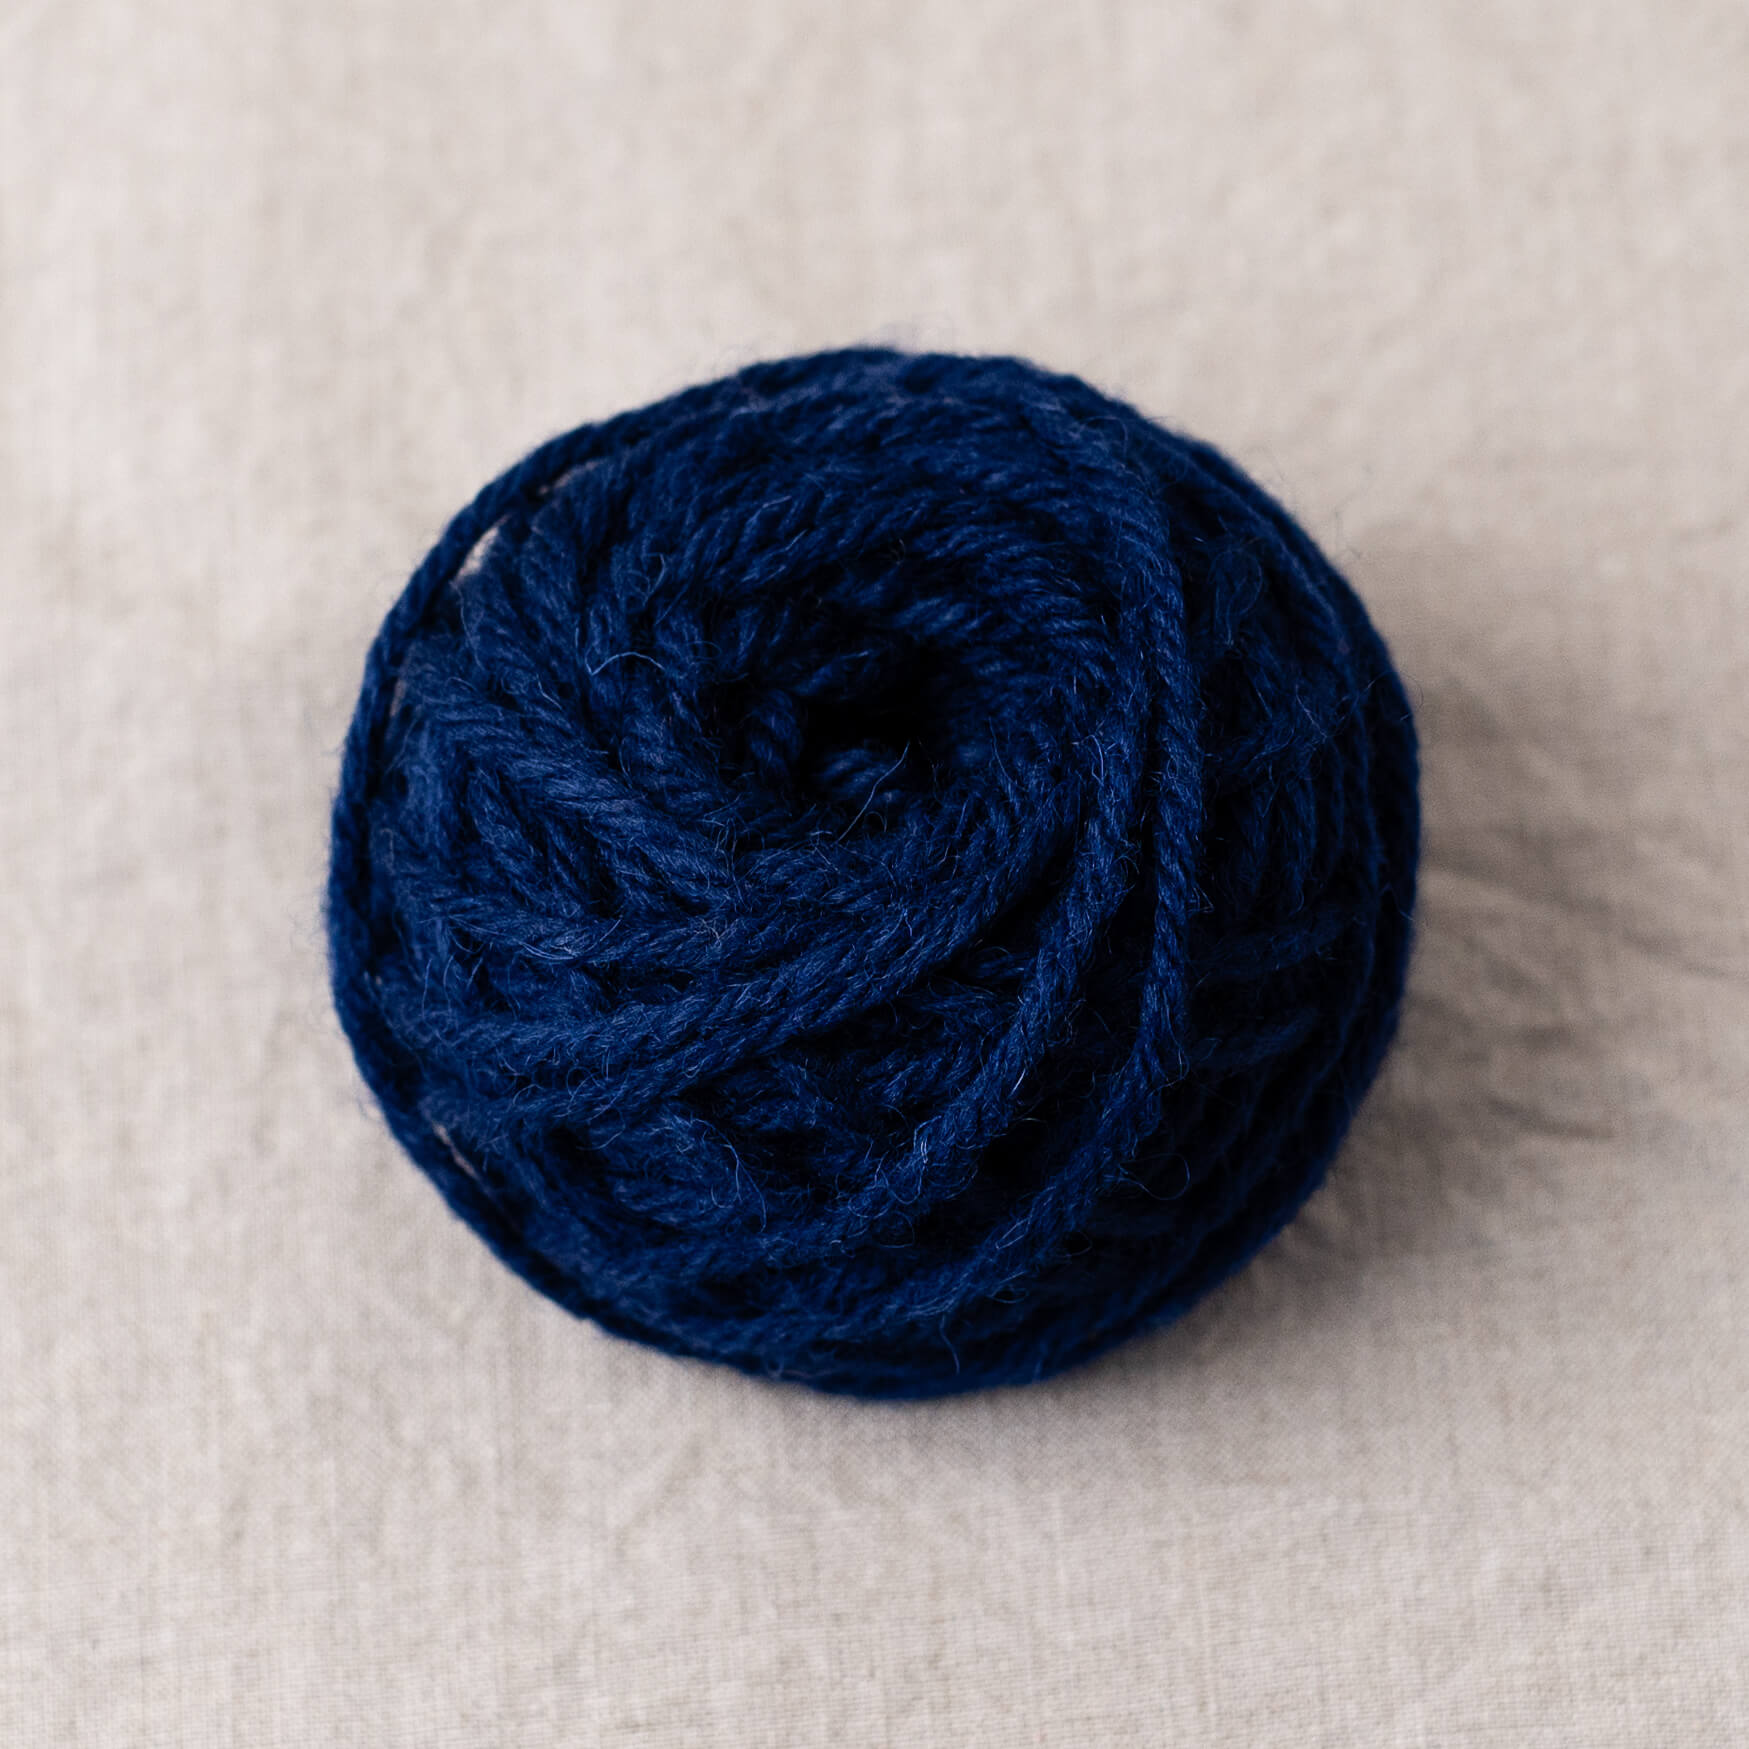
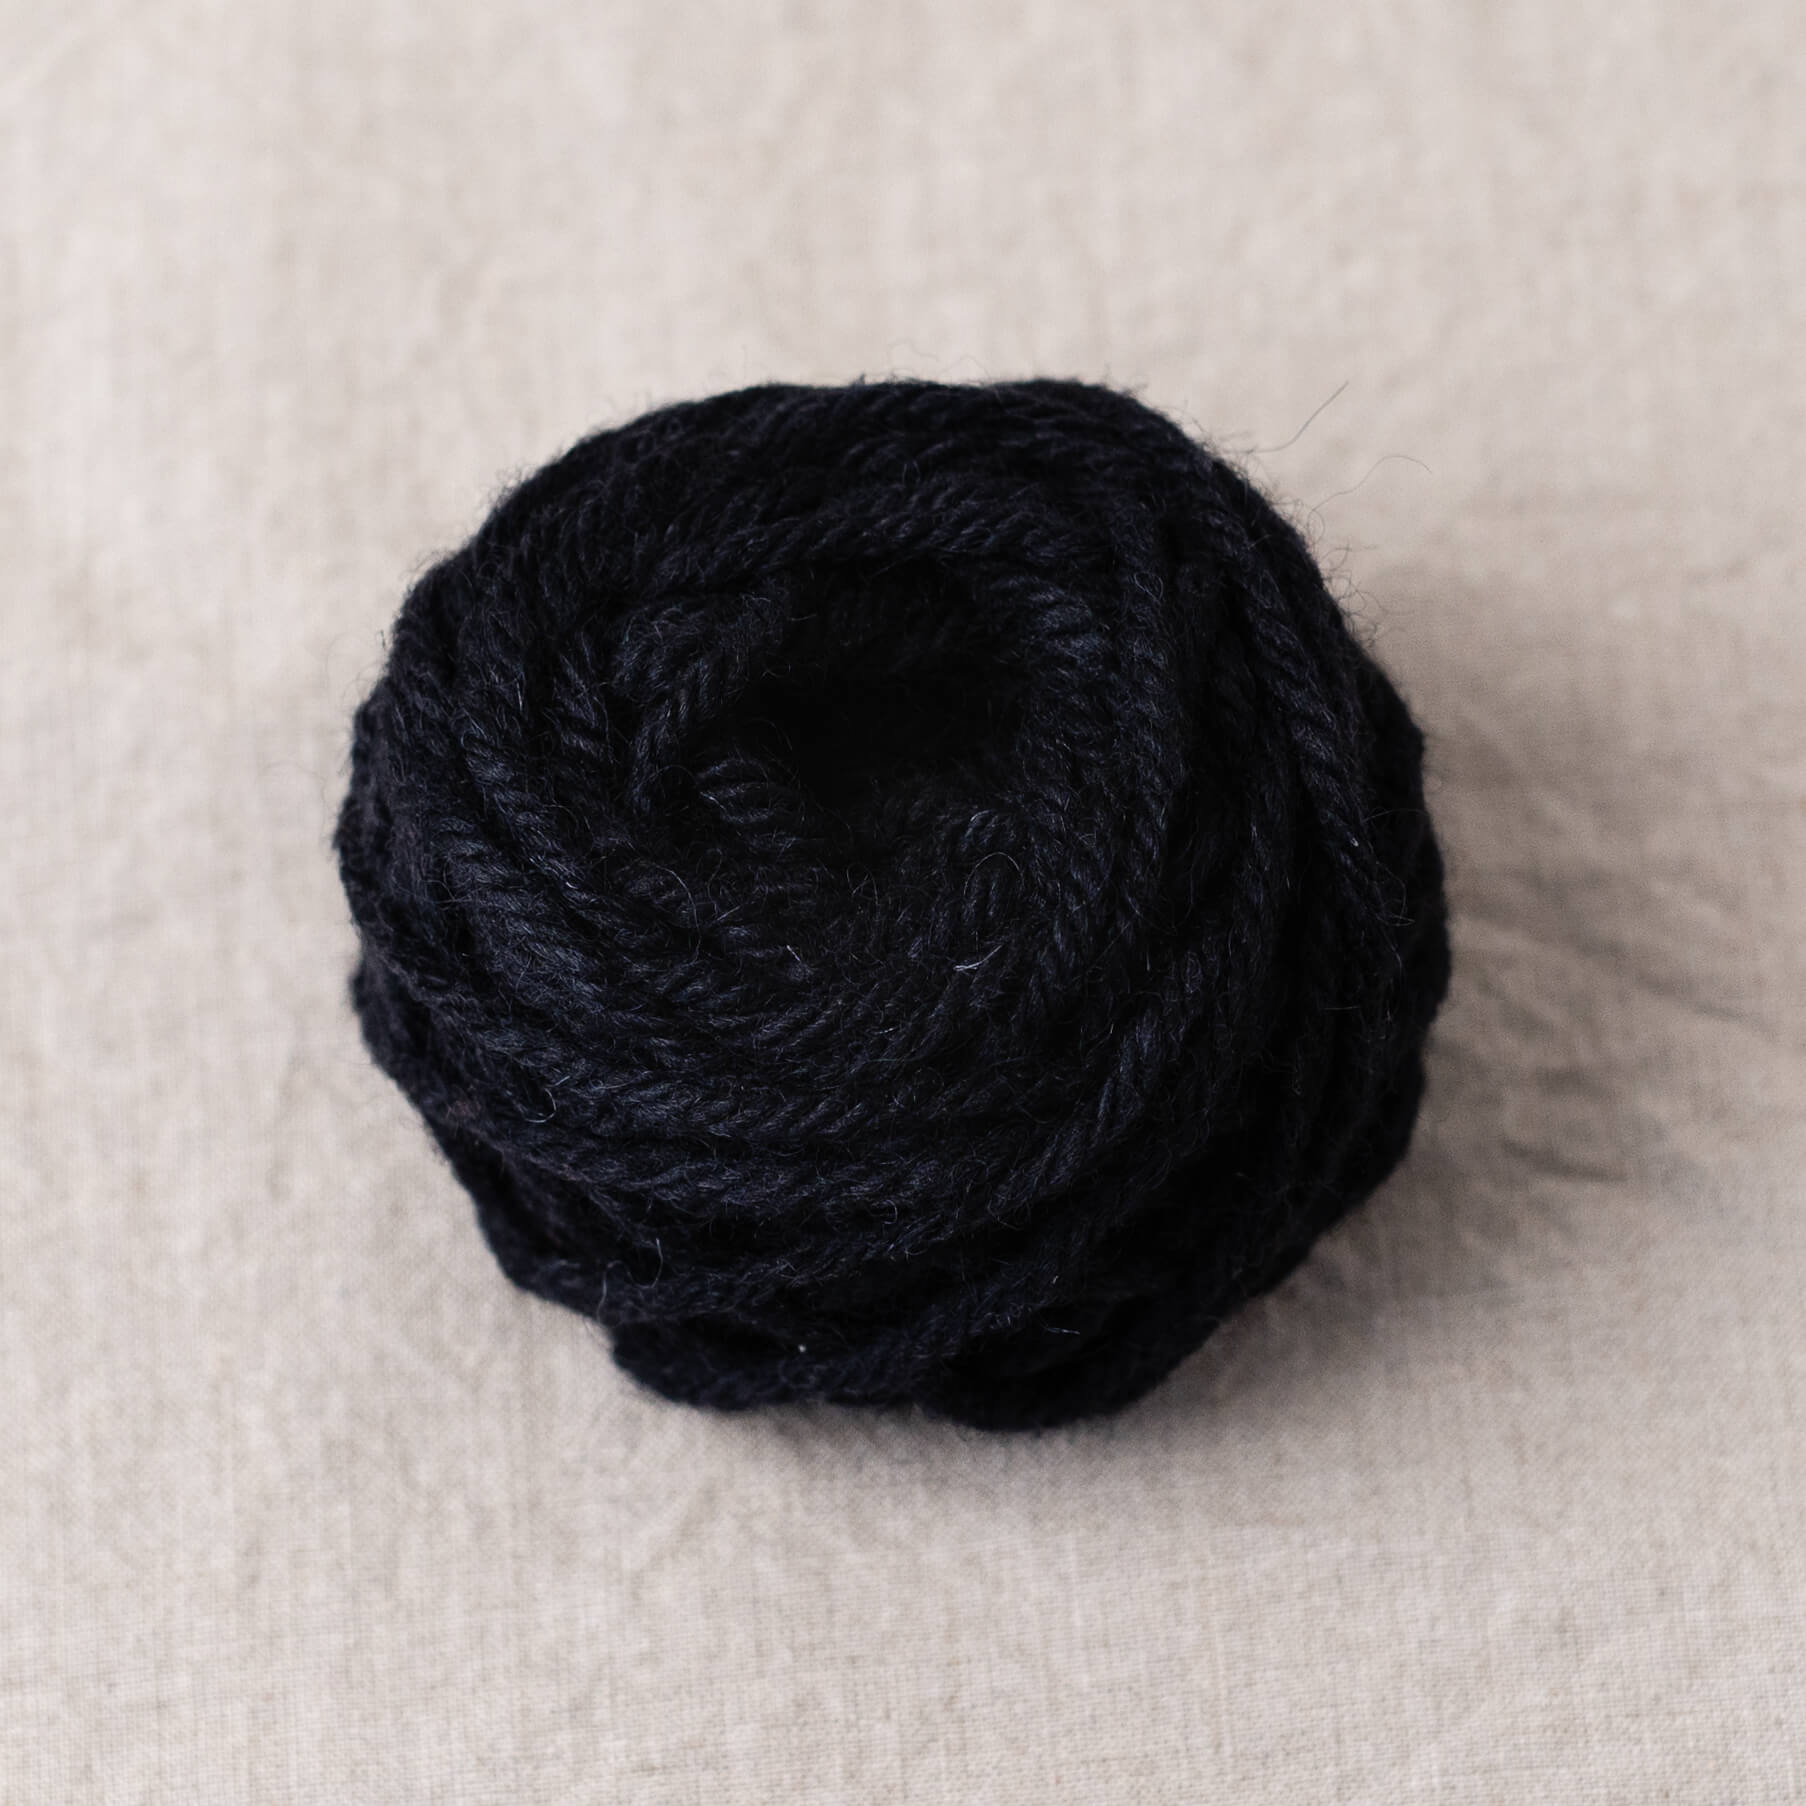
A chunky, 100% wool rug yarn is essential if you want your rug to last. Rug yarn is more coarse than a knitting or crochet yarn. This is great for creating a strong, hardwearing rug. With a less refined yarn the coarseness of the fibre also helps the loops to grip together.

2. Start simply with a practice project
Before I made my first rug, I had all sorts of grand ideas in my mind. After spending a few hours stressing about sizing, colours and pattern choices I realised that for my first effort it was a better idea to keep things a bit more straightforward! Due to the texture created by punch needle loop stitches, I’ve found that simple abstract designs work really well.
Starting with a small sample piece can also help you dial in your technique and get a clear idea on how much wool your project will need.
Weigh your wool before you start your small sample piece and then weigh it again once you finish. This way you will know how much wool the sample piece required and can scale it up for your actual rug.
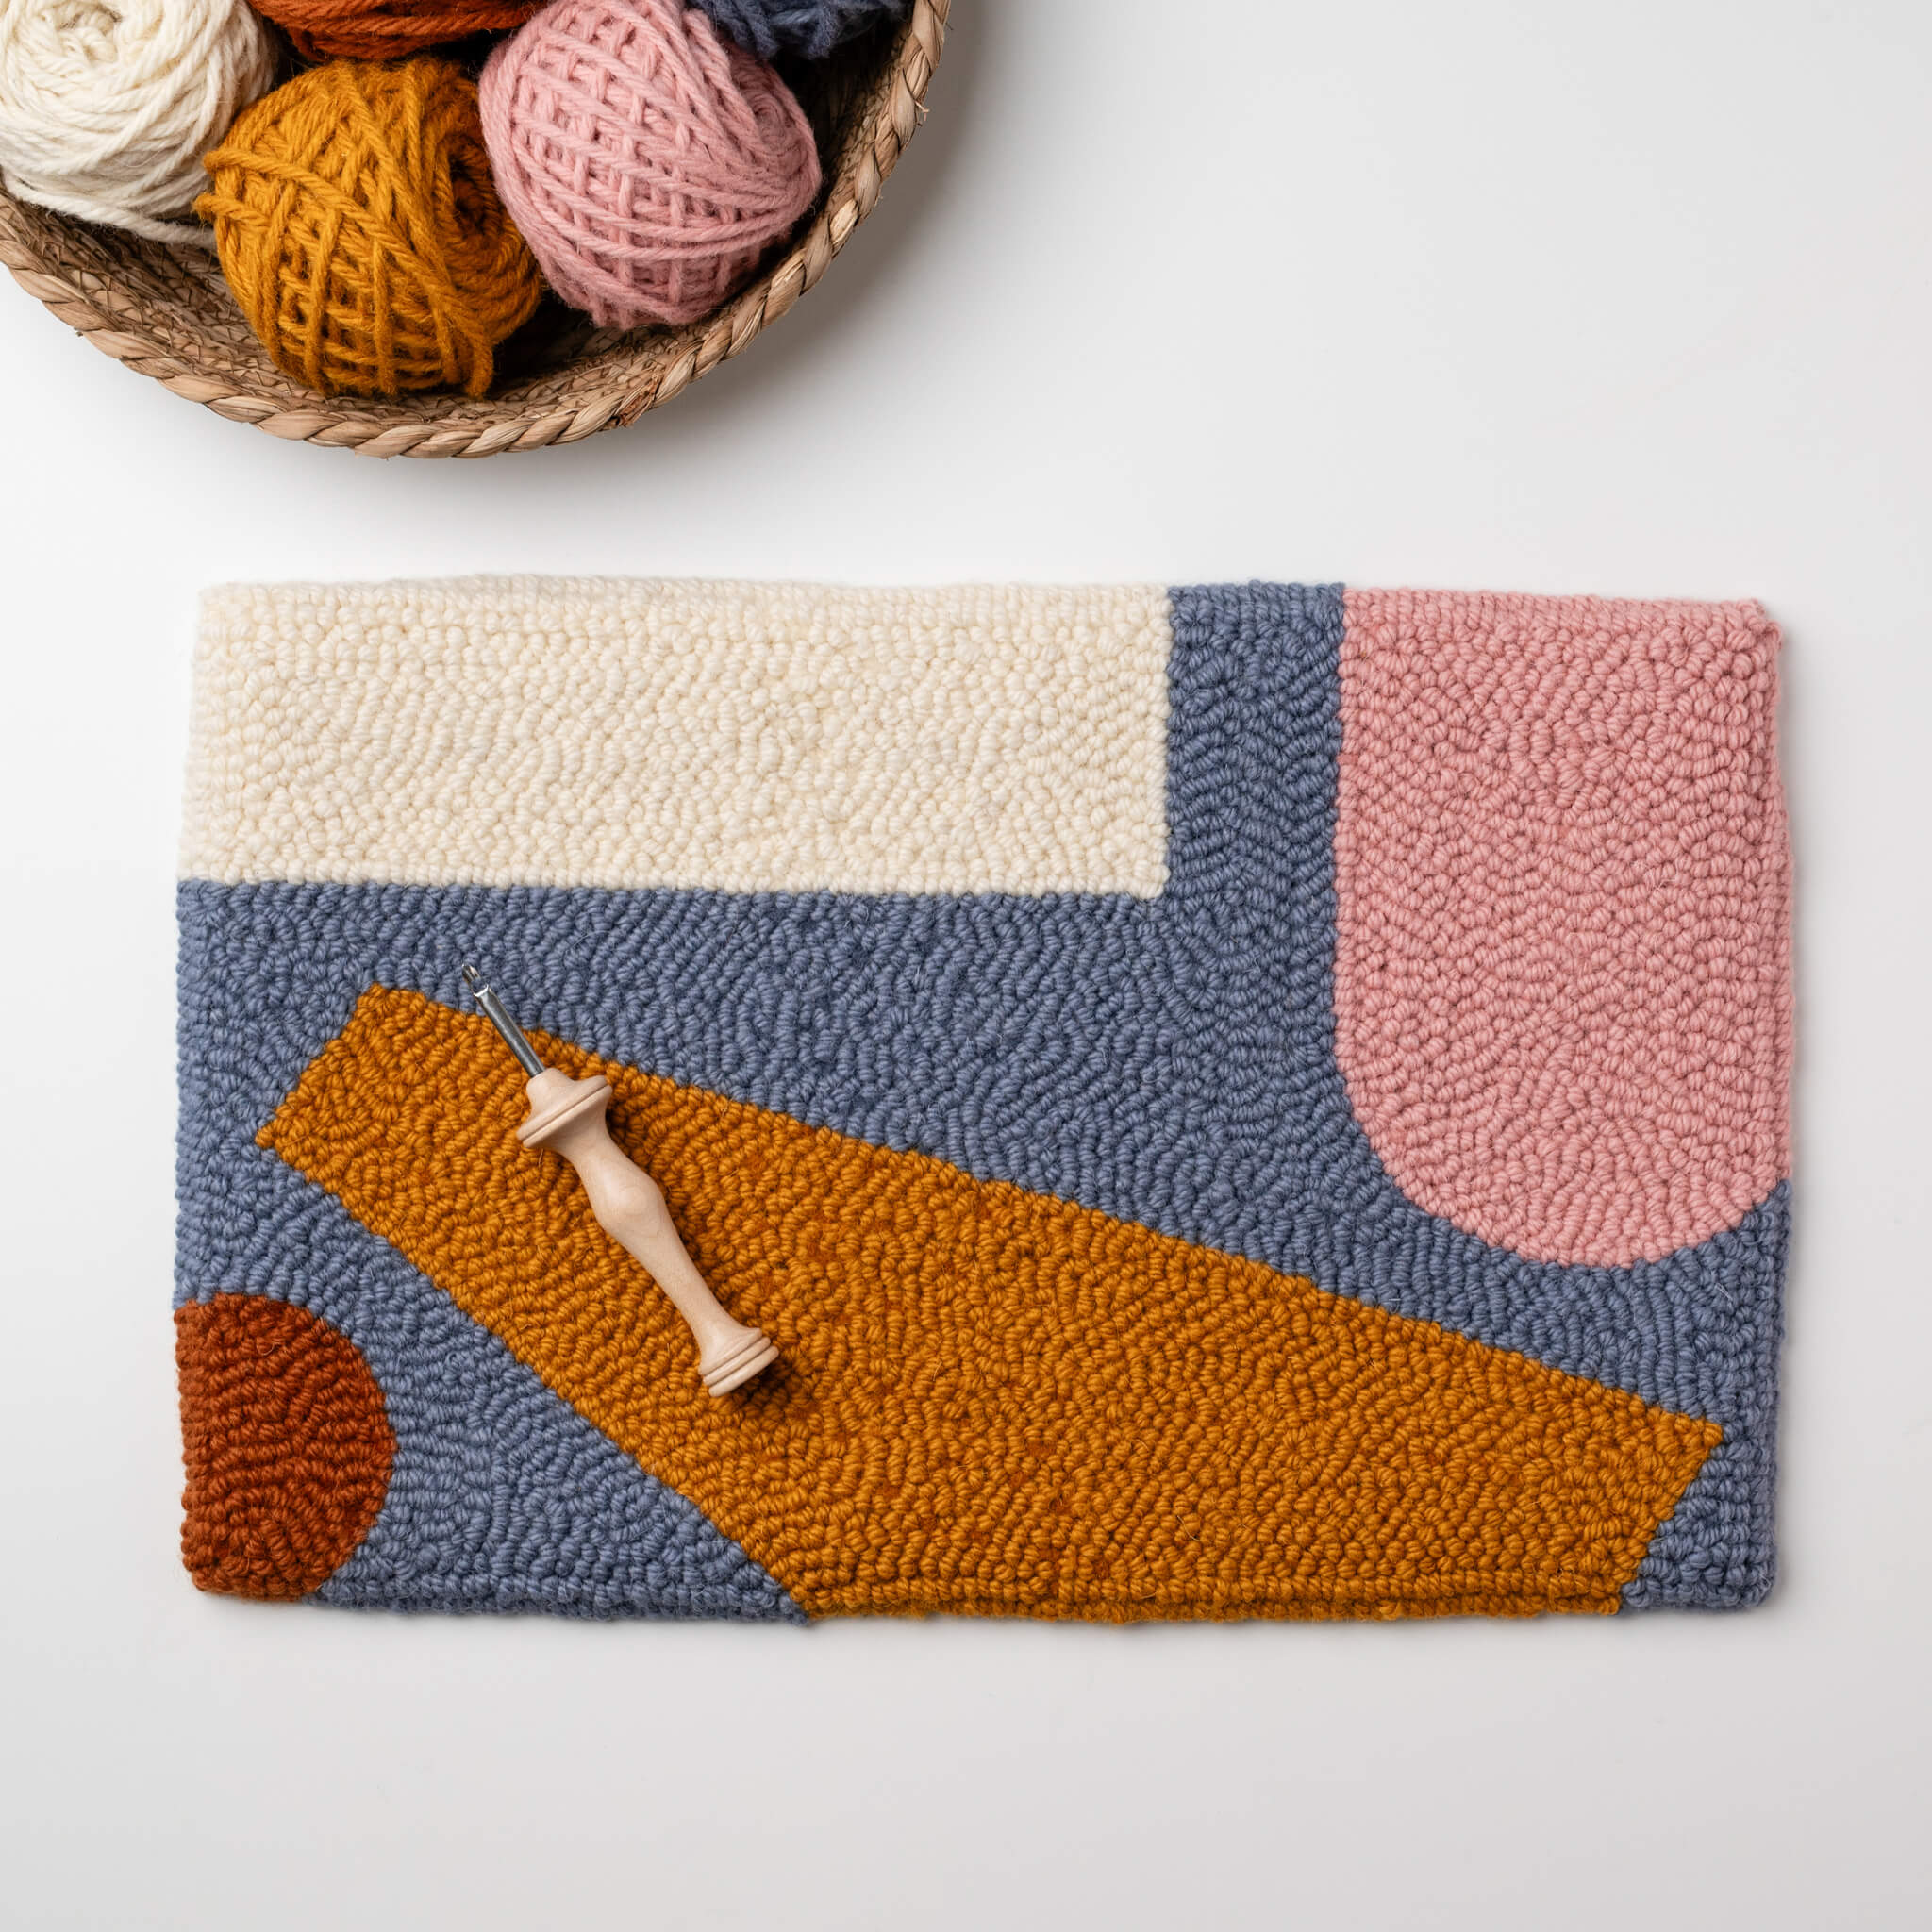
A small trivet using these same four materials is a great place to start. Your rug will essentially be a scaled up version of this.

3. Don't use a backing on your punch needle rug
If you’ve seen the buzz around tufting you will have seen people creating rugs (usually pretty quickly) on large frames using what looks like a drill for yarn. Tufting guns can either have a cut pile or a loop pile. The cut pile guns shoot through lots of small pieces of yarn into the foundation fabric. There is nothing holding these pieces of yarn in place, so glue and a backing must be added once the rug is finished.
Punch needle rugs do not require a backing like tufted rugs. The density of punch needle loops keeps them in place. If you stretch the foundation fabric sufficiently before punching, when you take the piece off the frame it will contract. This also helps to hold the loops in place.
Punch needle rugs without backings are easy to clean and also quick to fix. You can use a vacuum cleaner to clean from either side and be sure that any dirt is passing through and not getting stuck in a backing. If your rug does not have a backing it’s easy to fix a few pulled loops as you can still access the back (working side) of the rug and quickly pop a few new loop stitches in.

4. Enjoy the process, don't strive for perfection
Punch needle is a very forgiving craft for beginners. Although I like a neat rug as much as the next person, try not to focus too much on making every single loop stitch perfect. Practice really does make perfect and over time your technique will improve.
One of the great things about punch needle is the ability to change your mind. If you punch a part and you decide you don’t like the colour, pull it out and punch it again.
Between my husband, the cats and visitors, the rugs I’ve got at home see heavy traffic - one of the joys of punch needle rugs is that even after your rug is on the floor, if you spot damage or a small pull it can easily be fixed.

If this has sparked your interest in making punch needle rugs, why not join my online course - Introduction to Oxford Punch Needle? Doors open for the first time this autumn.
We’ll be making a small trivet using the materials above, doing a deep dive into materials and working our way through all the fundamental techniques of punch needle. I’ll be on hand in a private Facebook group, ready to answer questions and chat all things punch needle. I can’t wait to get stuck into a longer form workshop and spend time working with a lovely group of like-minded makers.
Online videos are pre-recorded so that you can work at your own steady, manageable pace with plenty of time for tips, questions and support. If you prefer written instructions, videos will be accompanied by instructions and step-by-step photos.
The best thing is all the skills you will learn in the online course can then be transferred into making larger projects. I can’t think of a better way to spend the slower autumnal days than chatting, making and relaxing.

